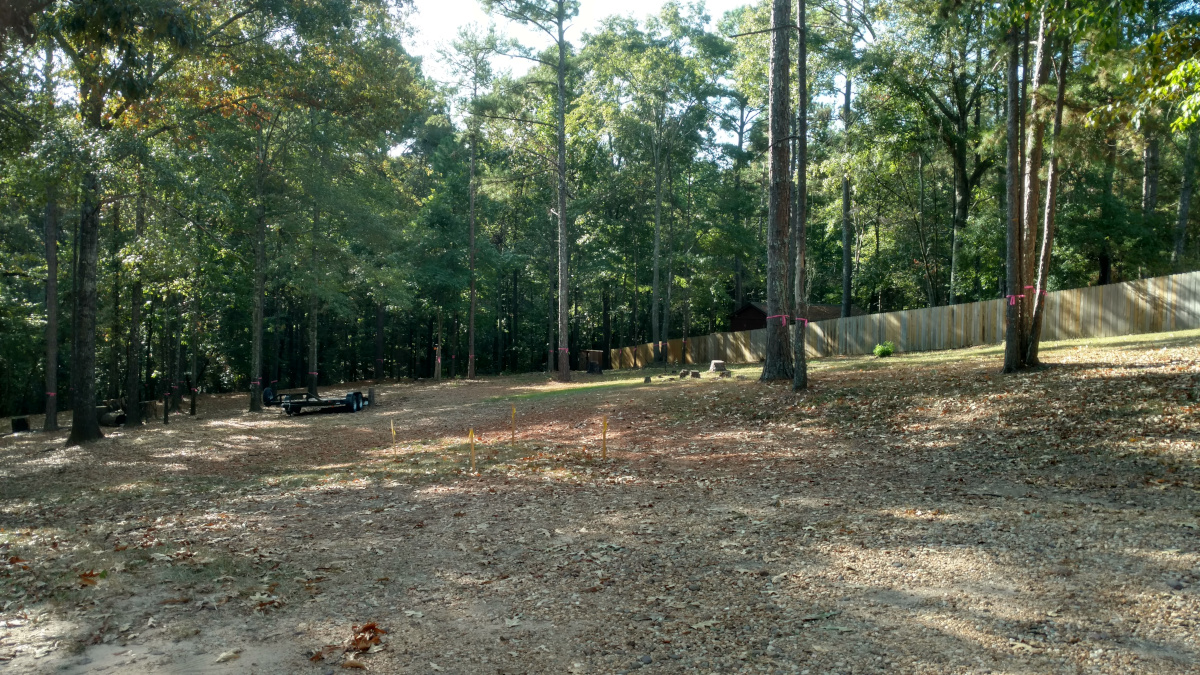
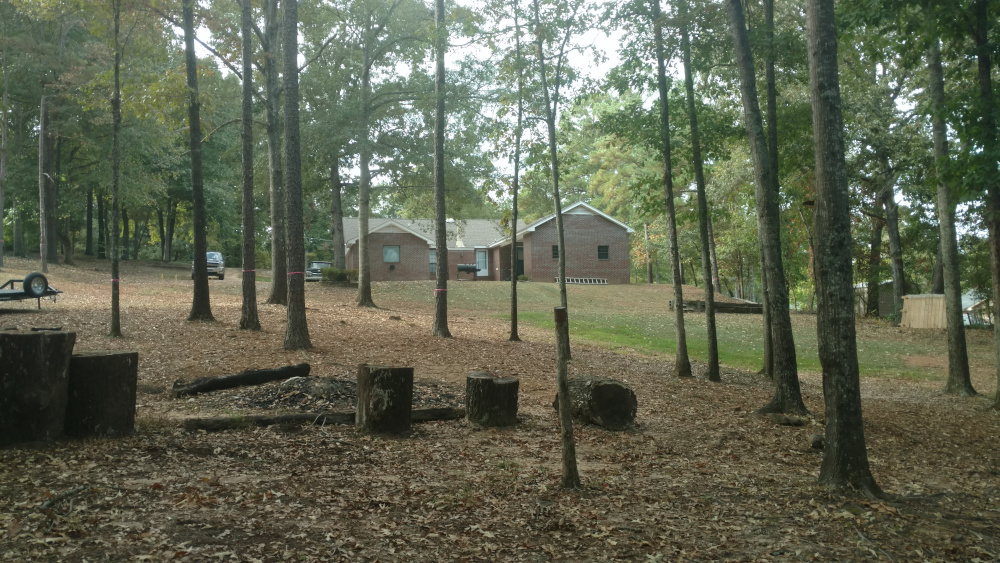
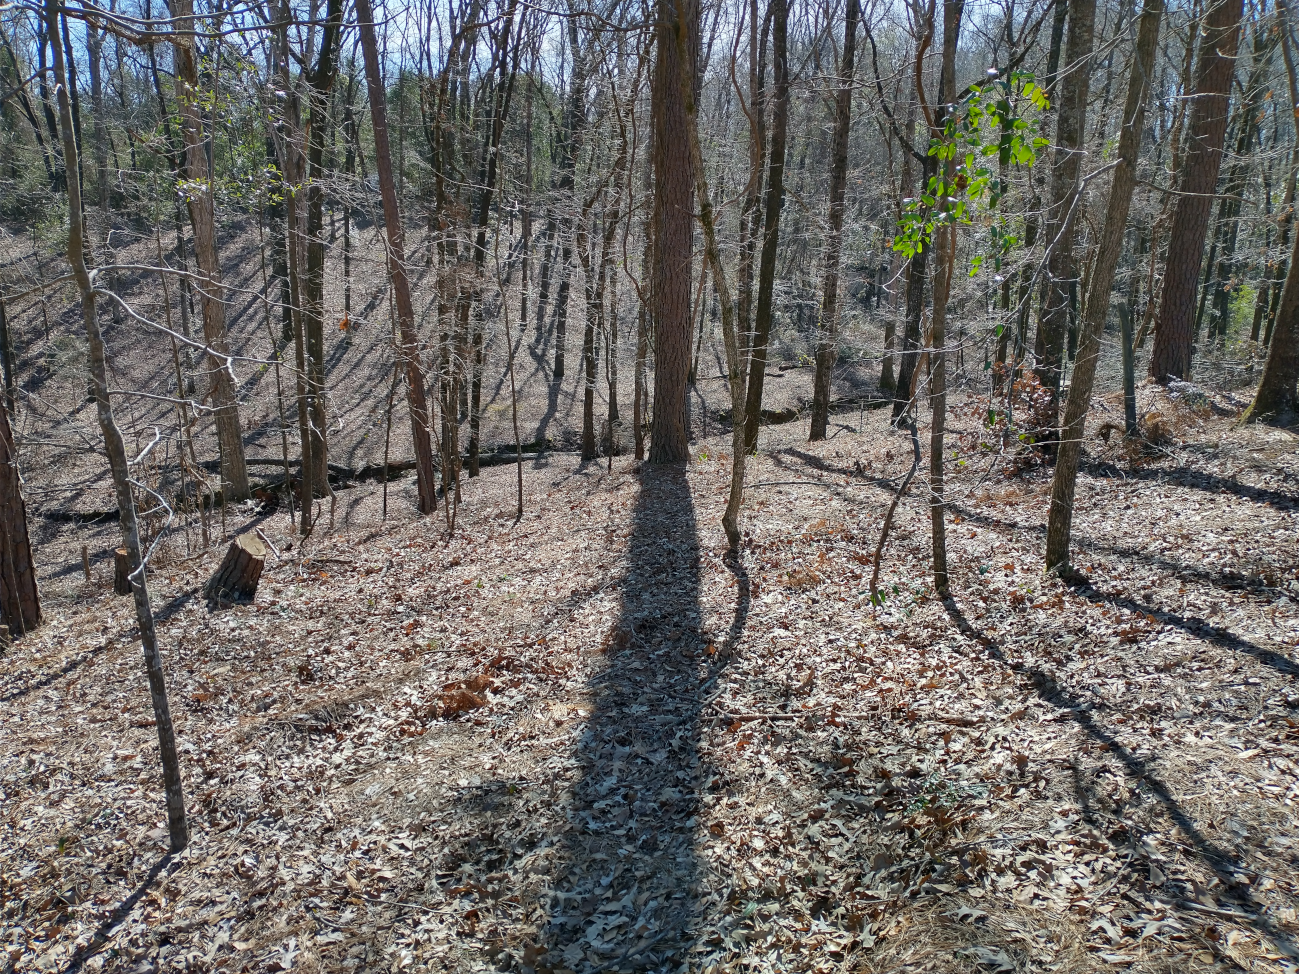
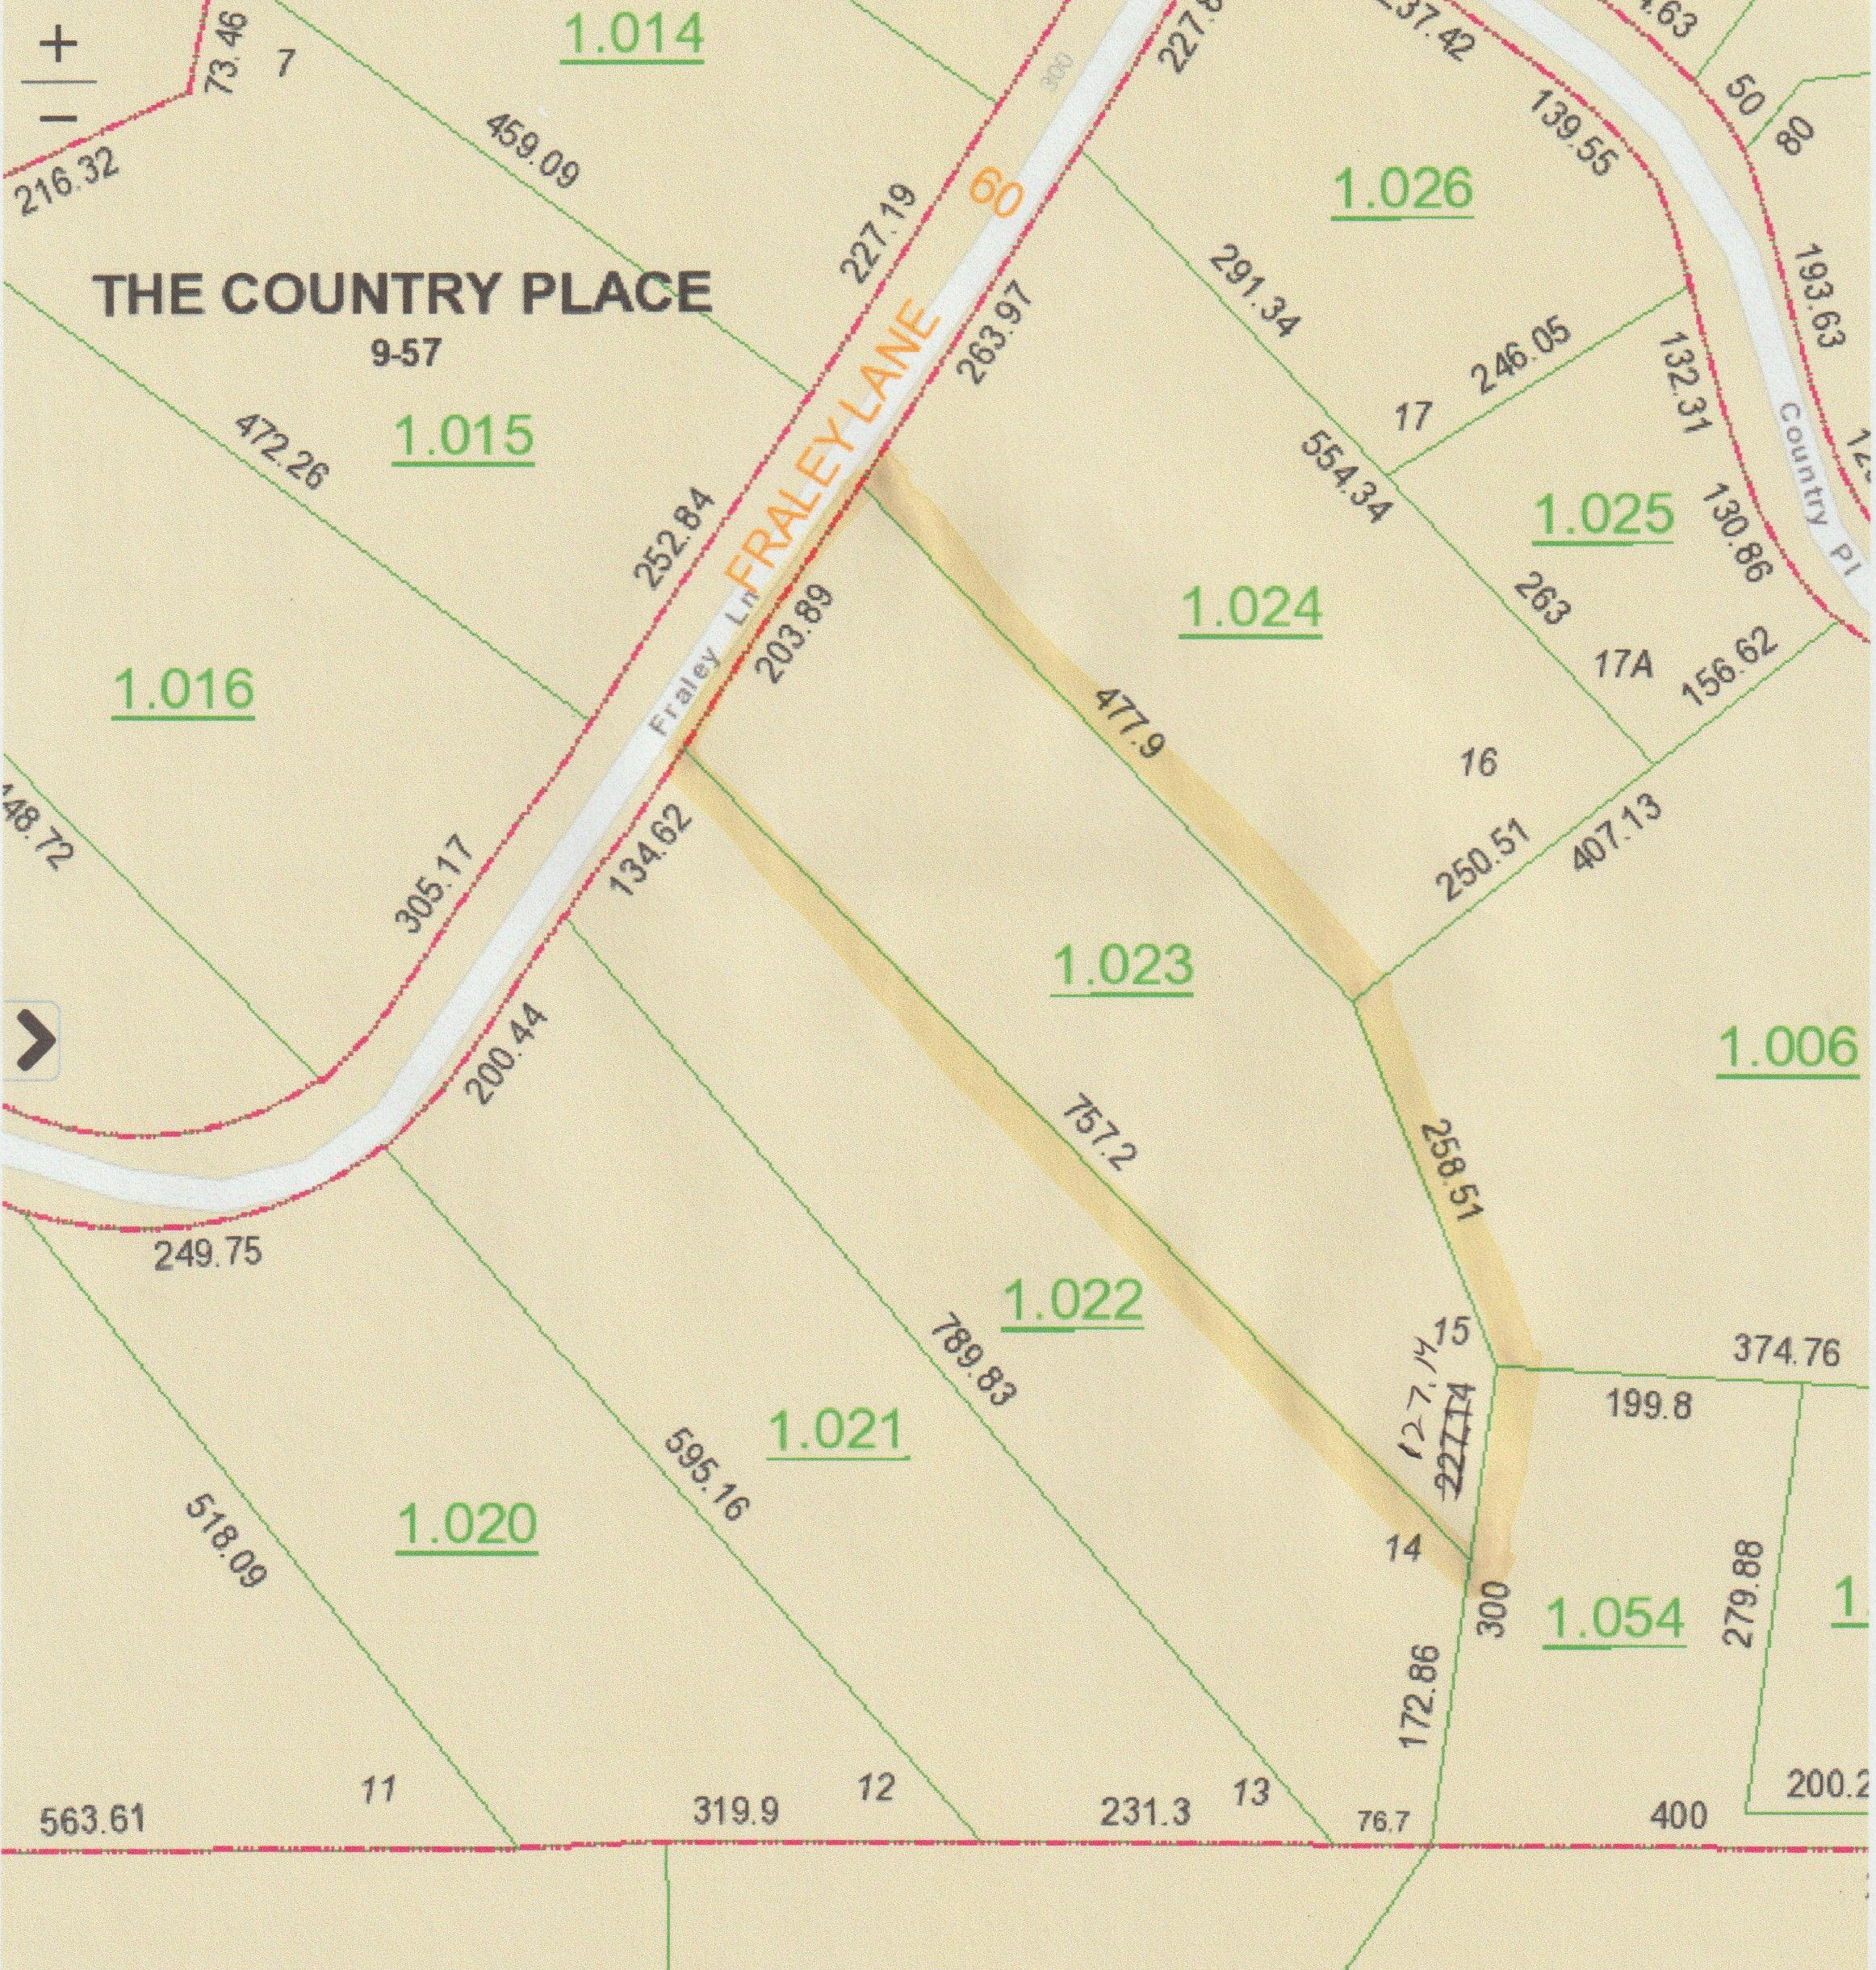
Original view from the house (facing southeast). The stakes with the yellow flags locate the house septic tank. The septic field is to the left (out of the picture).Land looking northwestValley at the back (South) of the lot. The creek is only wet when it rains. NOTE: The plat is aligned with true north. The lot is not aligned with either the street or true north. The house is aligned
closely to the northwest. The lot is about 400 feet above sea level.
The lot is three acres with a moderate slope in the front third. Behind the shop is narrow steep valley. The back forty feet or so of the property levels off slightly above where the picture was taken.
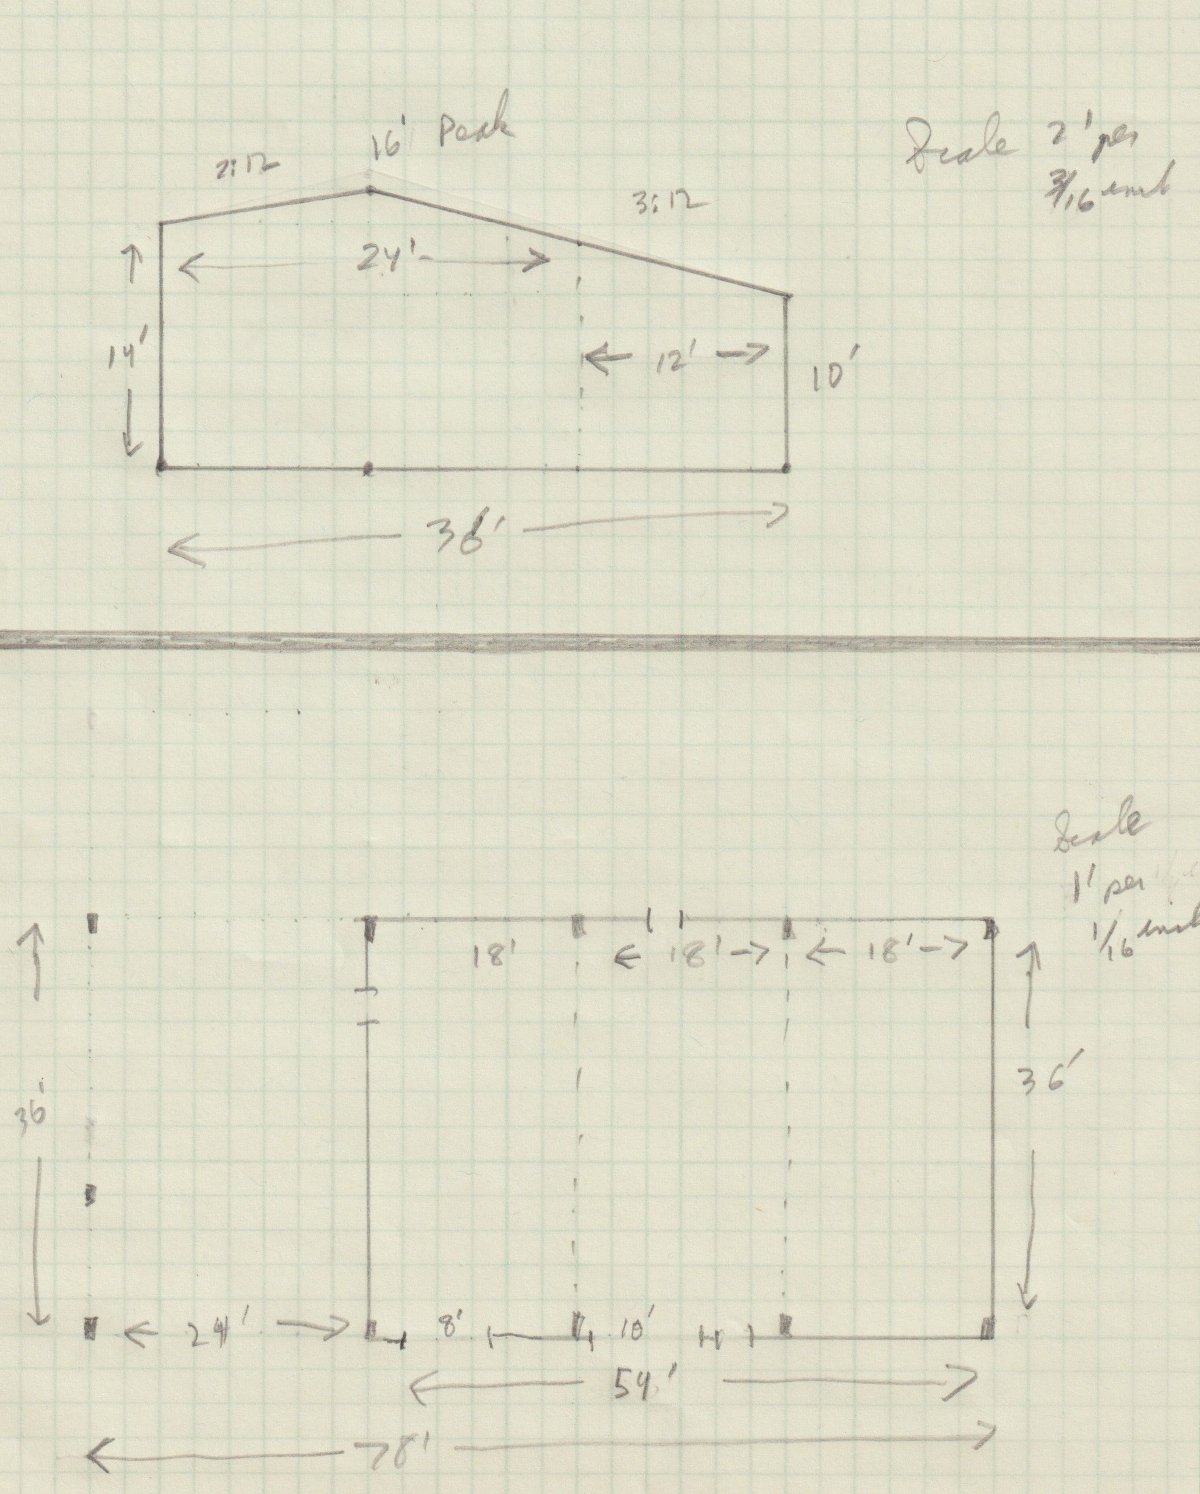
Sketch of the red iron building. The lower back wall was used to decrease the building volume and hopefully lower heating and cooling costs.
The 24 foot bay on the left side of the lower is the "Carport" where I will park my trailers, F-250 and yard tools out of the weather.
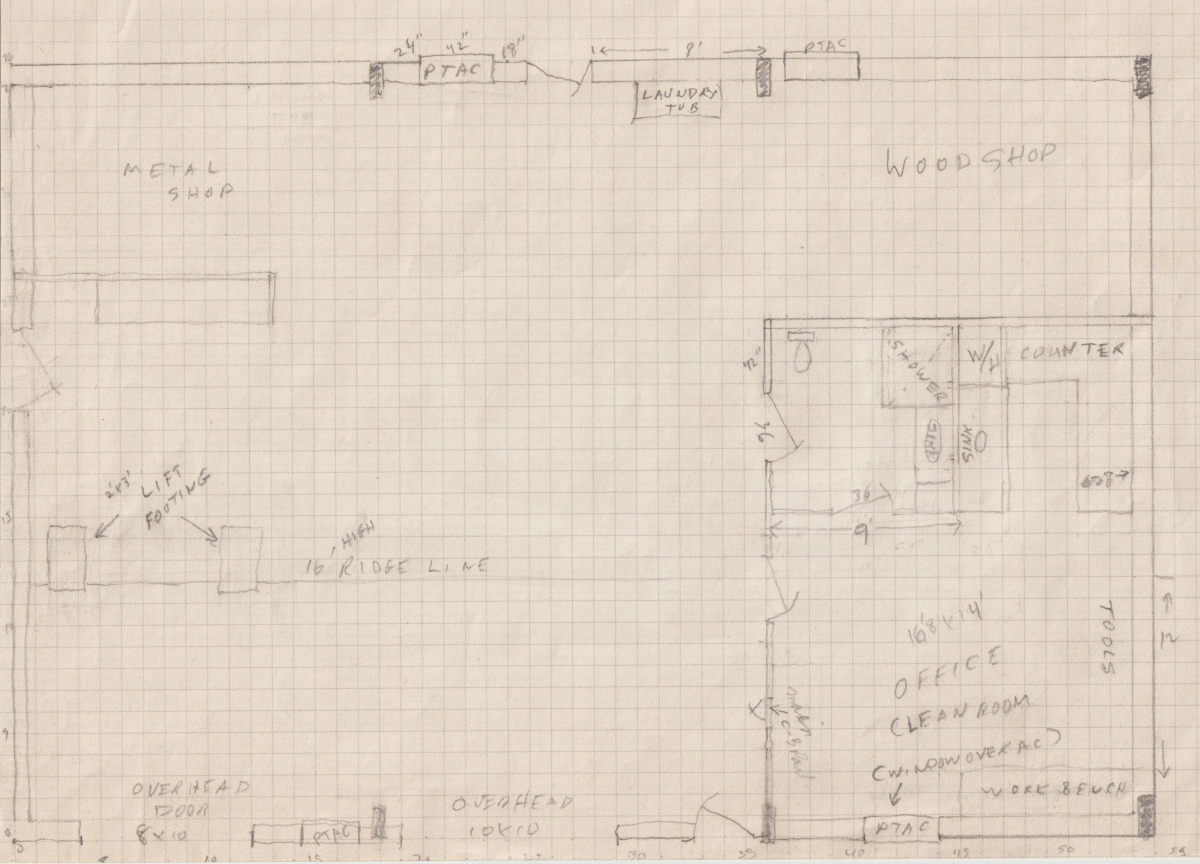
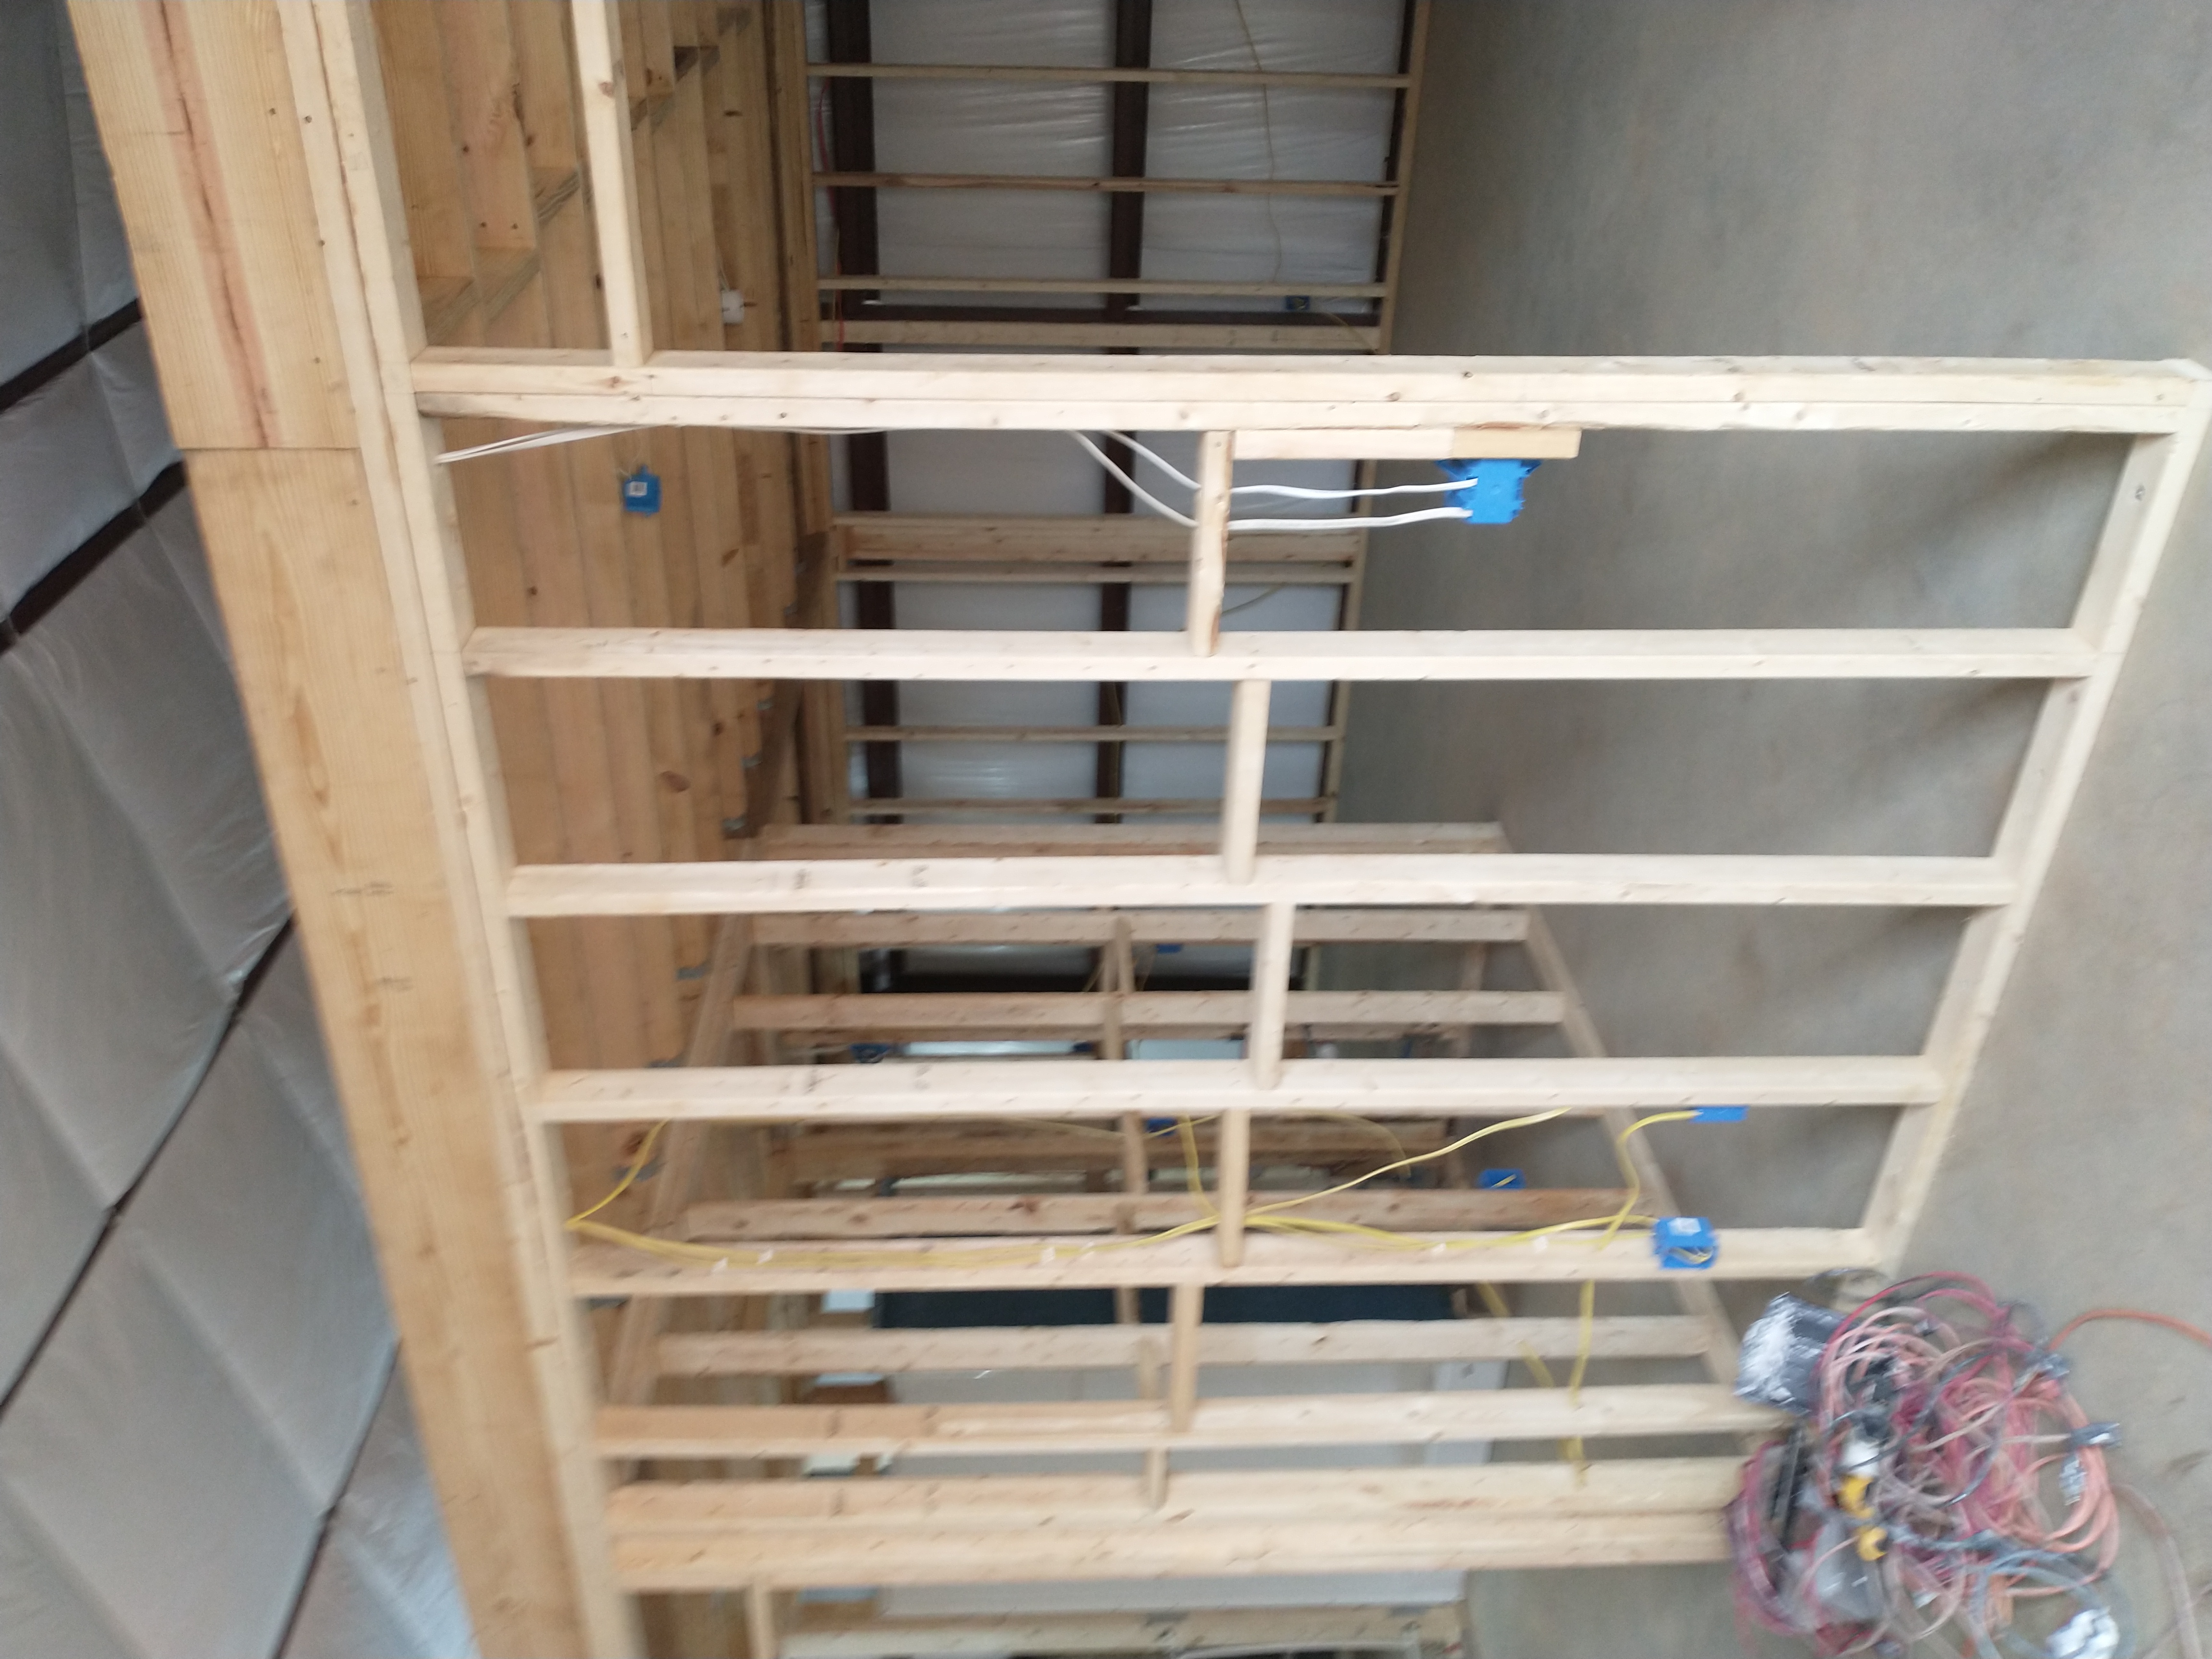
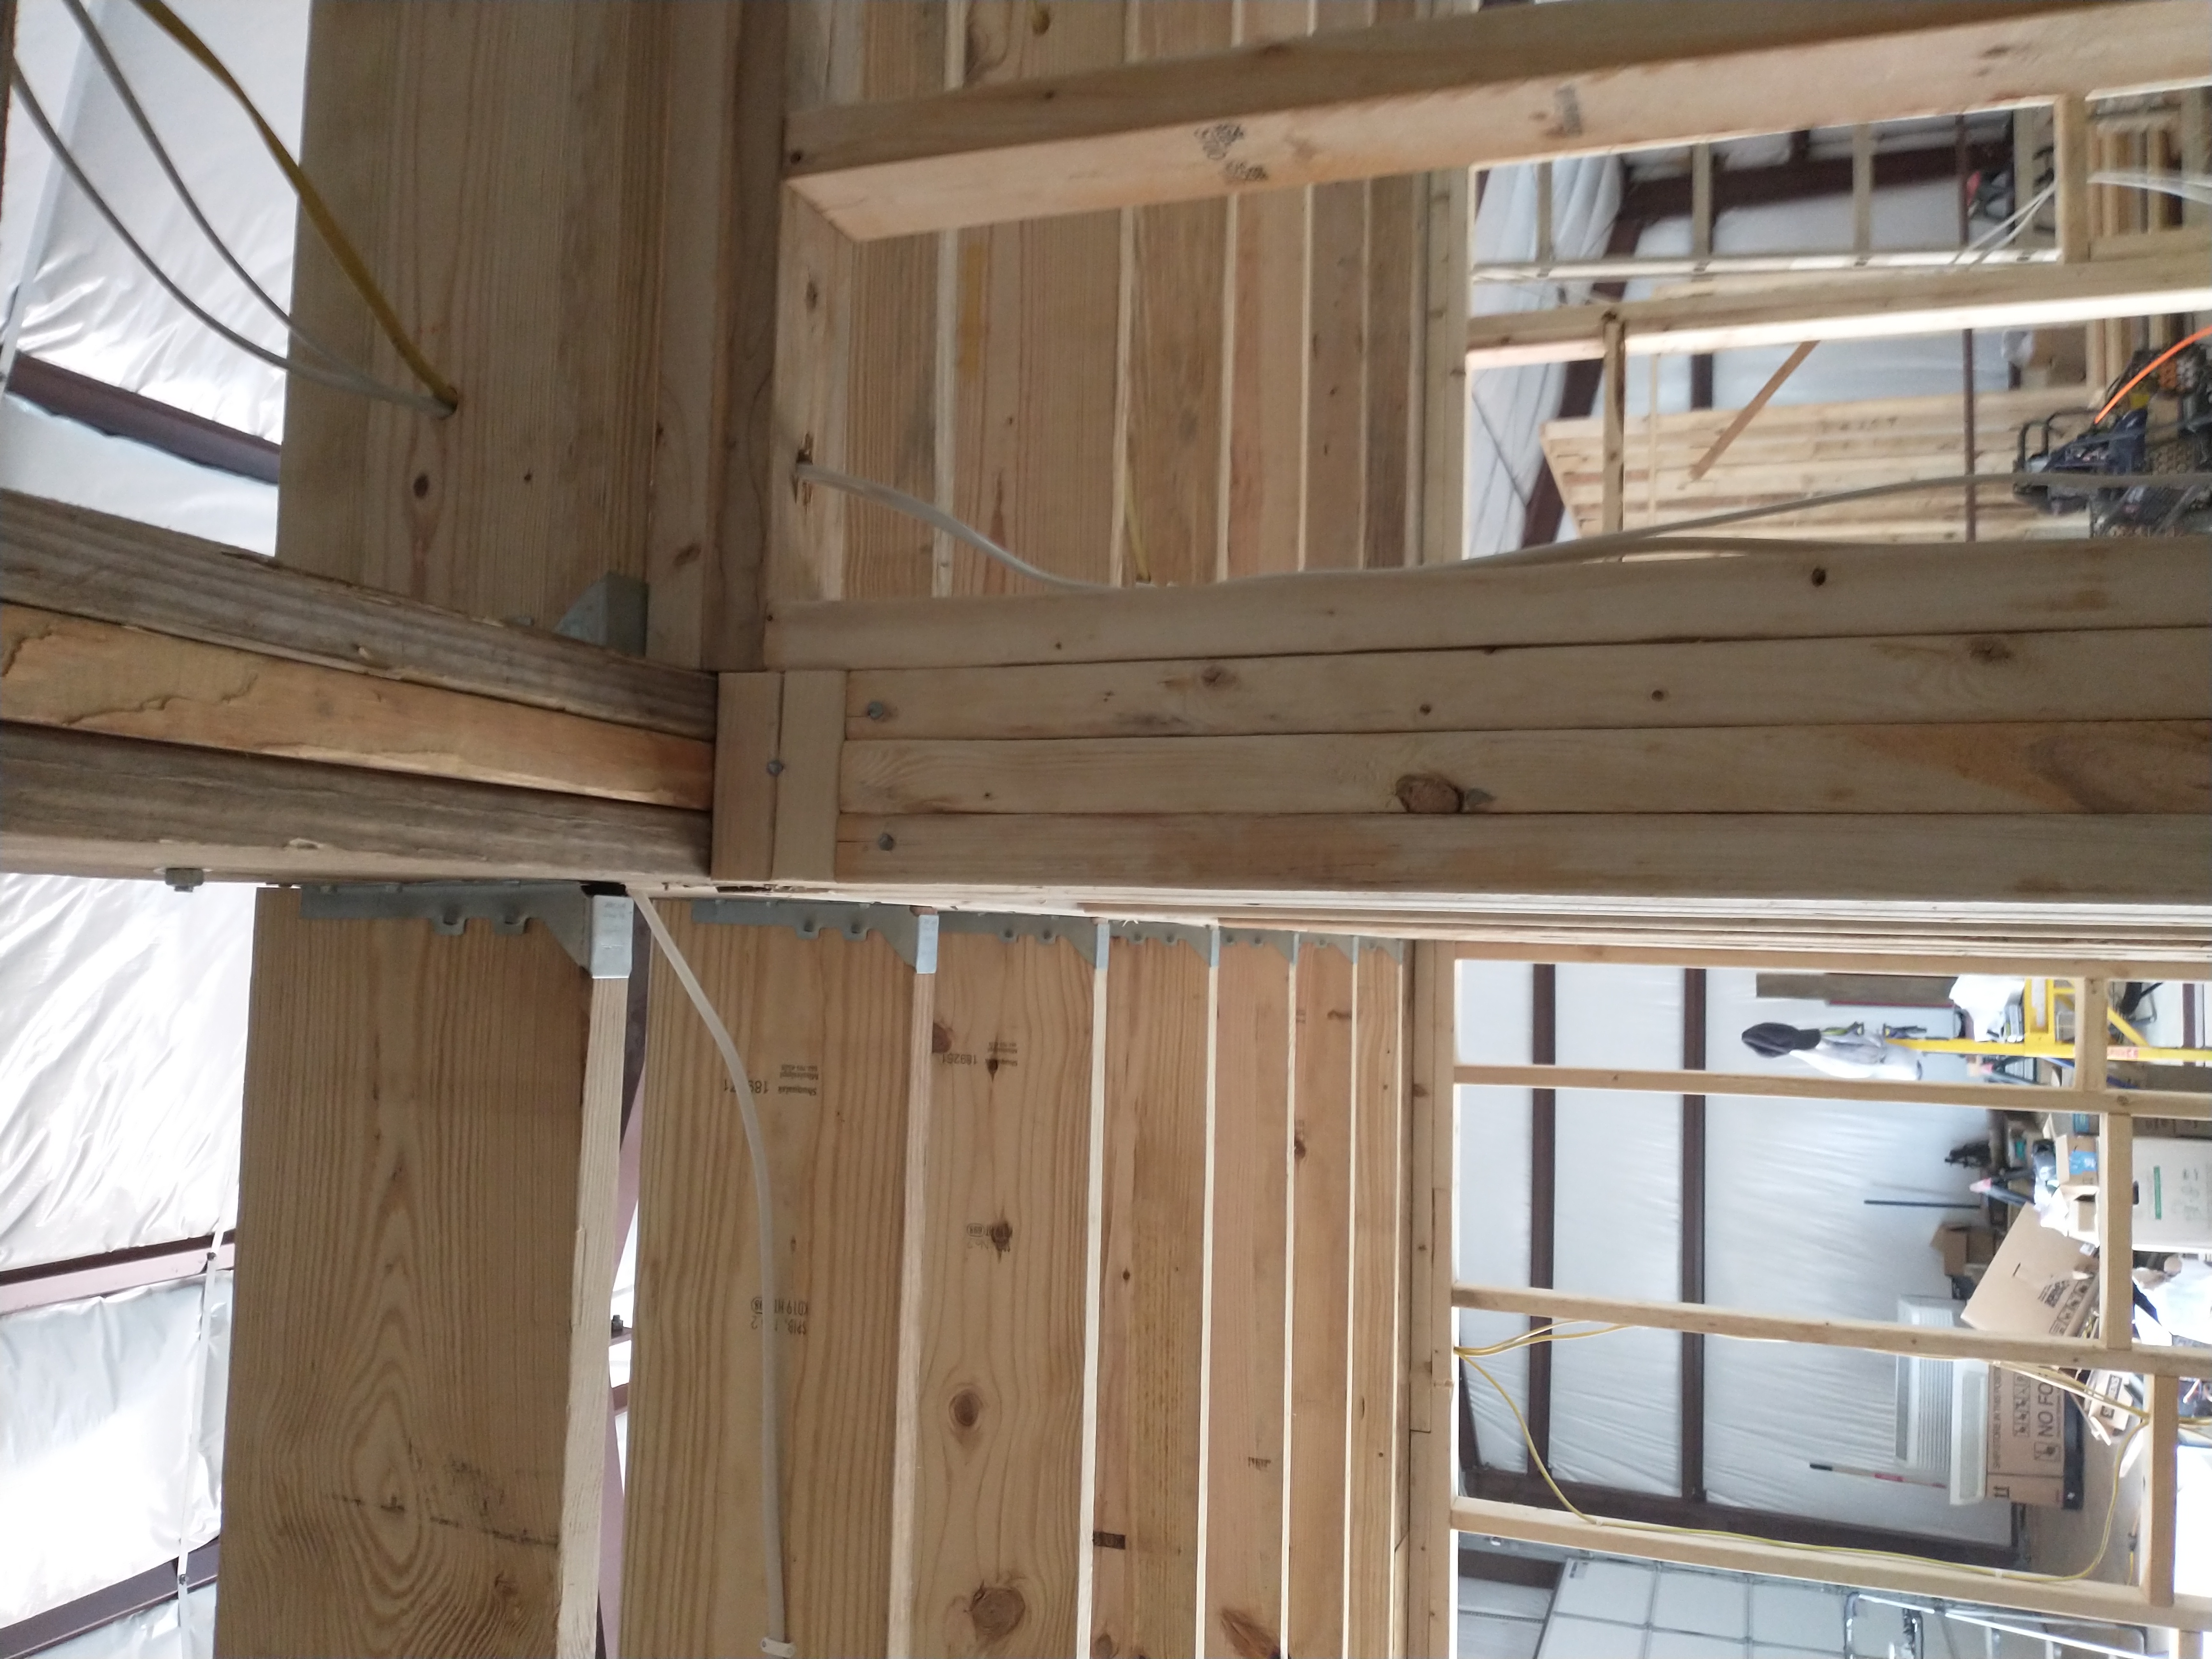
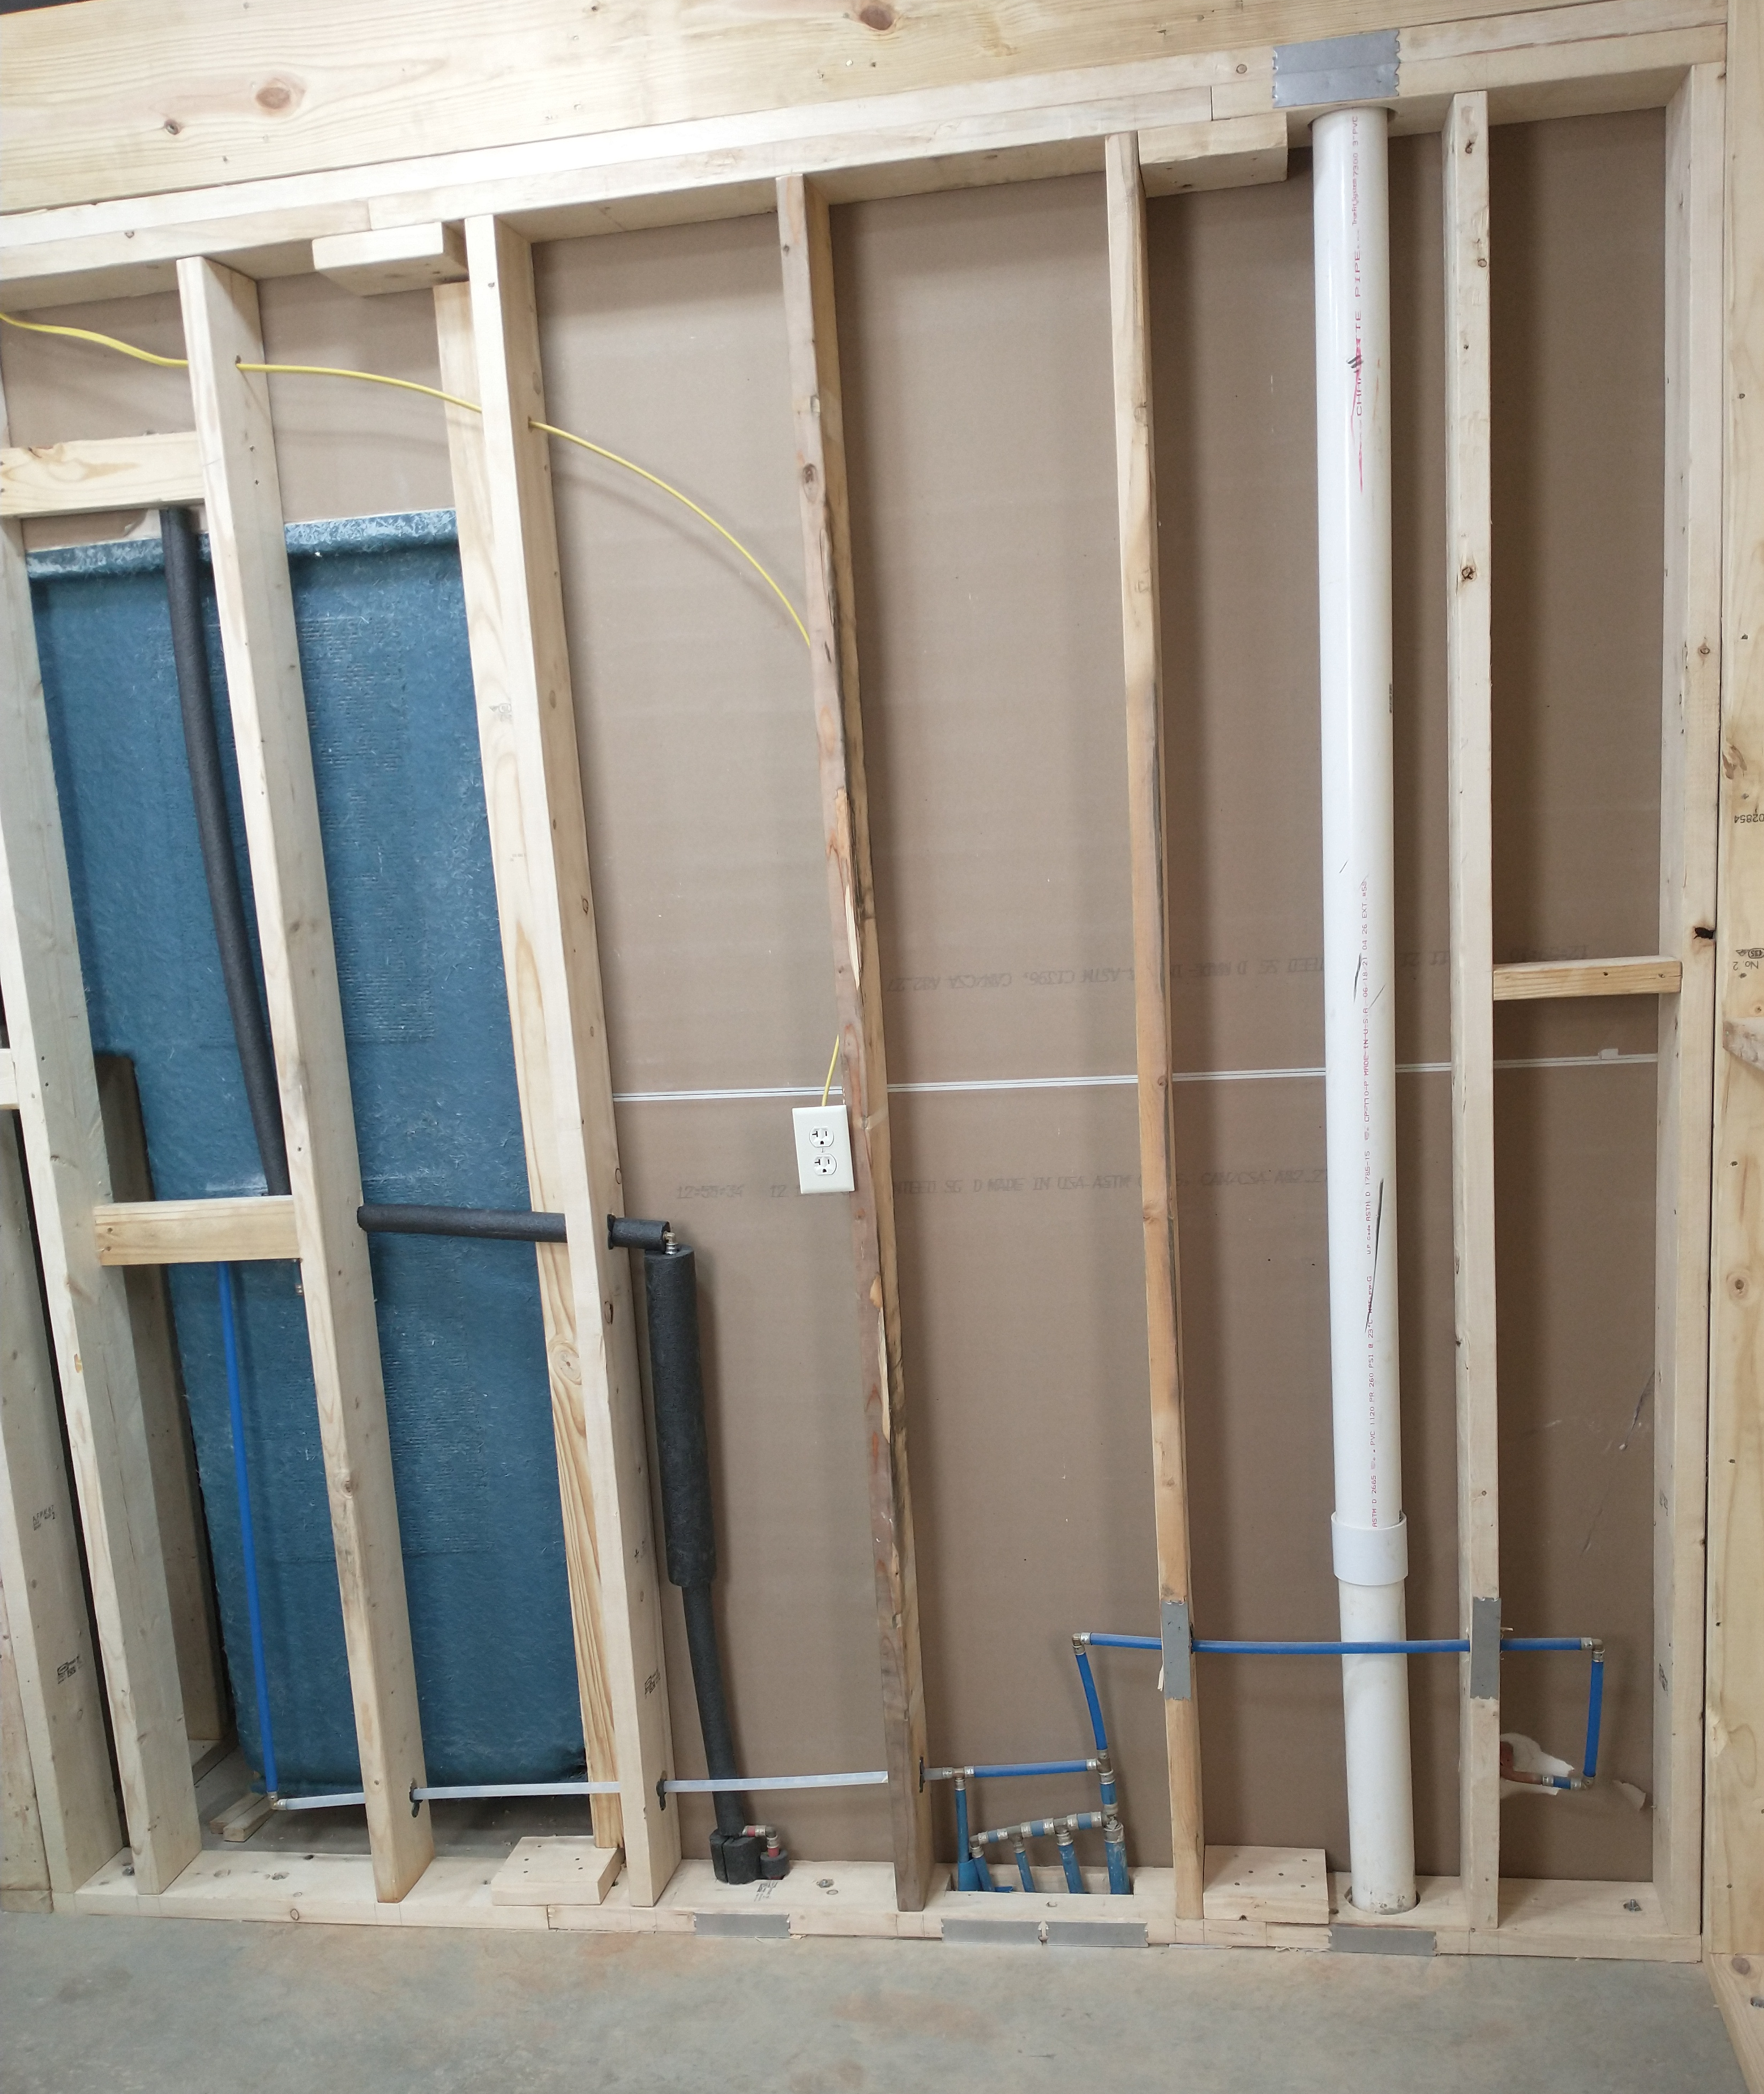
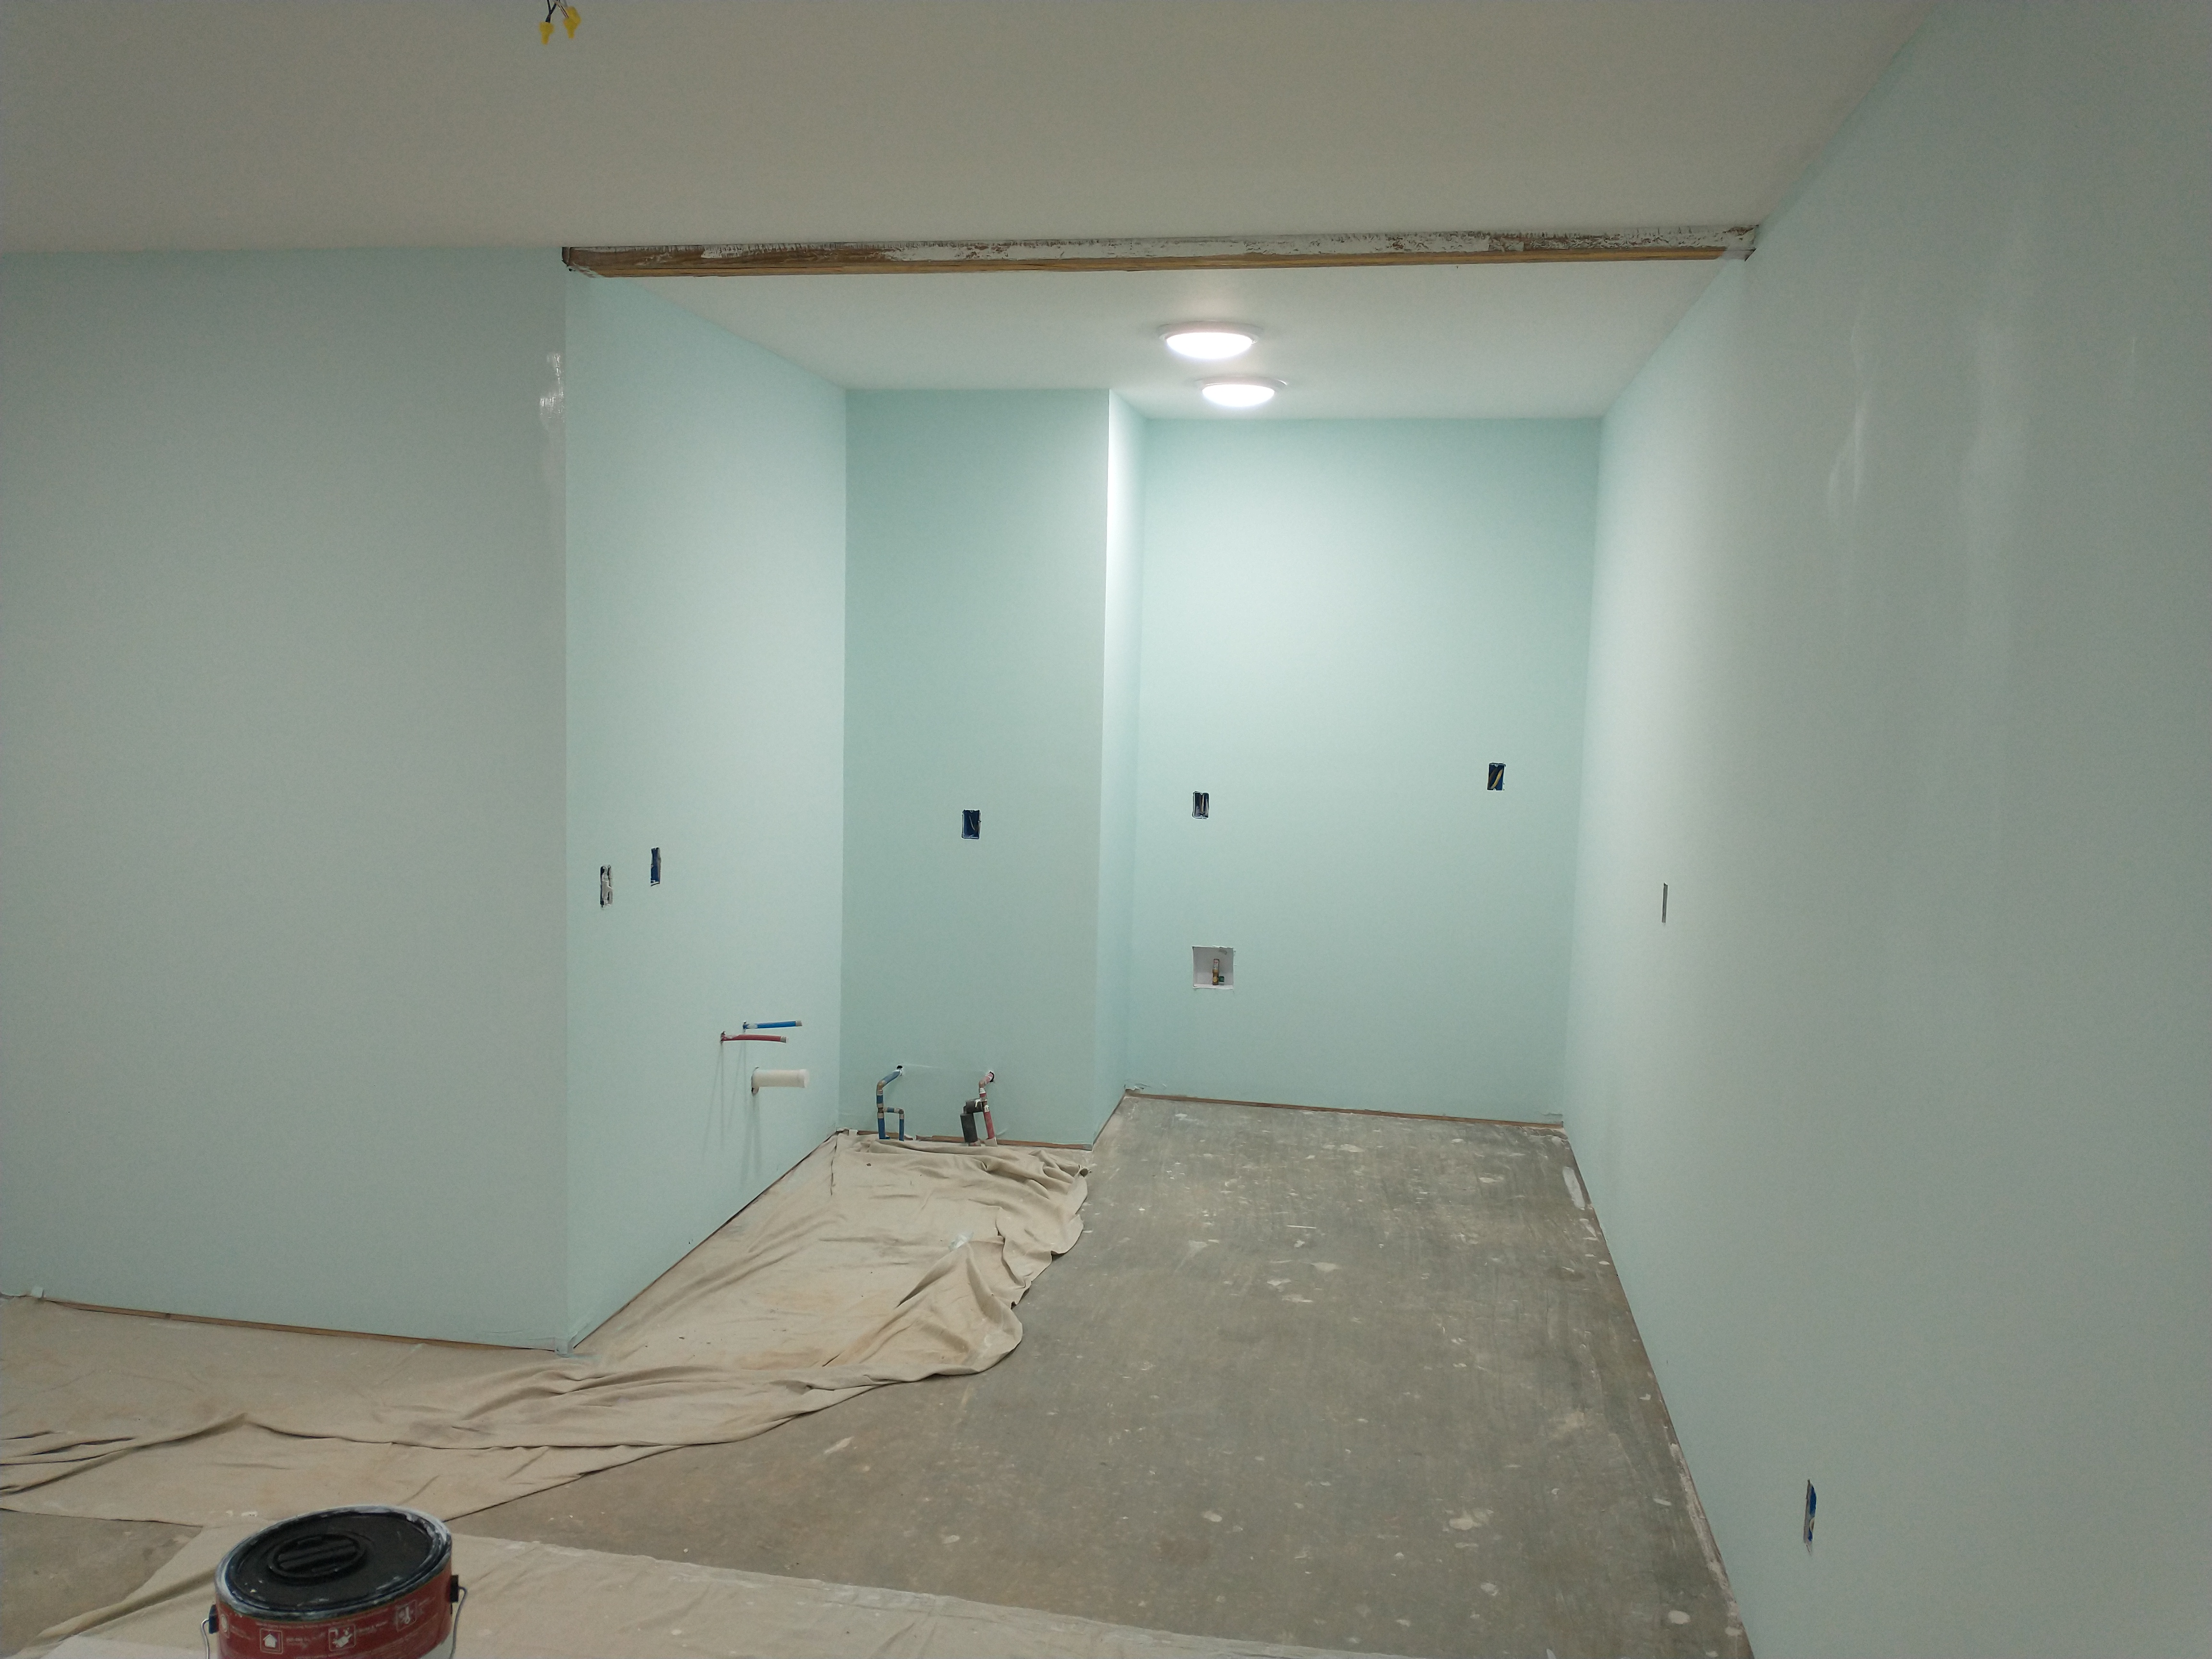
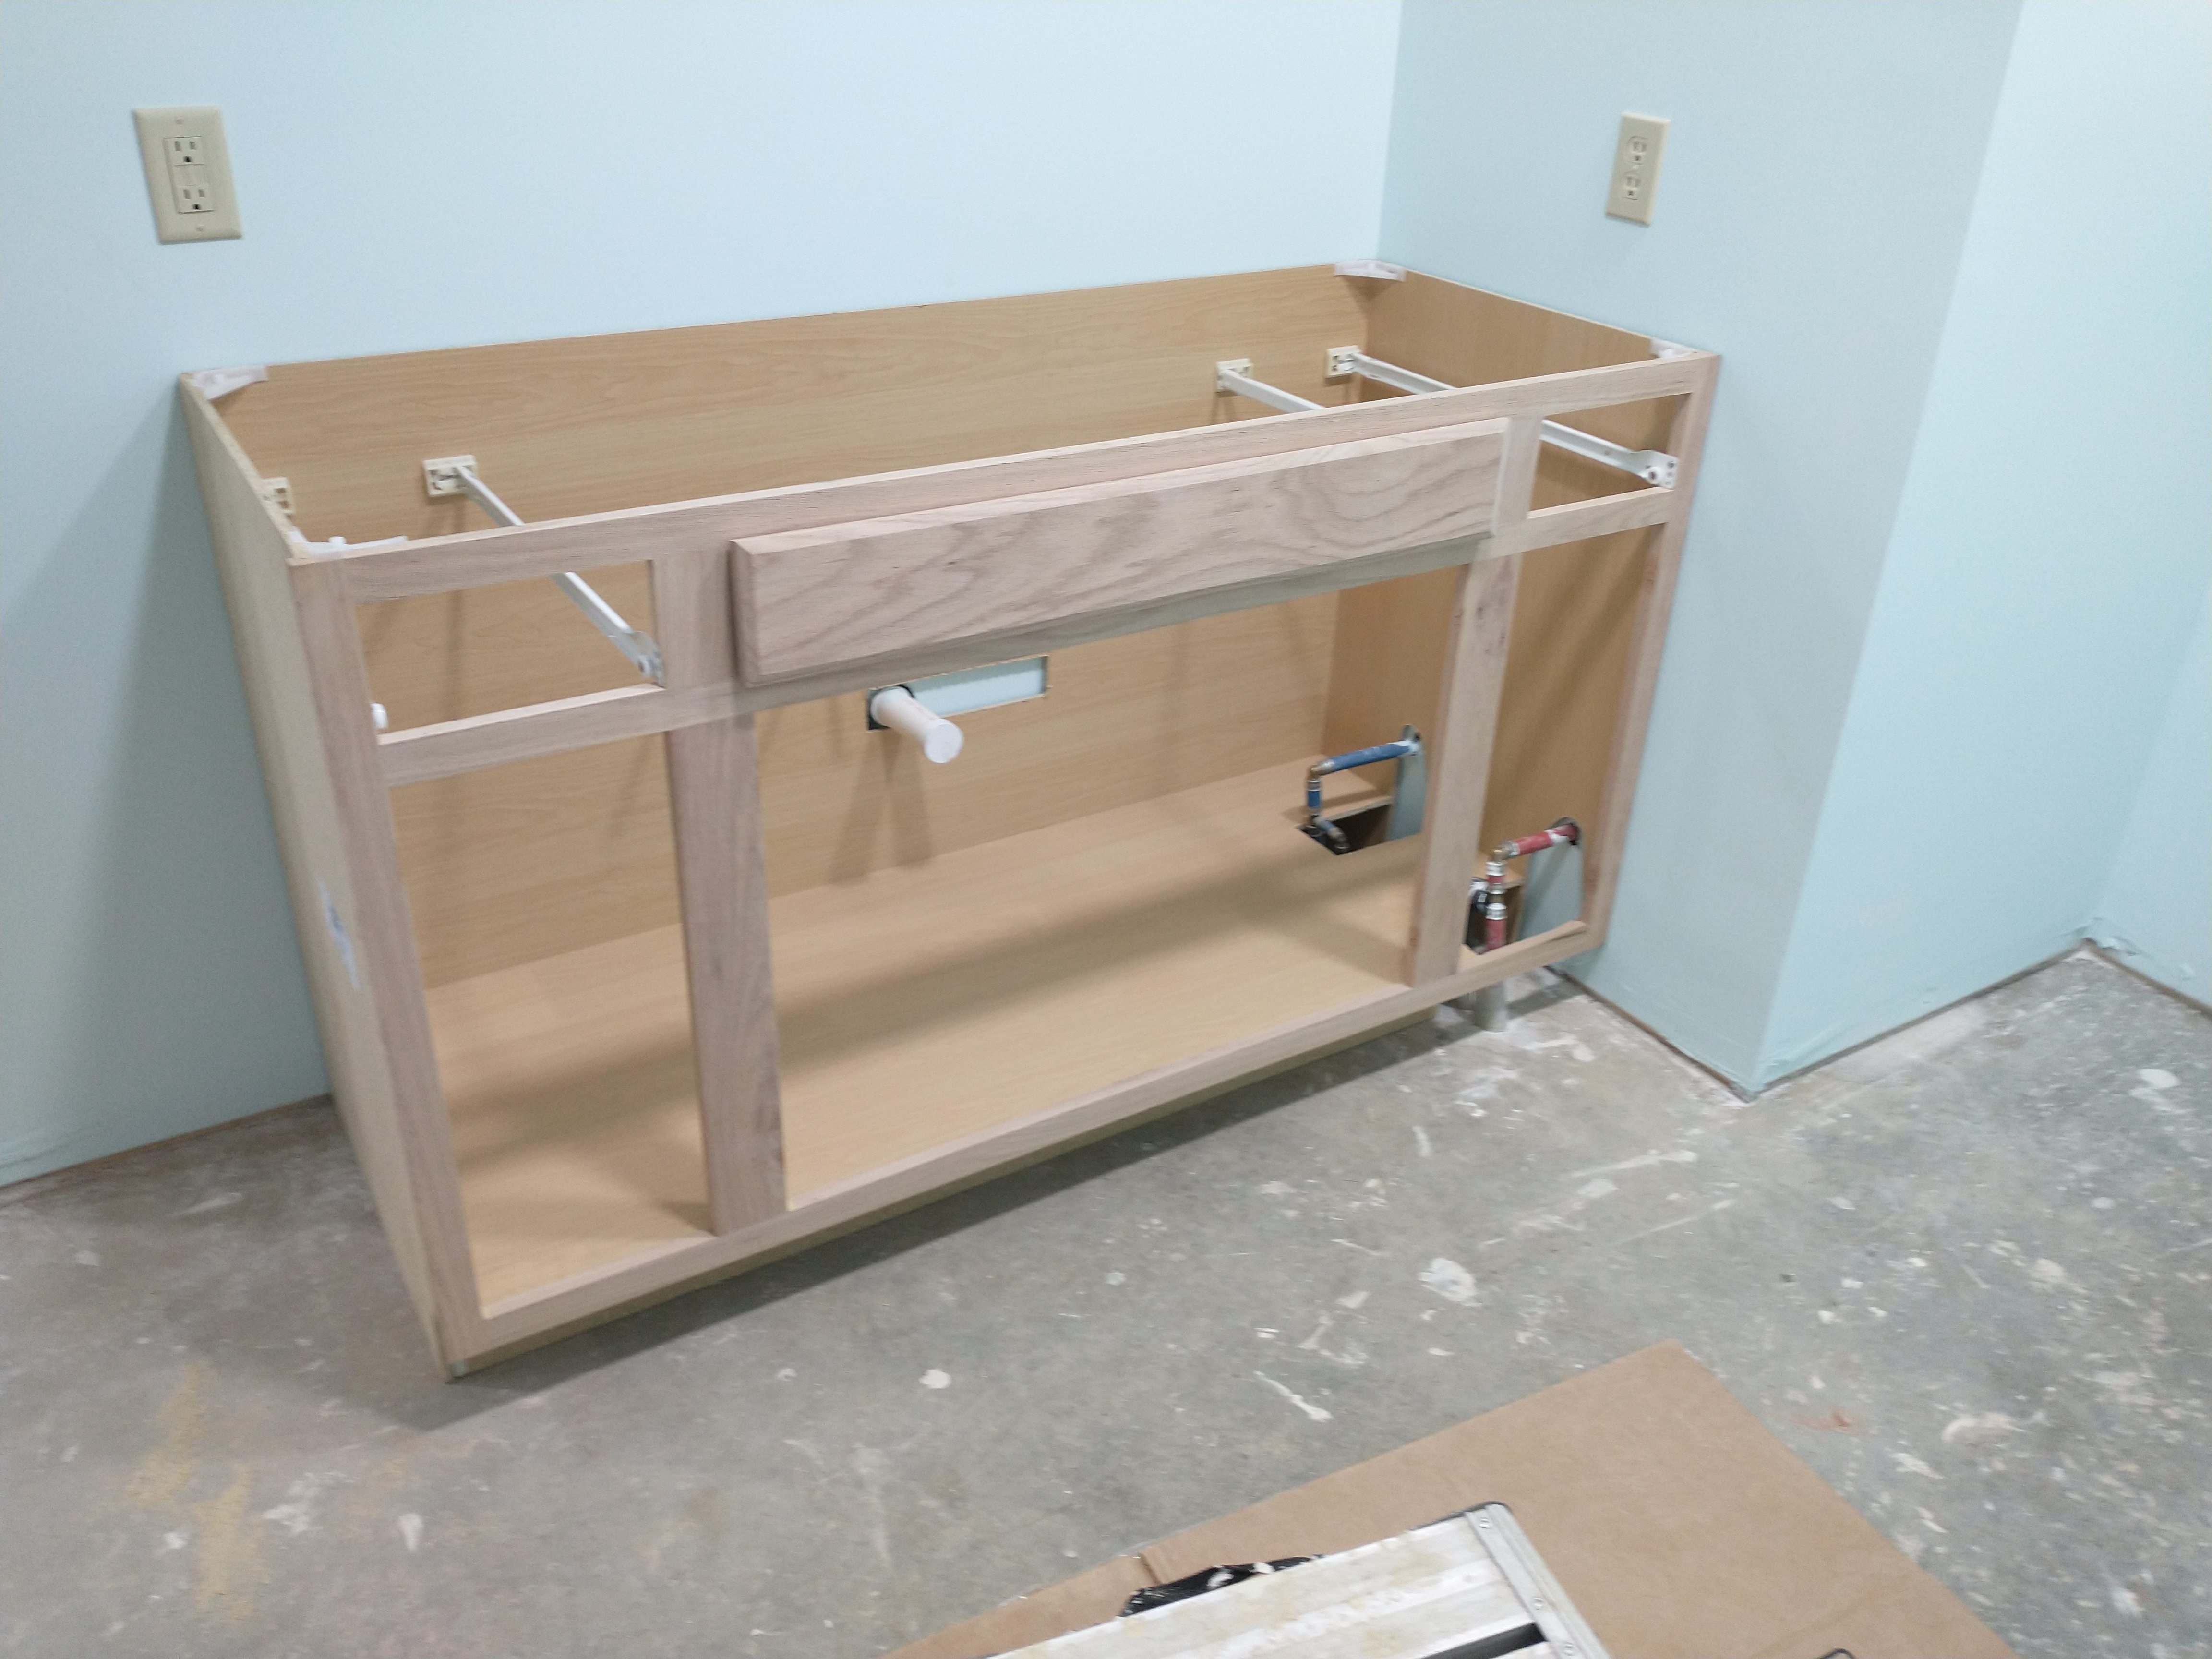
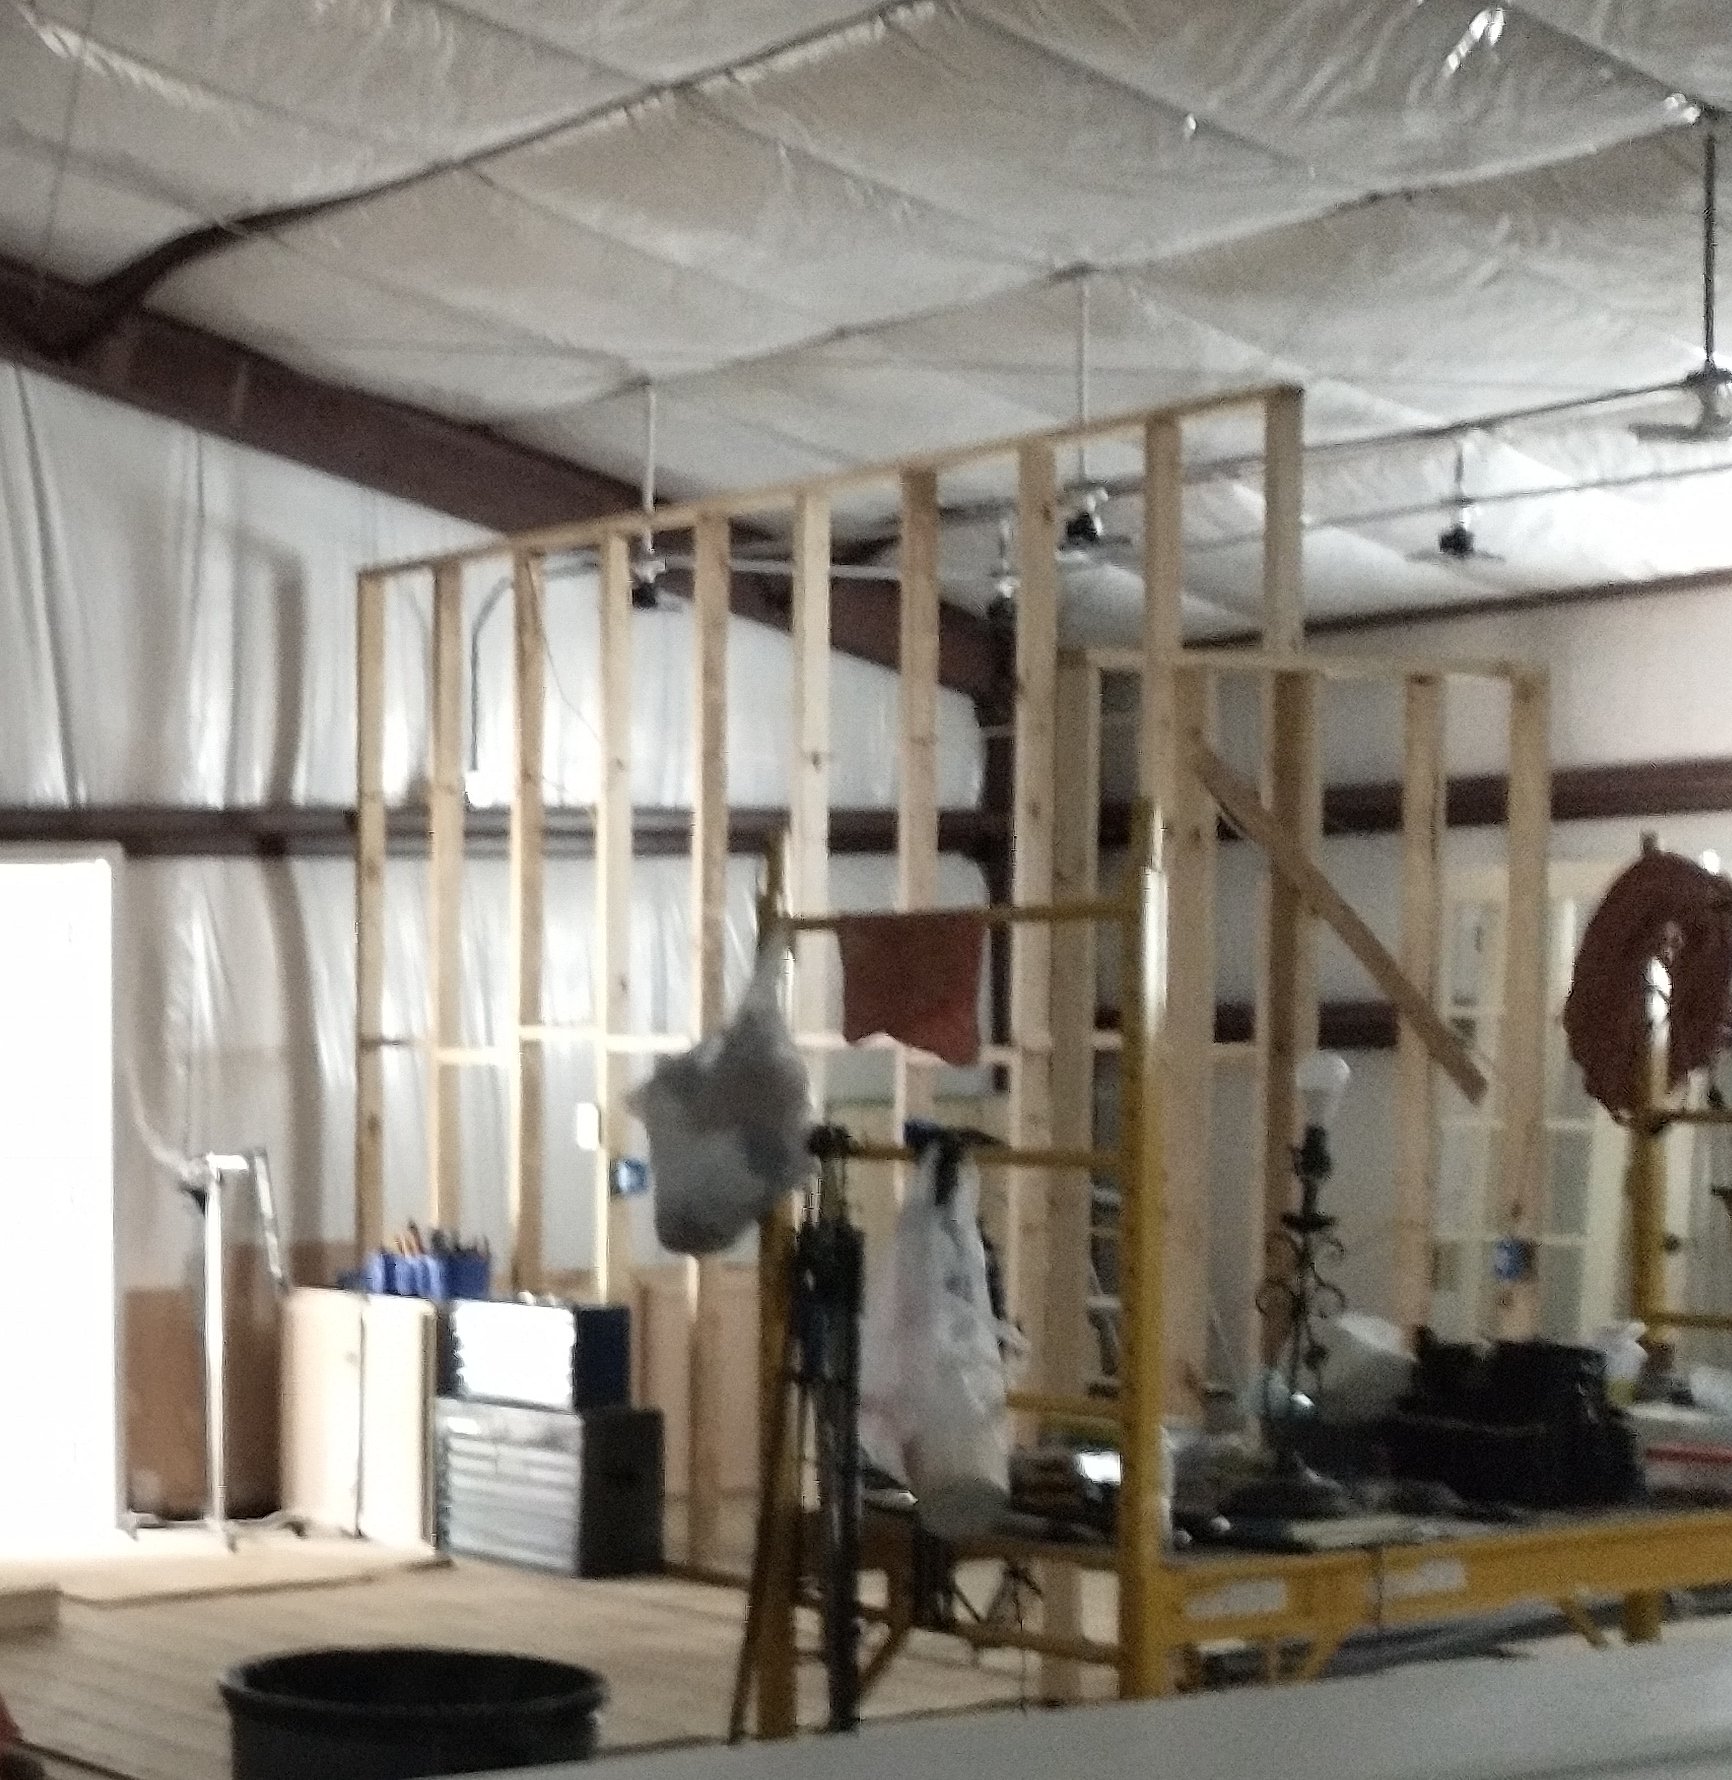
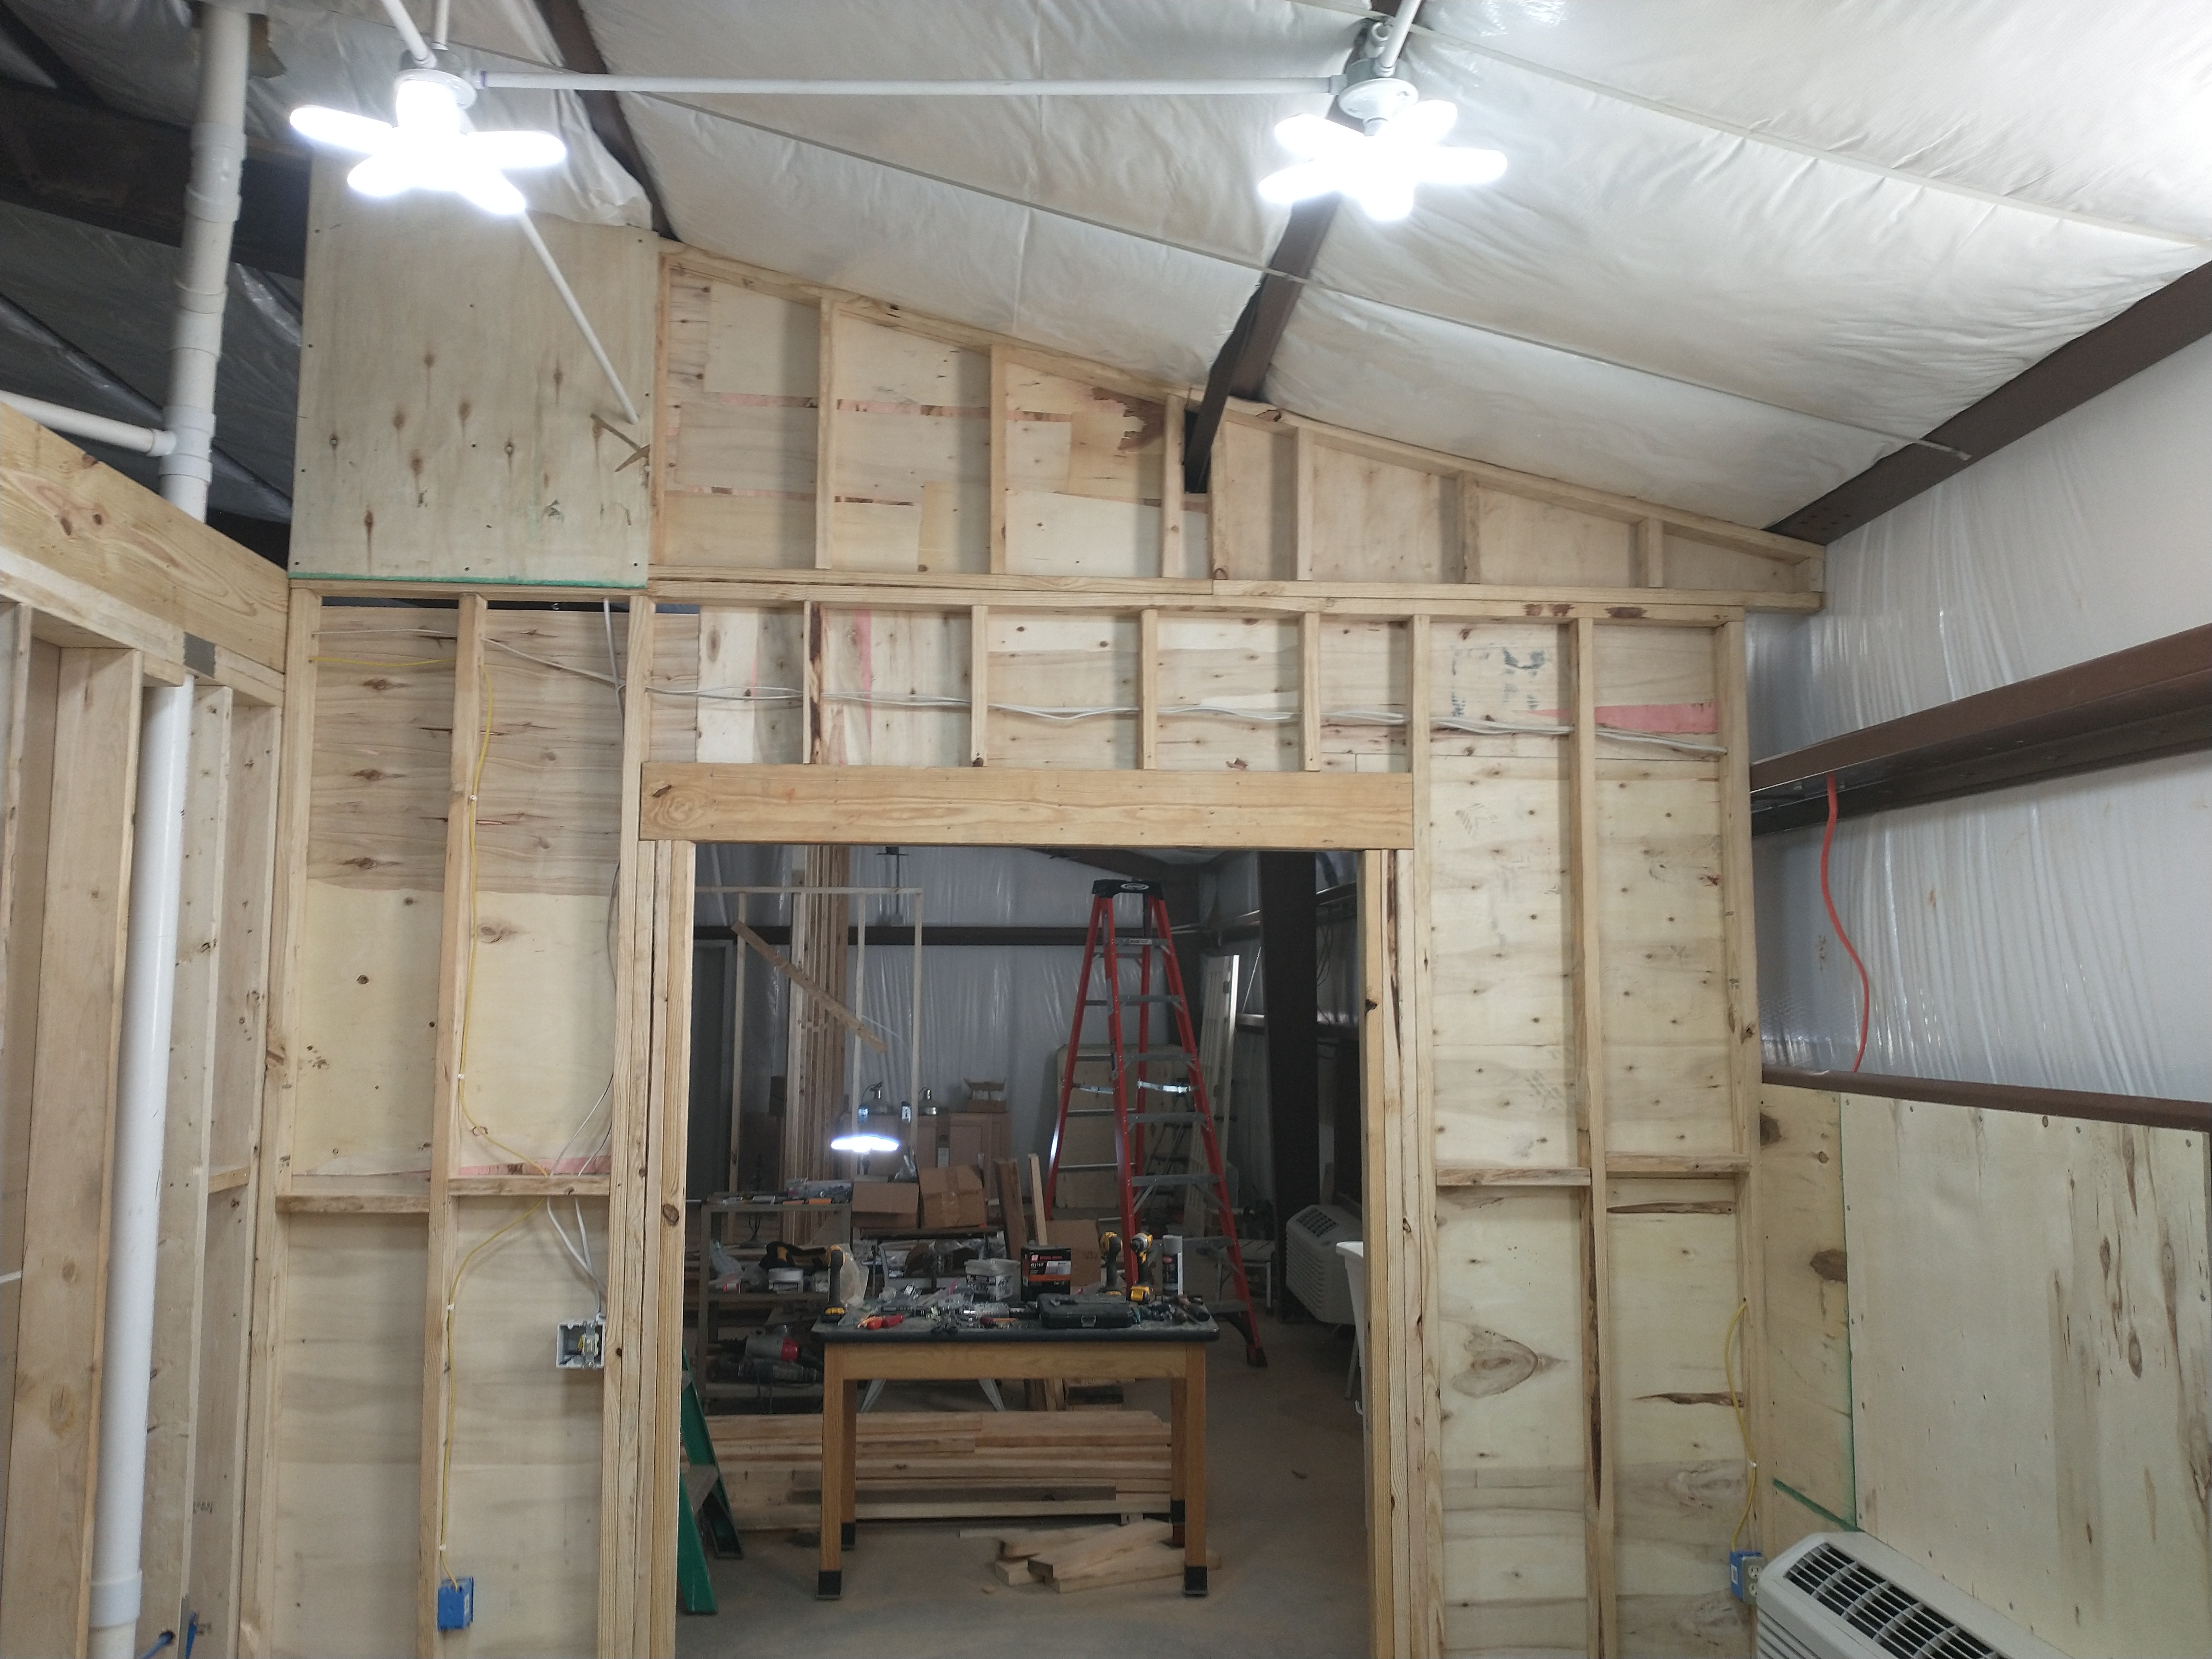
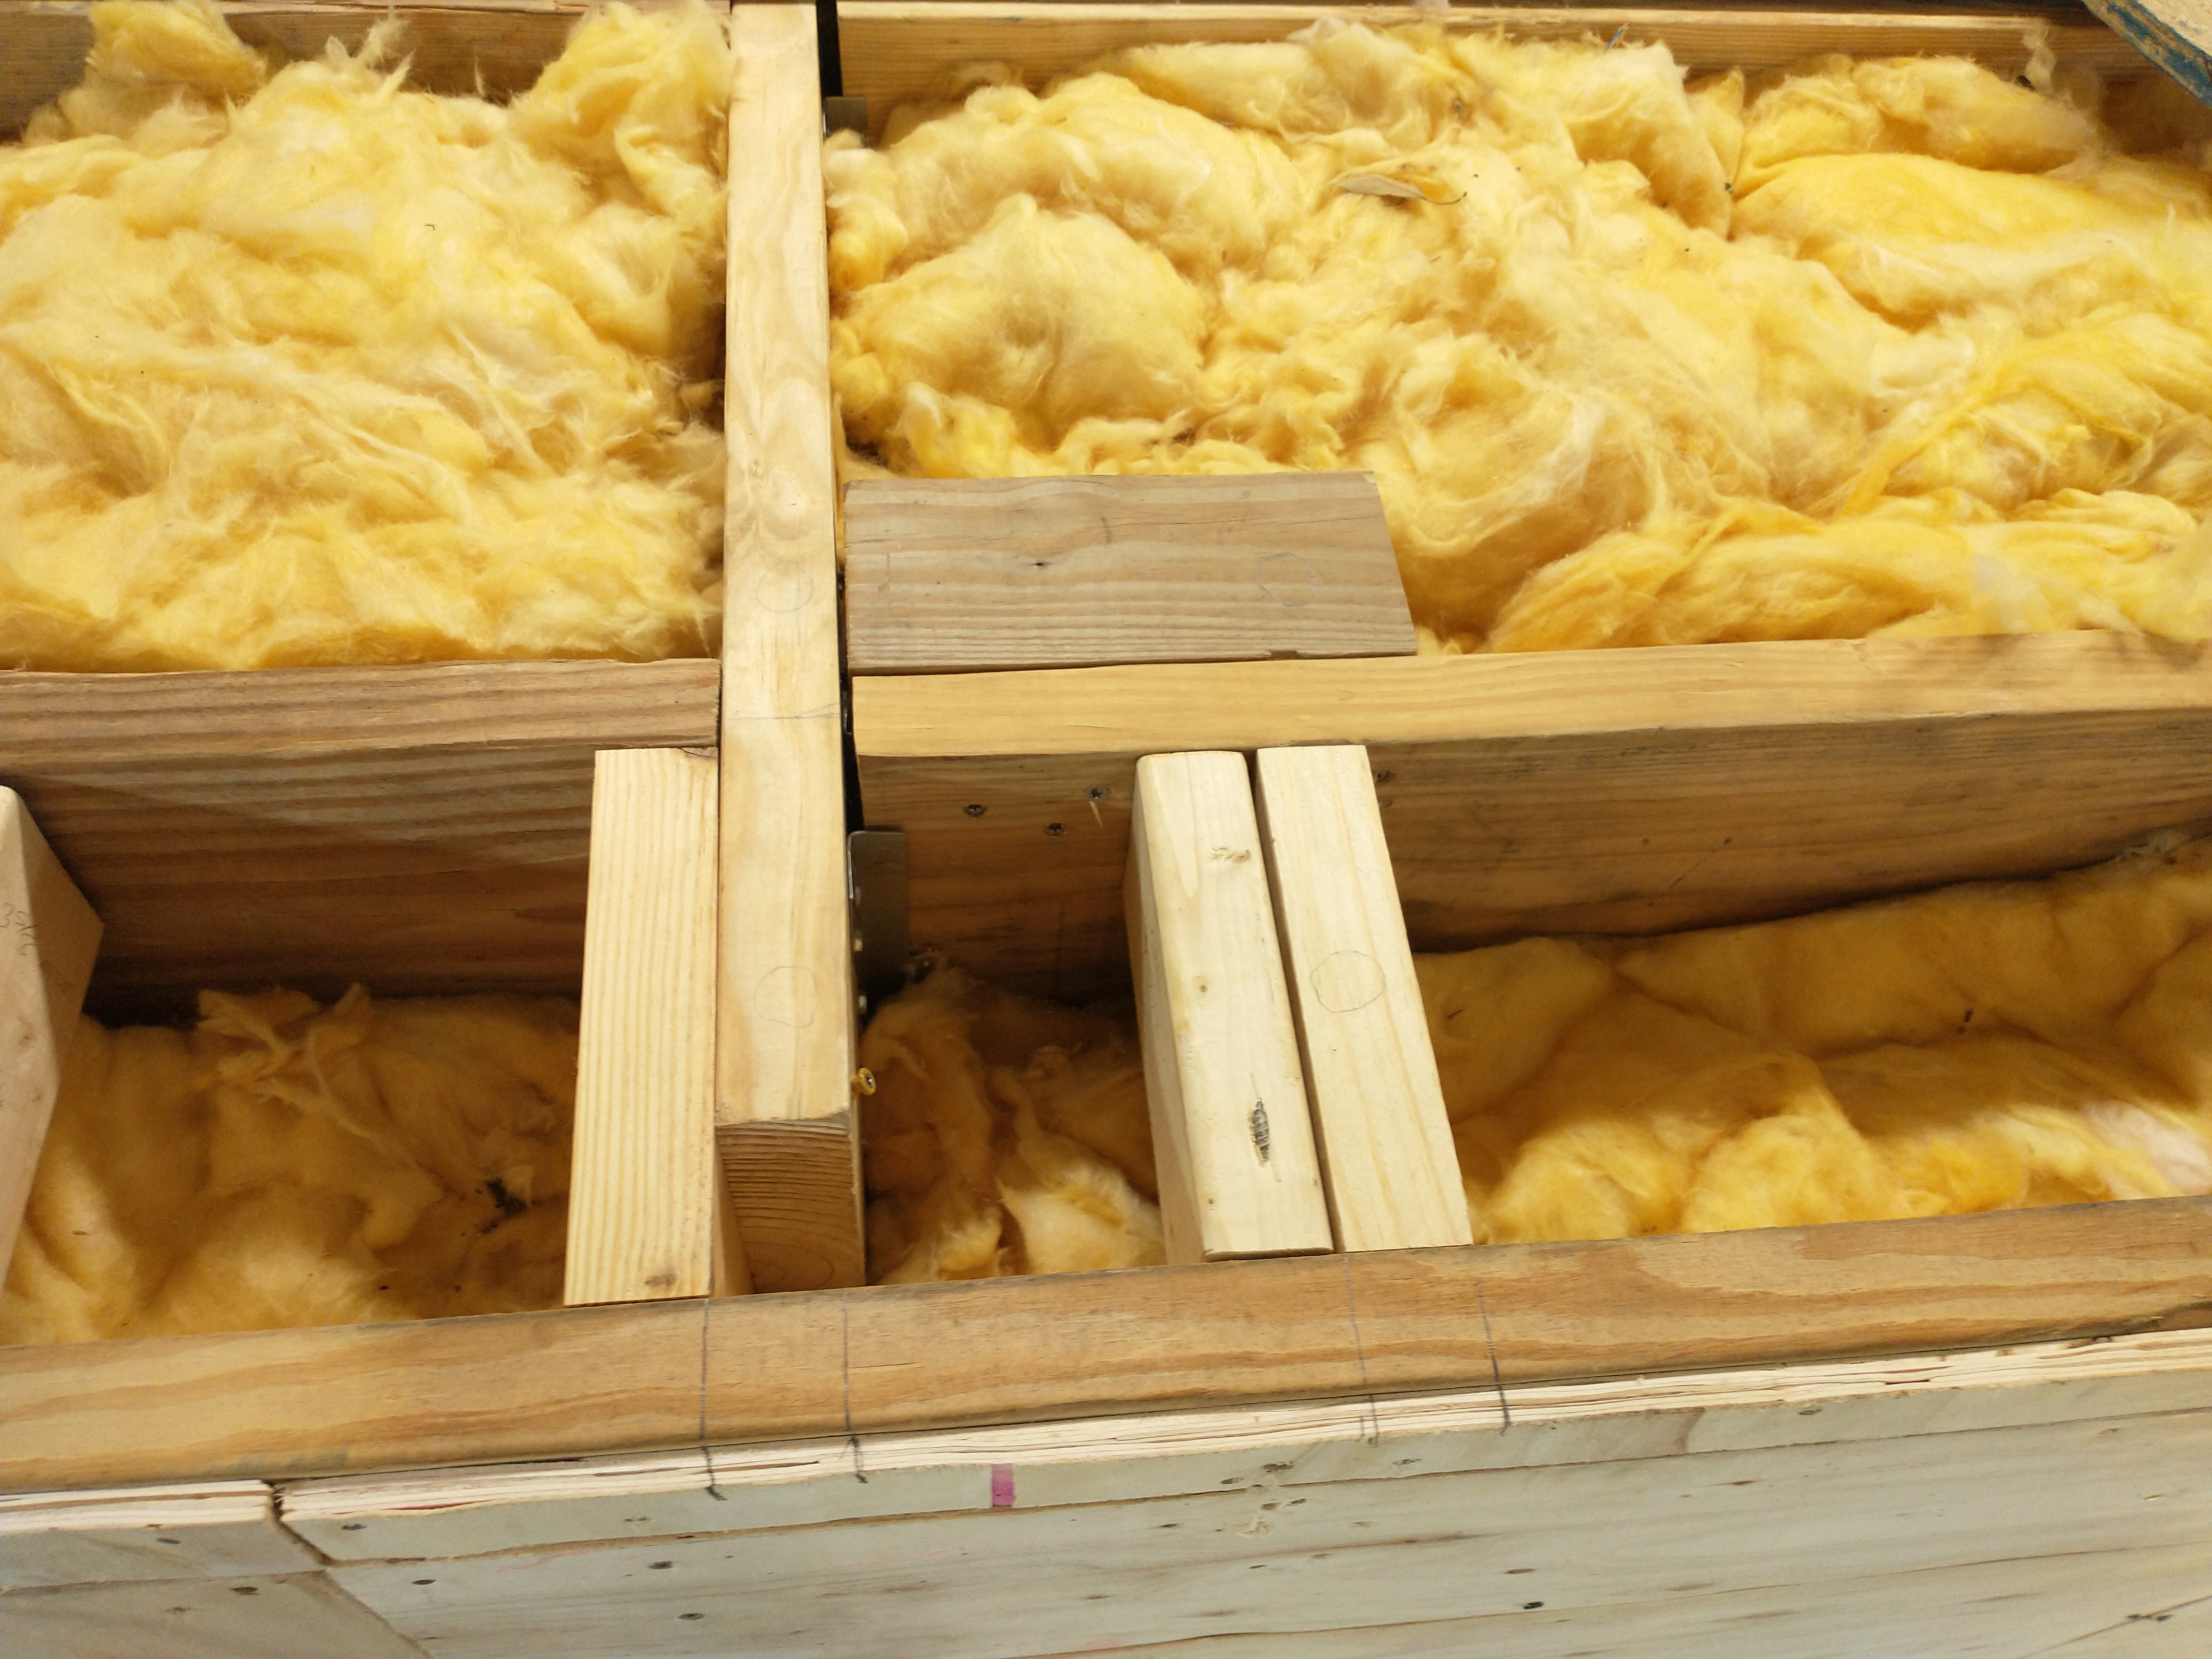
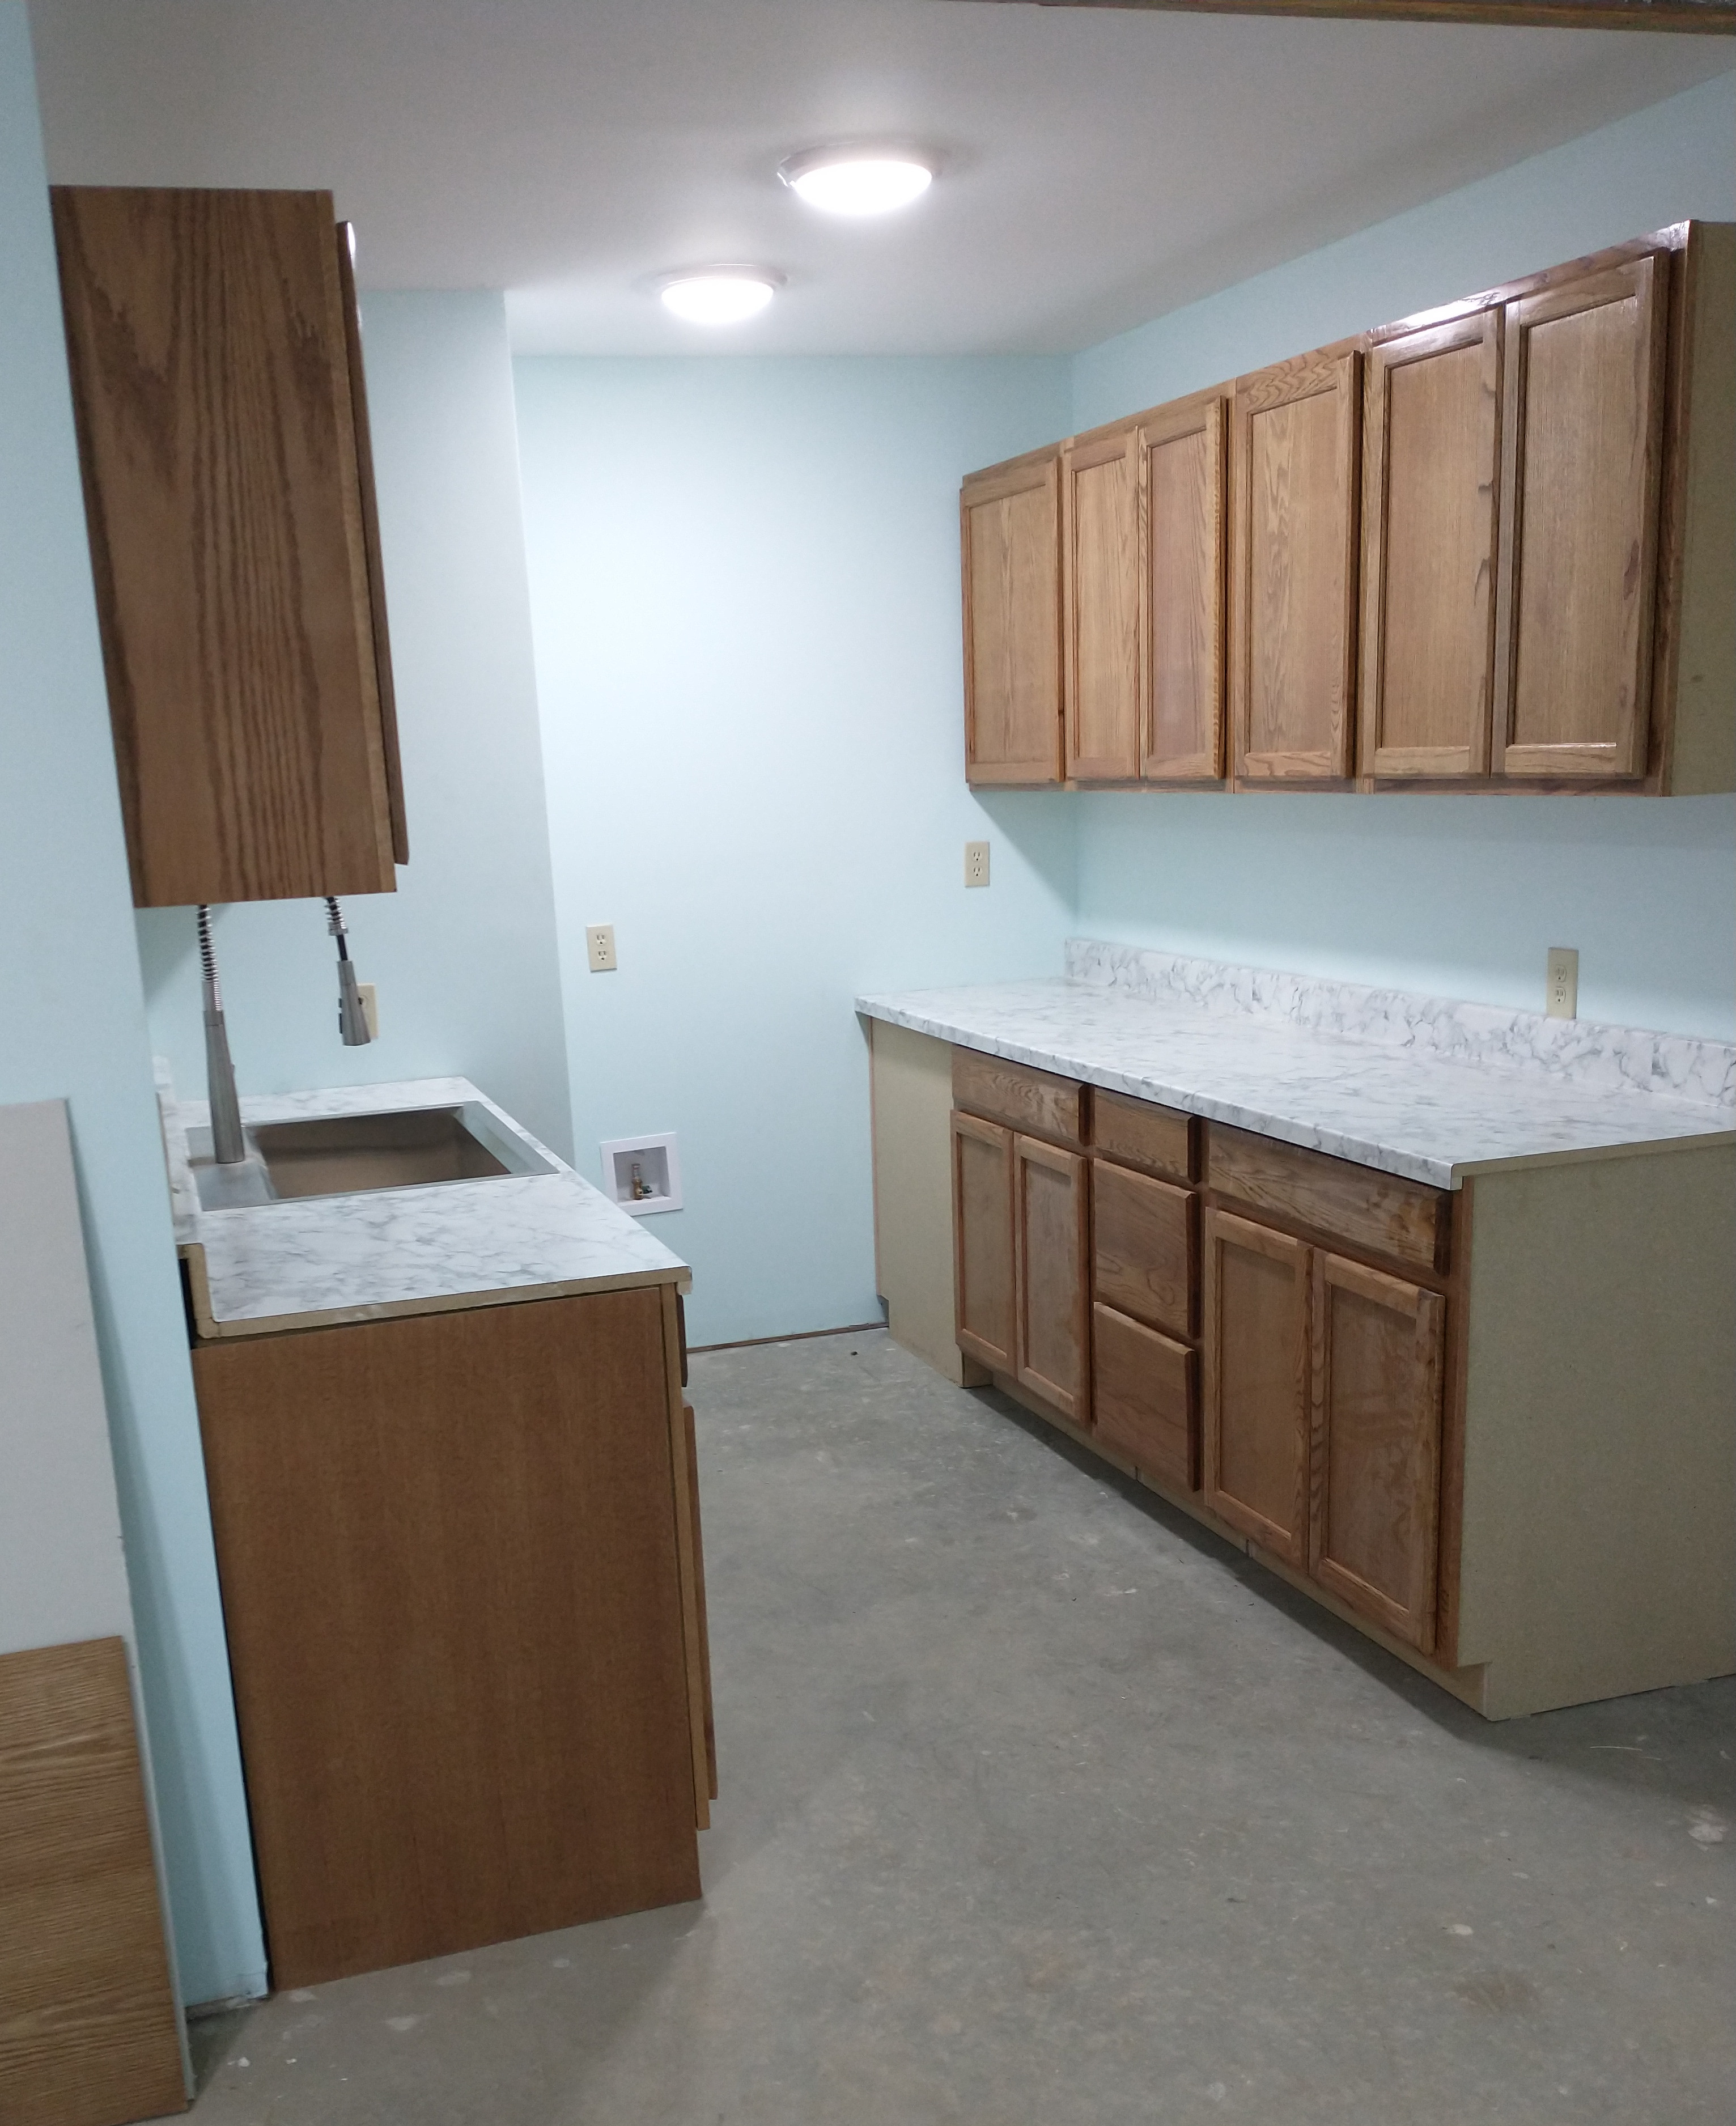
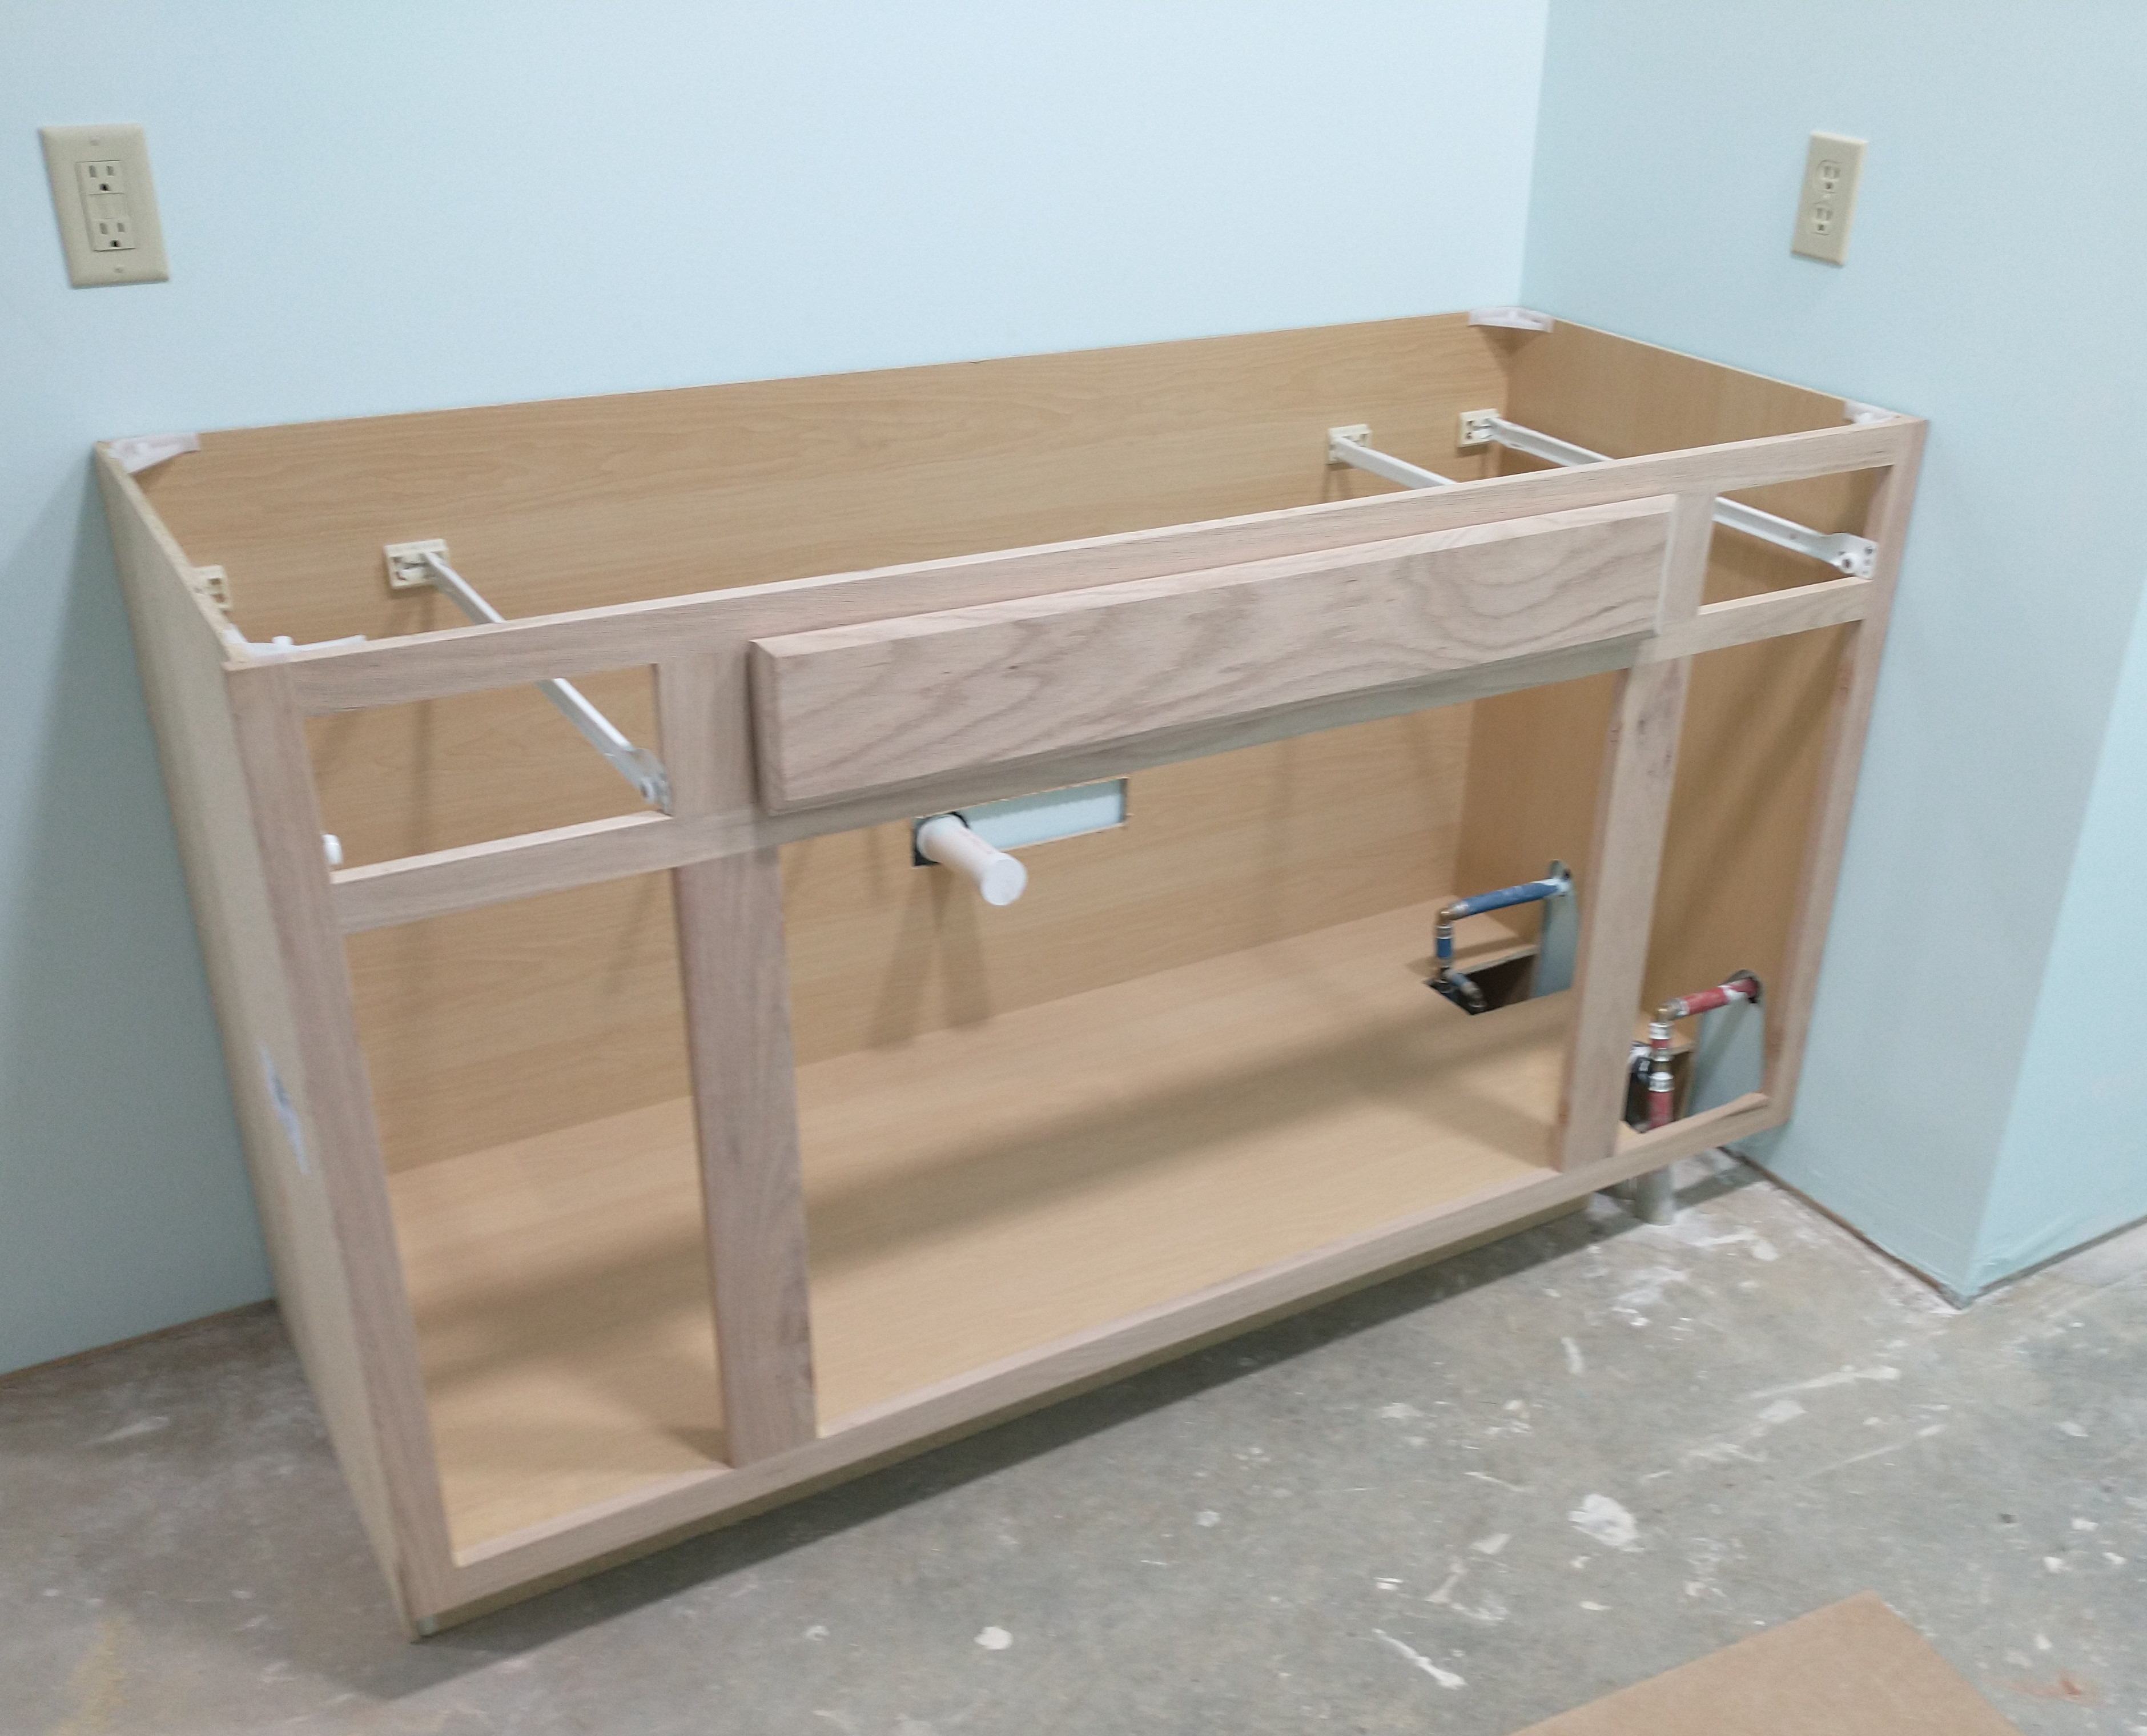
This is the current interior layout. The bathroom and Office/clean room will be finished. The steel building has 8" thick framed walls. This sketch is being used to locate the plumbing and electrical service in the concrete slab. Interior of shop with the exterior walls finished on Sept 27,2021. This picture shows the insulation for the shop ceiling. Where the insulation ends is the location of the wall between the shop and carport. The wall between the shop and the office with the bathroom at the left edge. Note that there are five wall studs near the corner of the office and bathroom in anticipation of a crane in the loft area above this intersection. I also used mid wall braces because of the loft loading. The Supports for the Kitchenette beam can be seen in the back wall. Note that the wiring for the shop receptacle is not tied to the office wall outlets. They are on different circuit breakers. The four studs were screwed together to make this support. I made the space to the right of the support wide to allow storage drawers or a cabinet to be inside the wall in the future. The three studs were screwed together to make this support. I screwed the wall stud to the support when I set it up.This wall between the bathroom and the Wood Shop was made from 2x6s to allow for the 3 inch plumbing vent pipe. It is the main vent pipe for all of the plumbing. I built this wall in three pieces so it could be lifted over the pipes coming out of the concrete. The three pieces were spliced together using the blocks inside (at the top and bottom) of the headers/footers.I don't do sheet rock. I hired a contractor to install the sheet rock and paint the ceiling. (I have shoulder issues and don't like to work over head.) The left rear corner is the location of the hot water heater. Its access is in the Wood Shop. The bathroom is behind the plumbing stub outs in the center of the photo. The beam protrudes in the kitchenette. I will build a fake hardwood "beam" to cover this beam. The plumber didn't get the pipes to the water heater in the correct locations. I modified the cabinet to hide these pipes. /
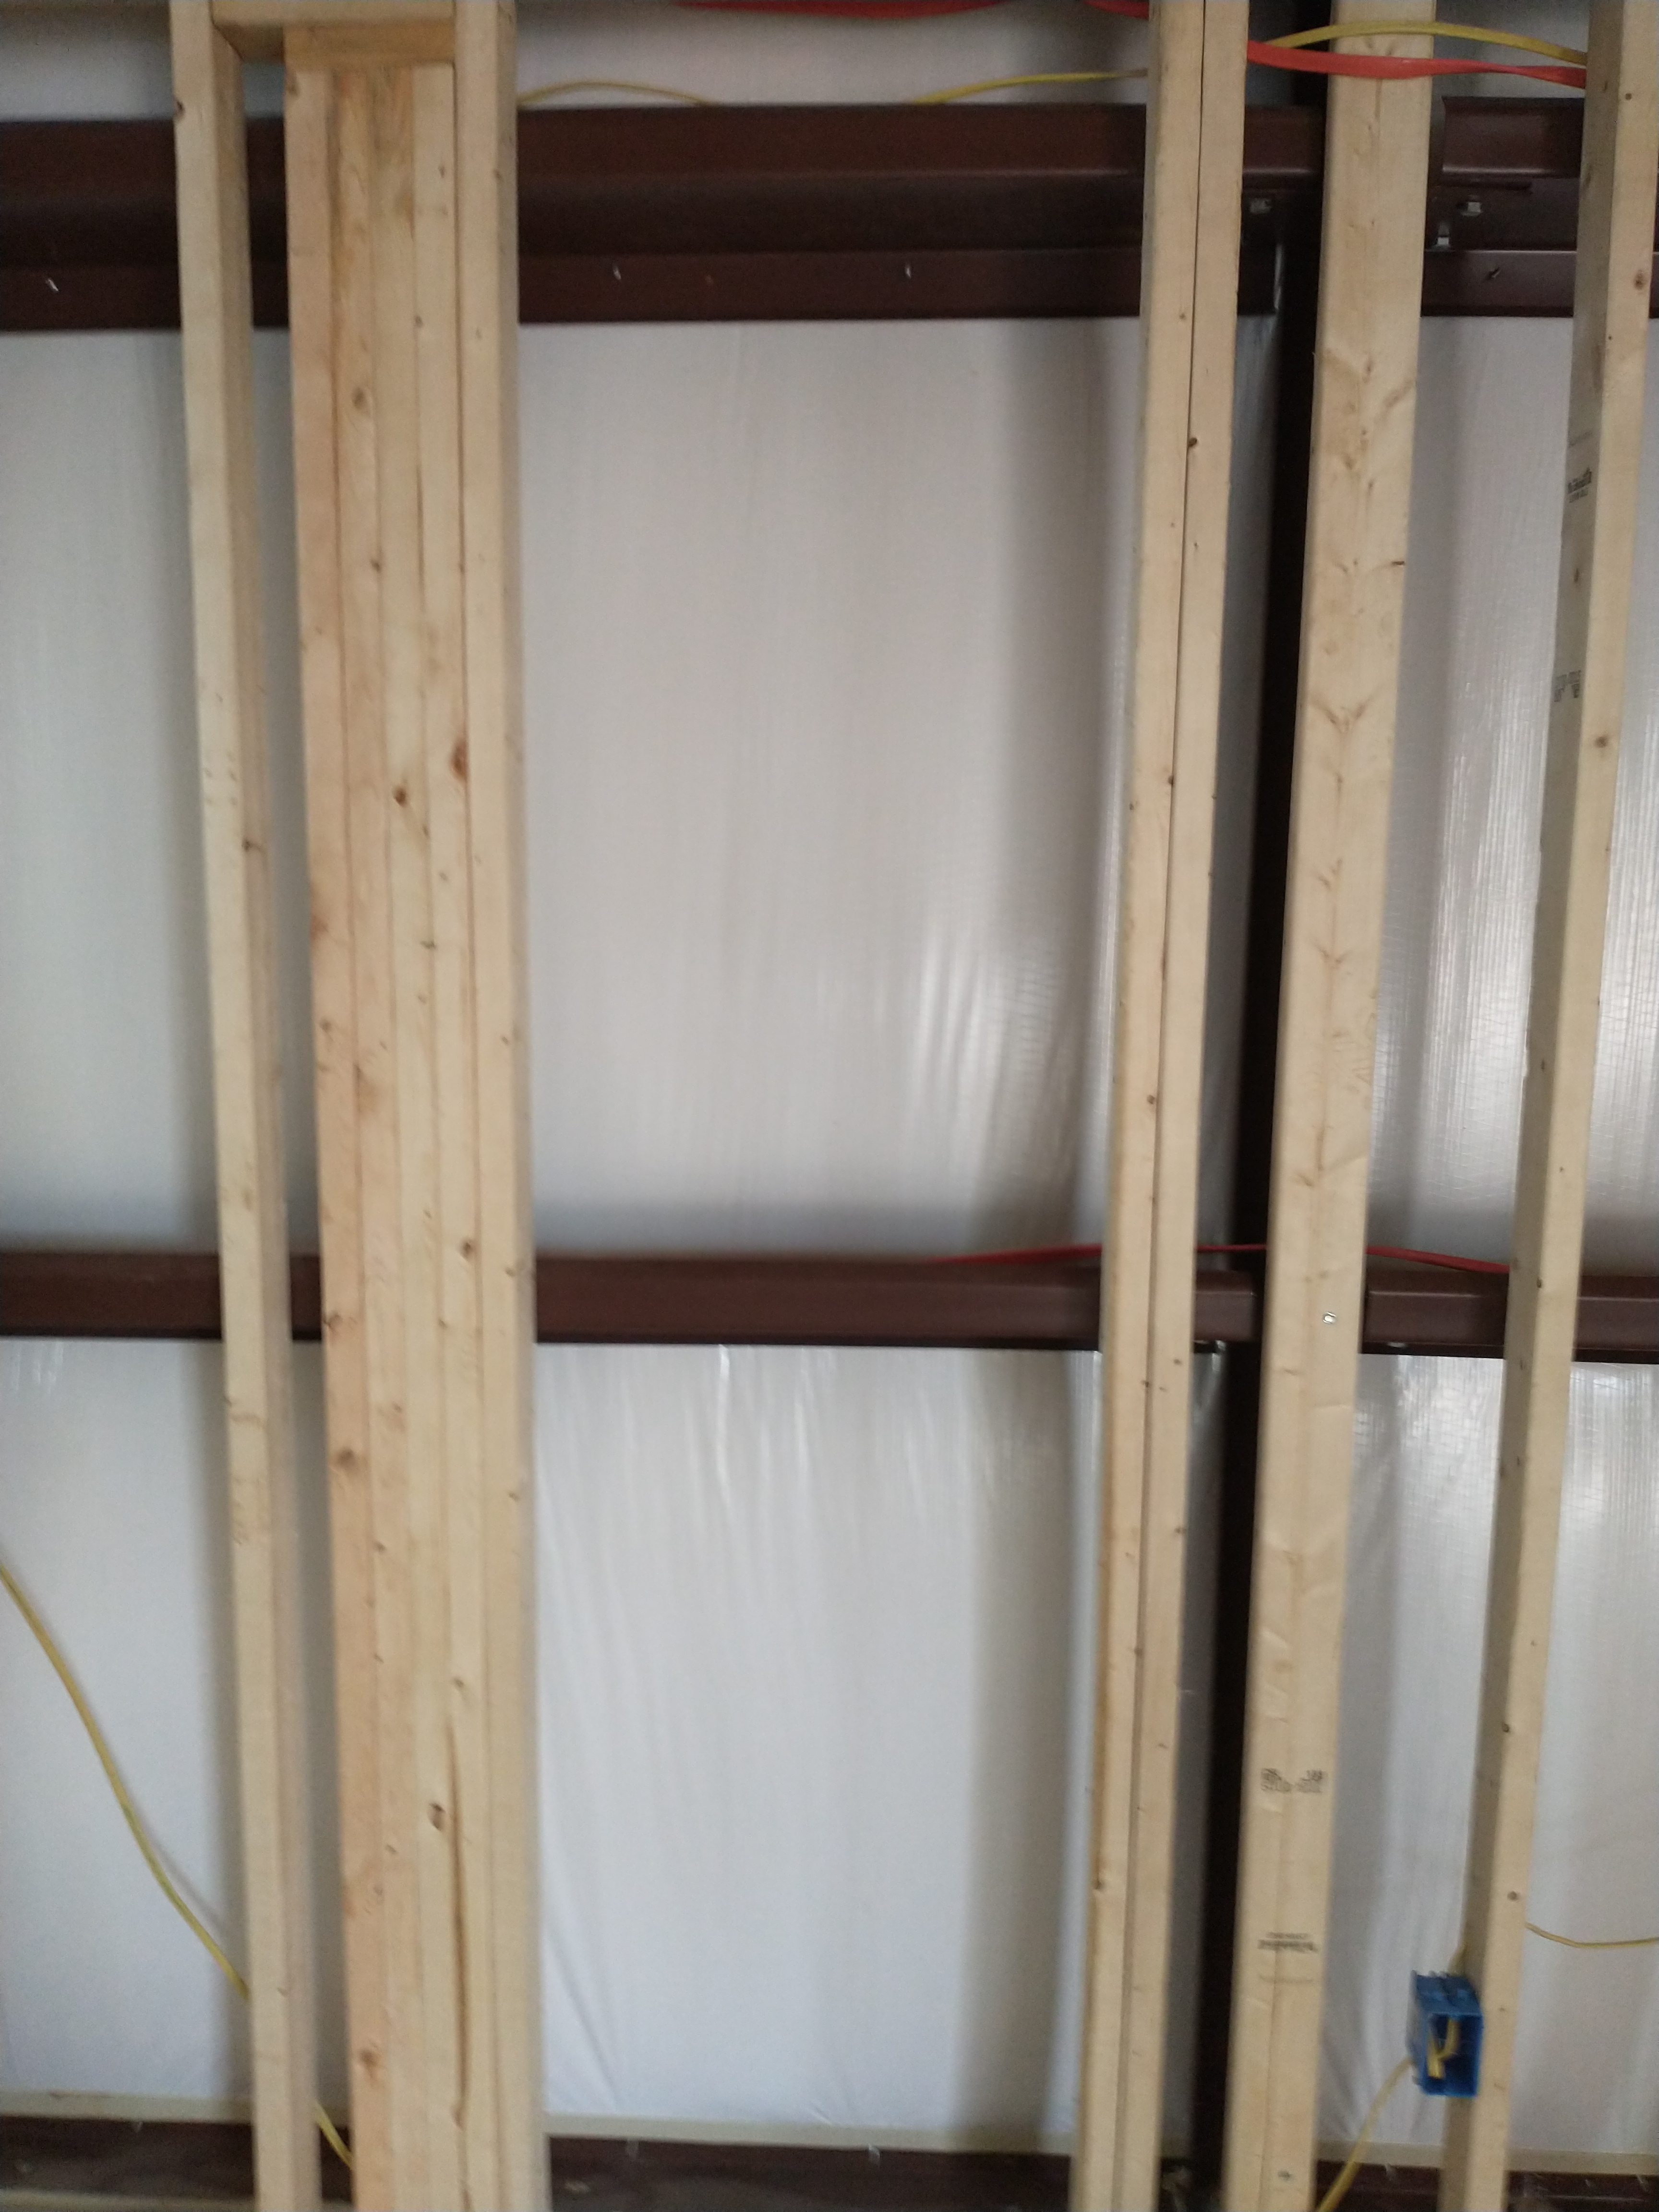
I wanted to separate the Lift Bay from the Metal Shop (or as I sometimes call it the "dirty room"). The metal shop is where you create a lot of small metal pieces: drilling slivers, welding splatter, filings, etc. This wall is tall enough to keep these things from getting into the lift area while allowing for air circulation./
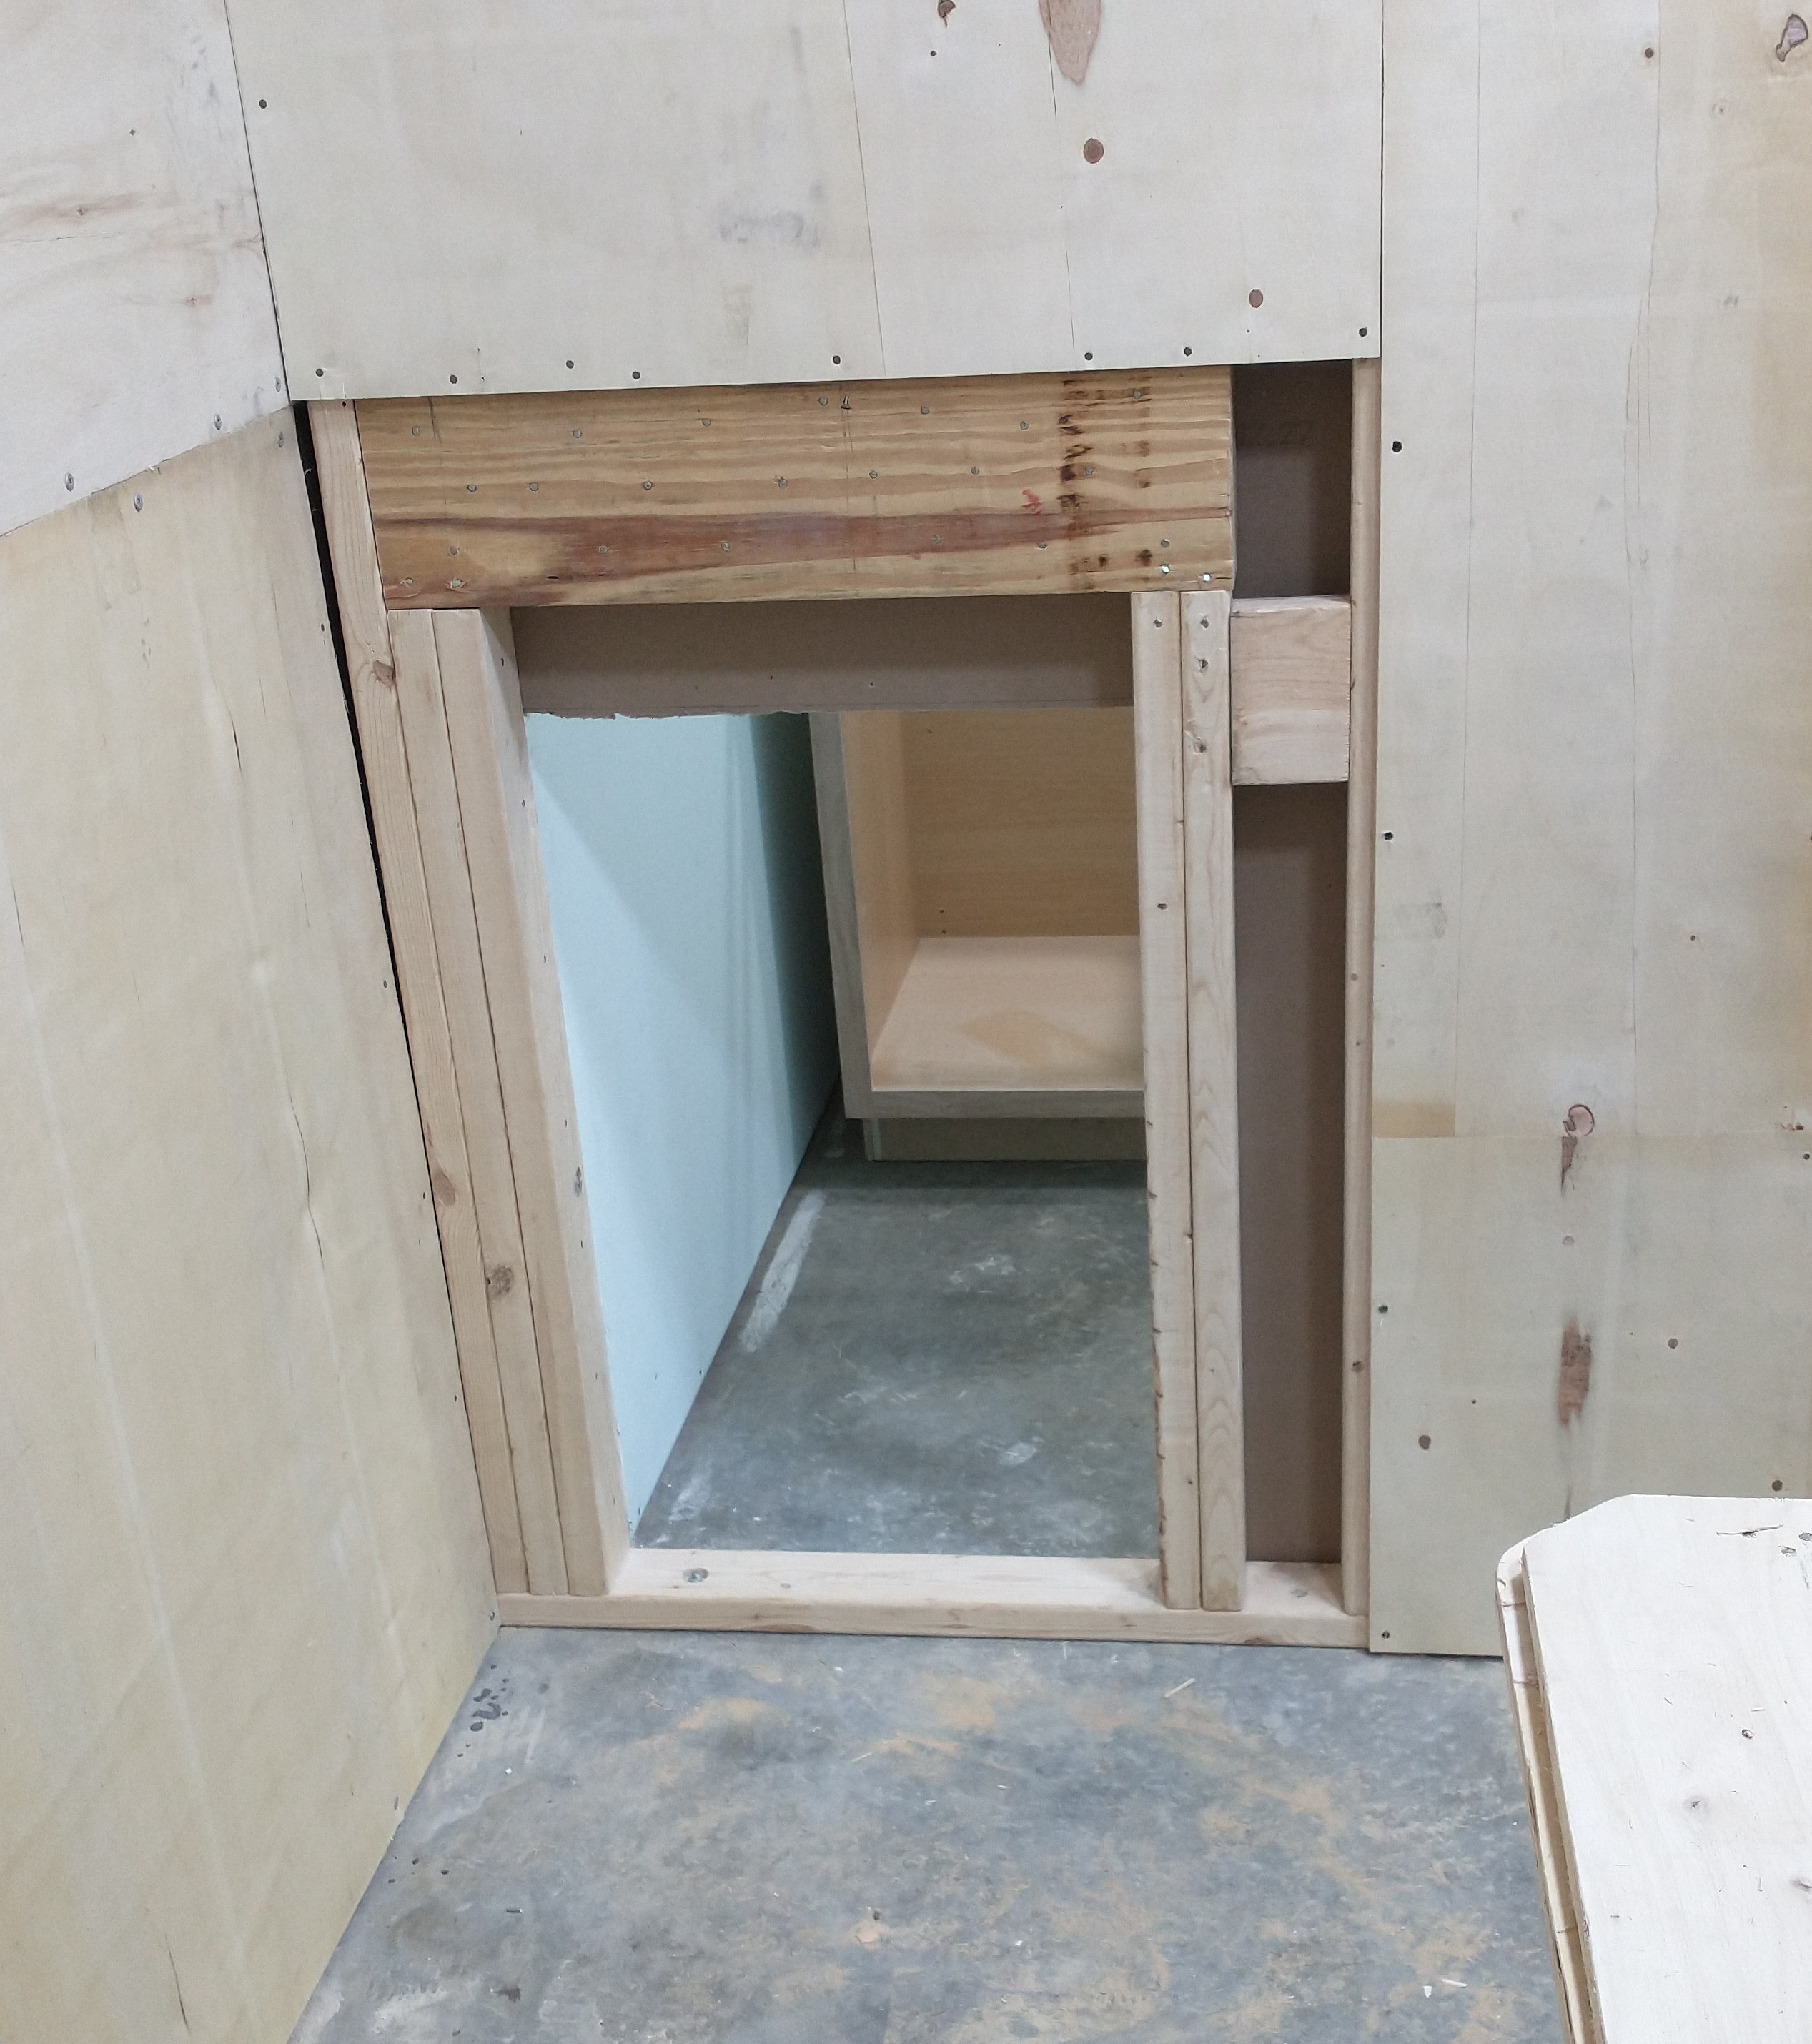
This photo shows the inside of the frame. I want to close the doors and keep the sawdust and sanding dust in the wood shop. I got a set of glass doors so I can see into the main shop while I'm in the wood shop and vice-versa when the doors are closed.
Construction Notes
I'm building a WORK SHOP. It is not display or model home. It is functional. If you visit a old work shop you will often find phone numbers written on the wall by the phone as well as notes about a call(s). (DO NOT ERASE THEM! Someone couldn't find a piece of paper and used the wall; so what, the call was important.) Other spots on the walls may have two shades of paint next to each other. Someone was trying decide what color to use. I want to protect the insulation under sheeting from damage. Or cover electrical wiring. Or to close off one work area from another. Ugly (but cheap) plywood is great for this. If this bothers you, you may leave.
A 4'x8' sheet of 1/2 inch plywood is $40 at Lowes. The plywood I'm using to "finish" the walls is $8 a nominal half sheet - varies from 38" x 57" to 45" x 53"; thickness varies from 3/8 to 5/8 of an inch. The quality of the the "plywood" I'm using is OK at best and barely usable sometimes. Often the thickness varies by as much as 3/32 inch several times on the same half sheet. The internal structure sometimes has voids. The front face side is not necessarily very smooth. The back face is seldom smooth. But it is cheap. If you dent or scar the ugly plywood no will will care.
Electrical wiring is one of the main causes of shop problems. I try to limit this by using lots of circuits, limiting the number of outlets per breaker and making the circuits easily identifiable. I label all wires at coming into a breaker panel and usually at the every light switch. I mark the face plates to identify which panel and what breaker provides the power. No time is lost trying to figure out what circuit has a problem. I used 12 gauge wiring for almost all receptacles. The only exception is the circuit for the loft crane. The winch motor is which is rated for 5 amps; the dedicated circuit has a 15 amp breaker and 14 gauge wire to the receptacle. All 220V circuits will have orange face plates. Light circuits use 14 gauge wire because the LED lights draw much less power that the traditional lights.
In order to control the dust in the Wood Shop I collect the sawdust, etc., at each fixed power tool. There is also a MERV 12 room air filter. The room air is blown out at the back of the Wood Shop thru two 20x20 MERV 8 filters into the loft.
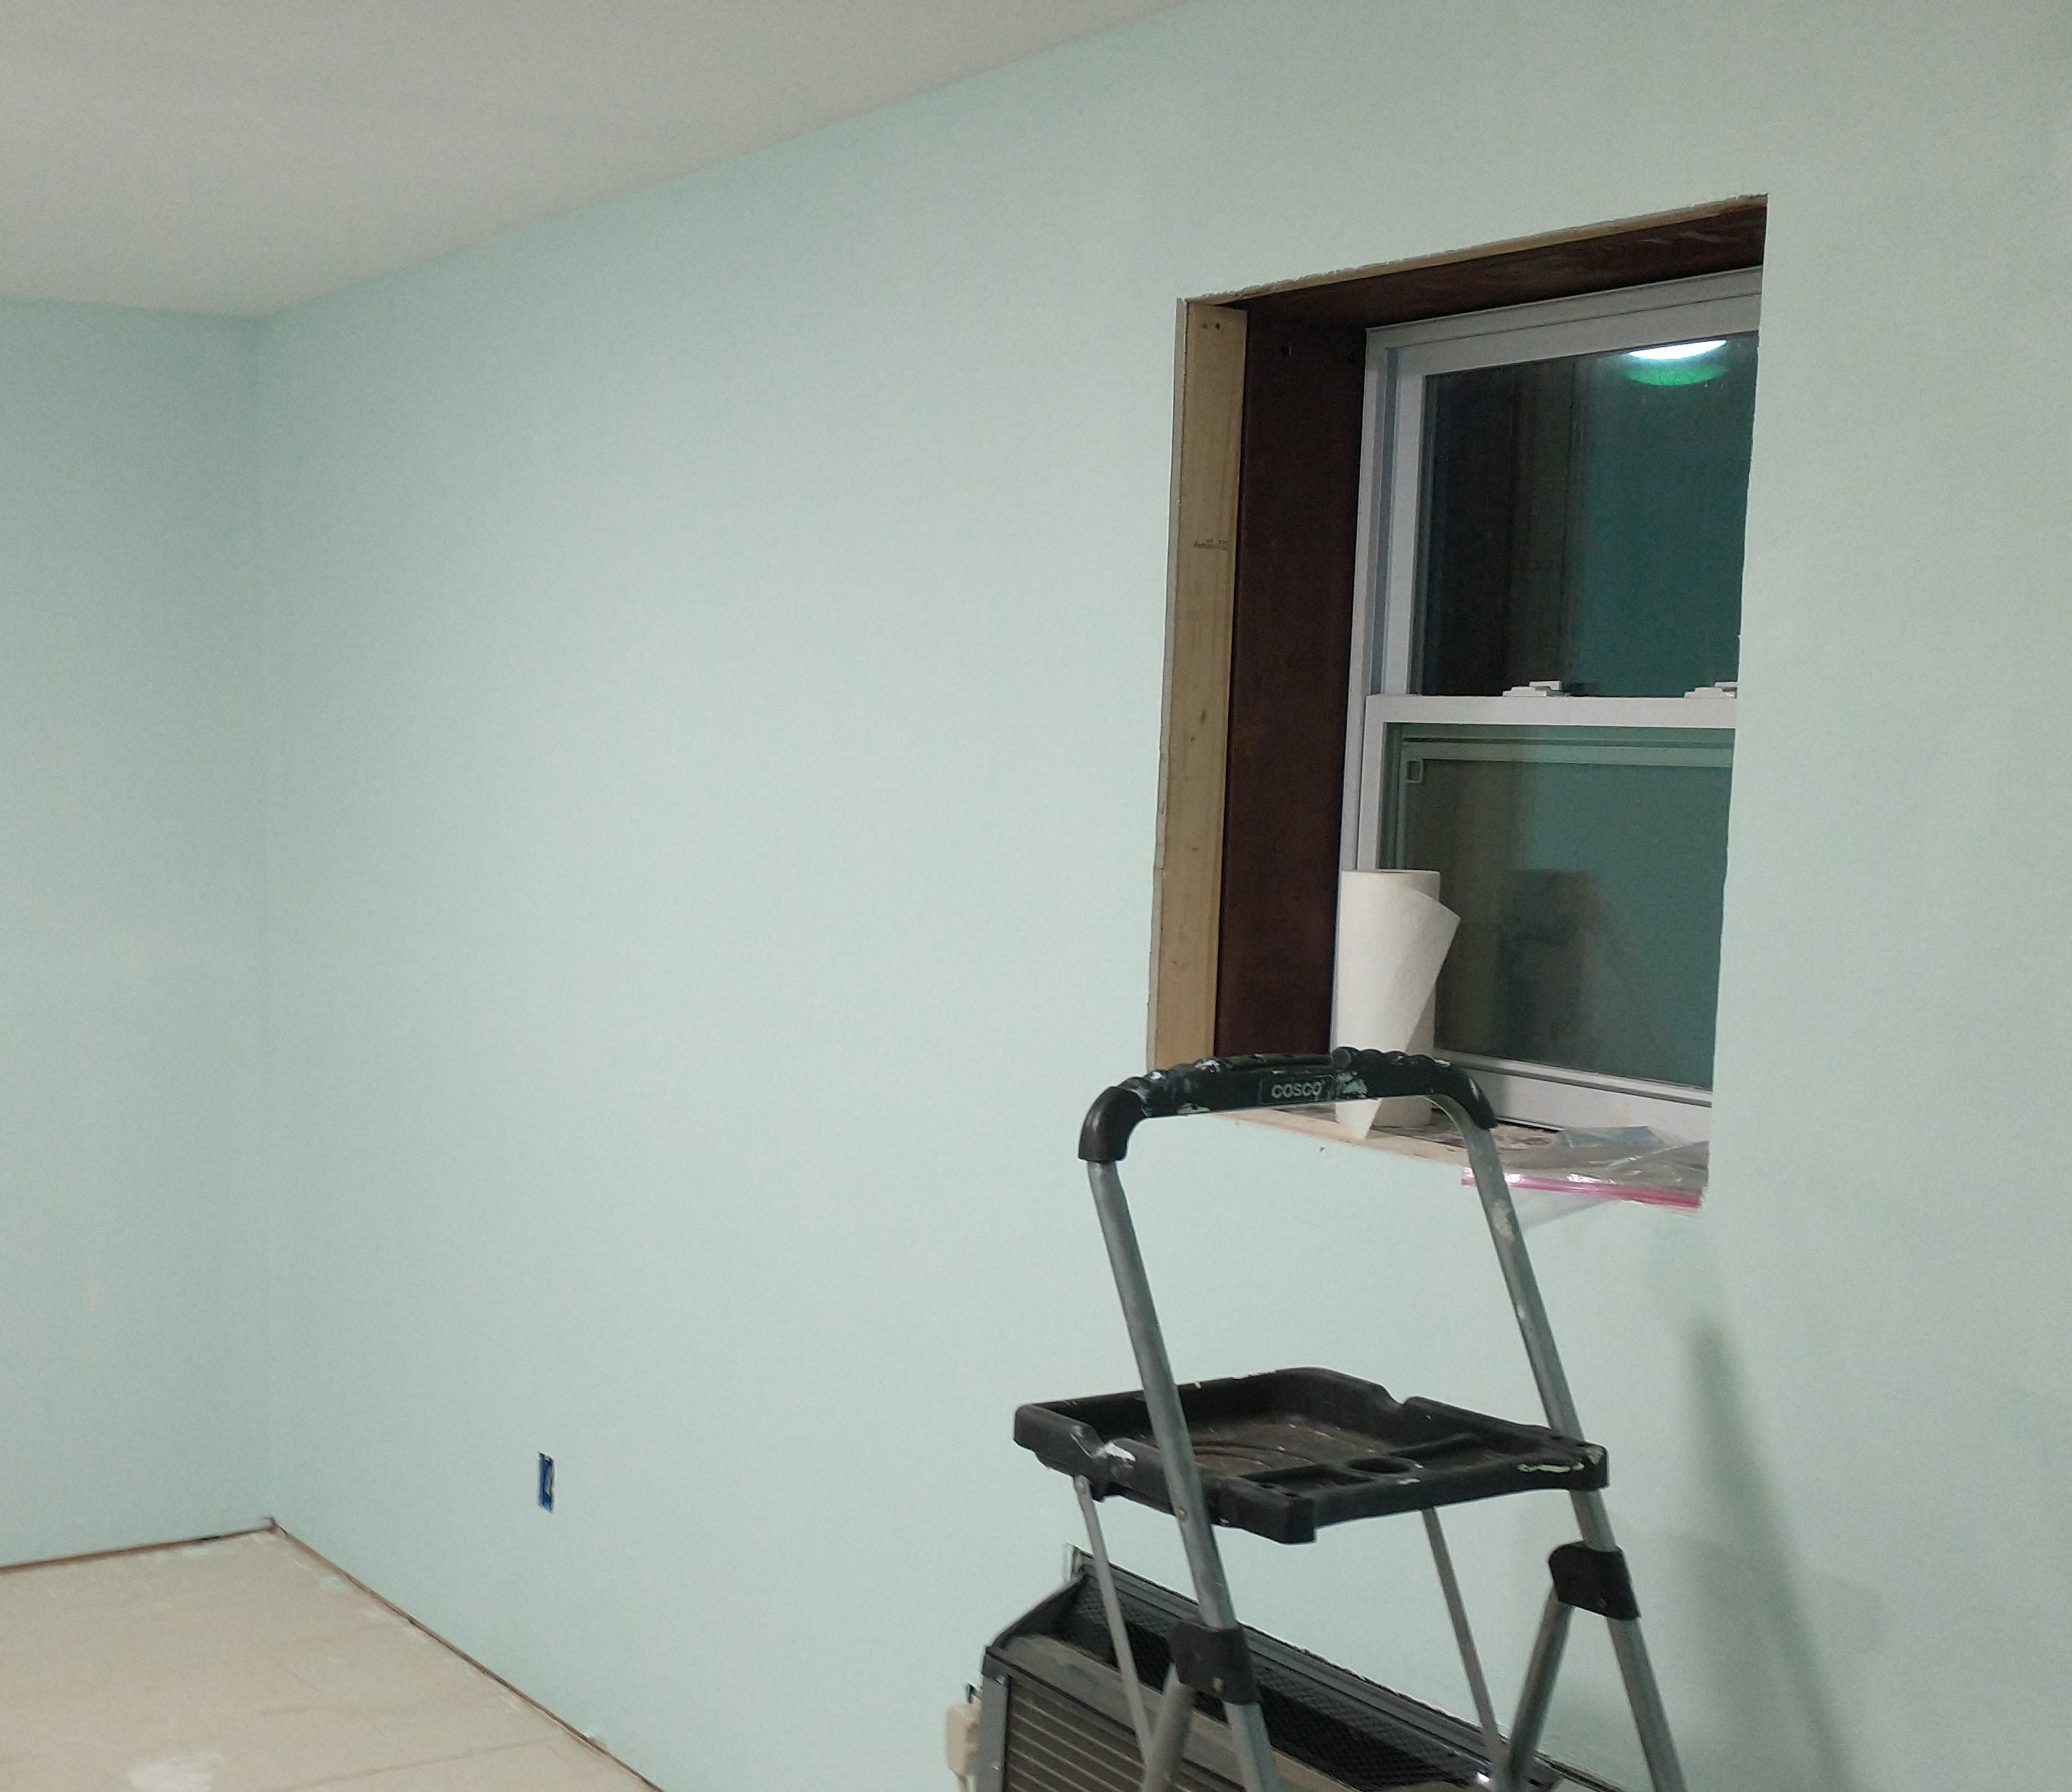
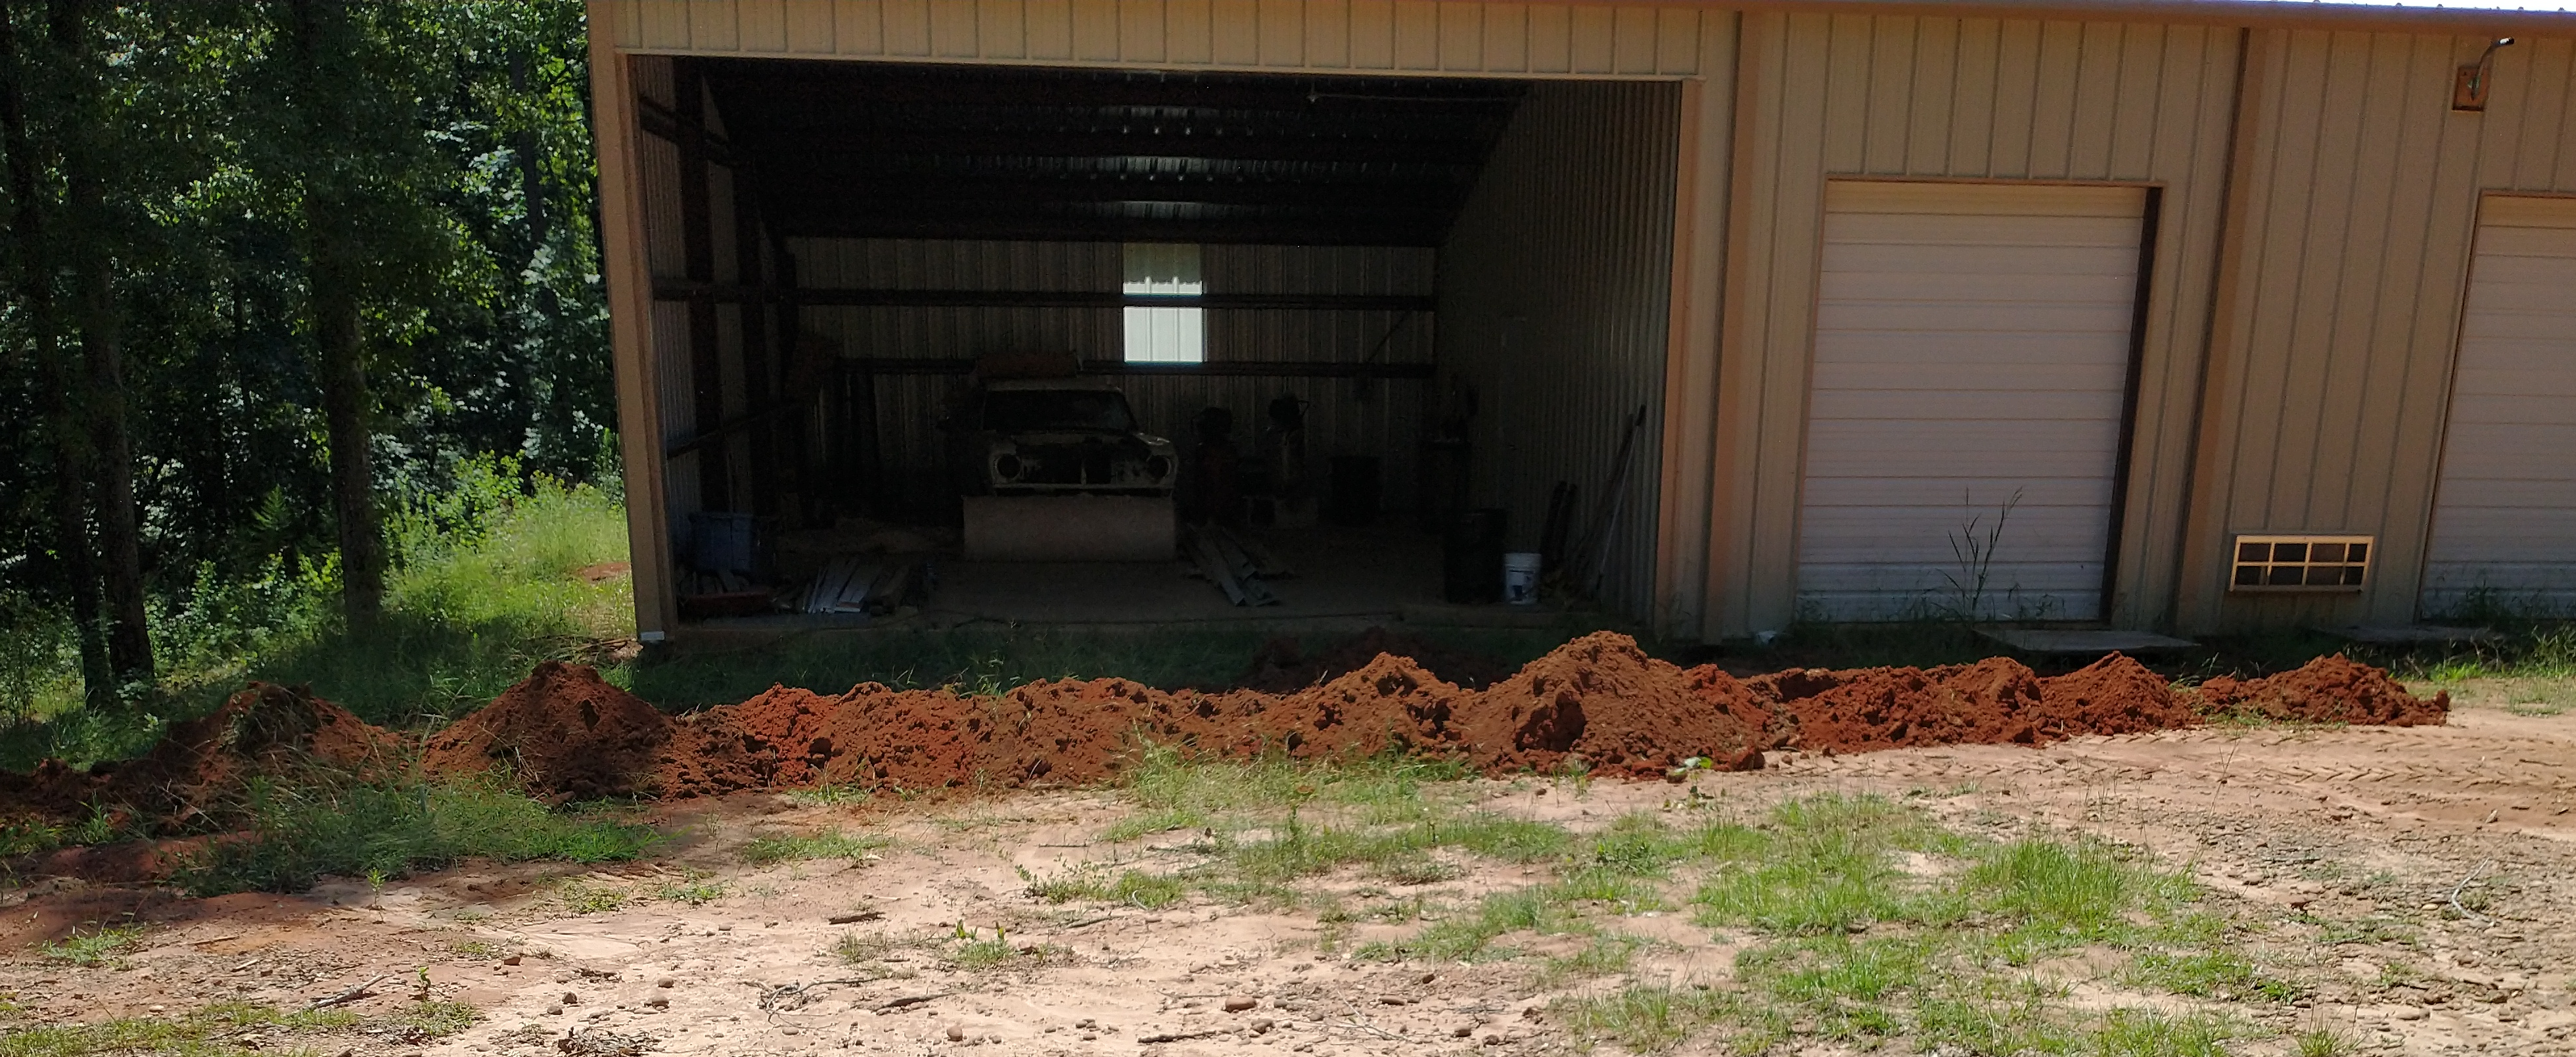
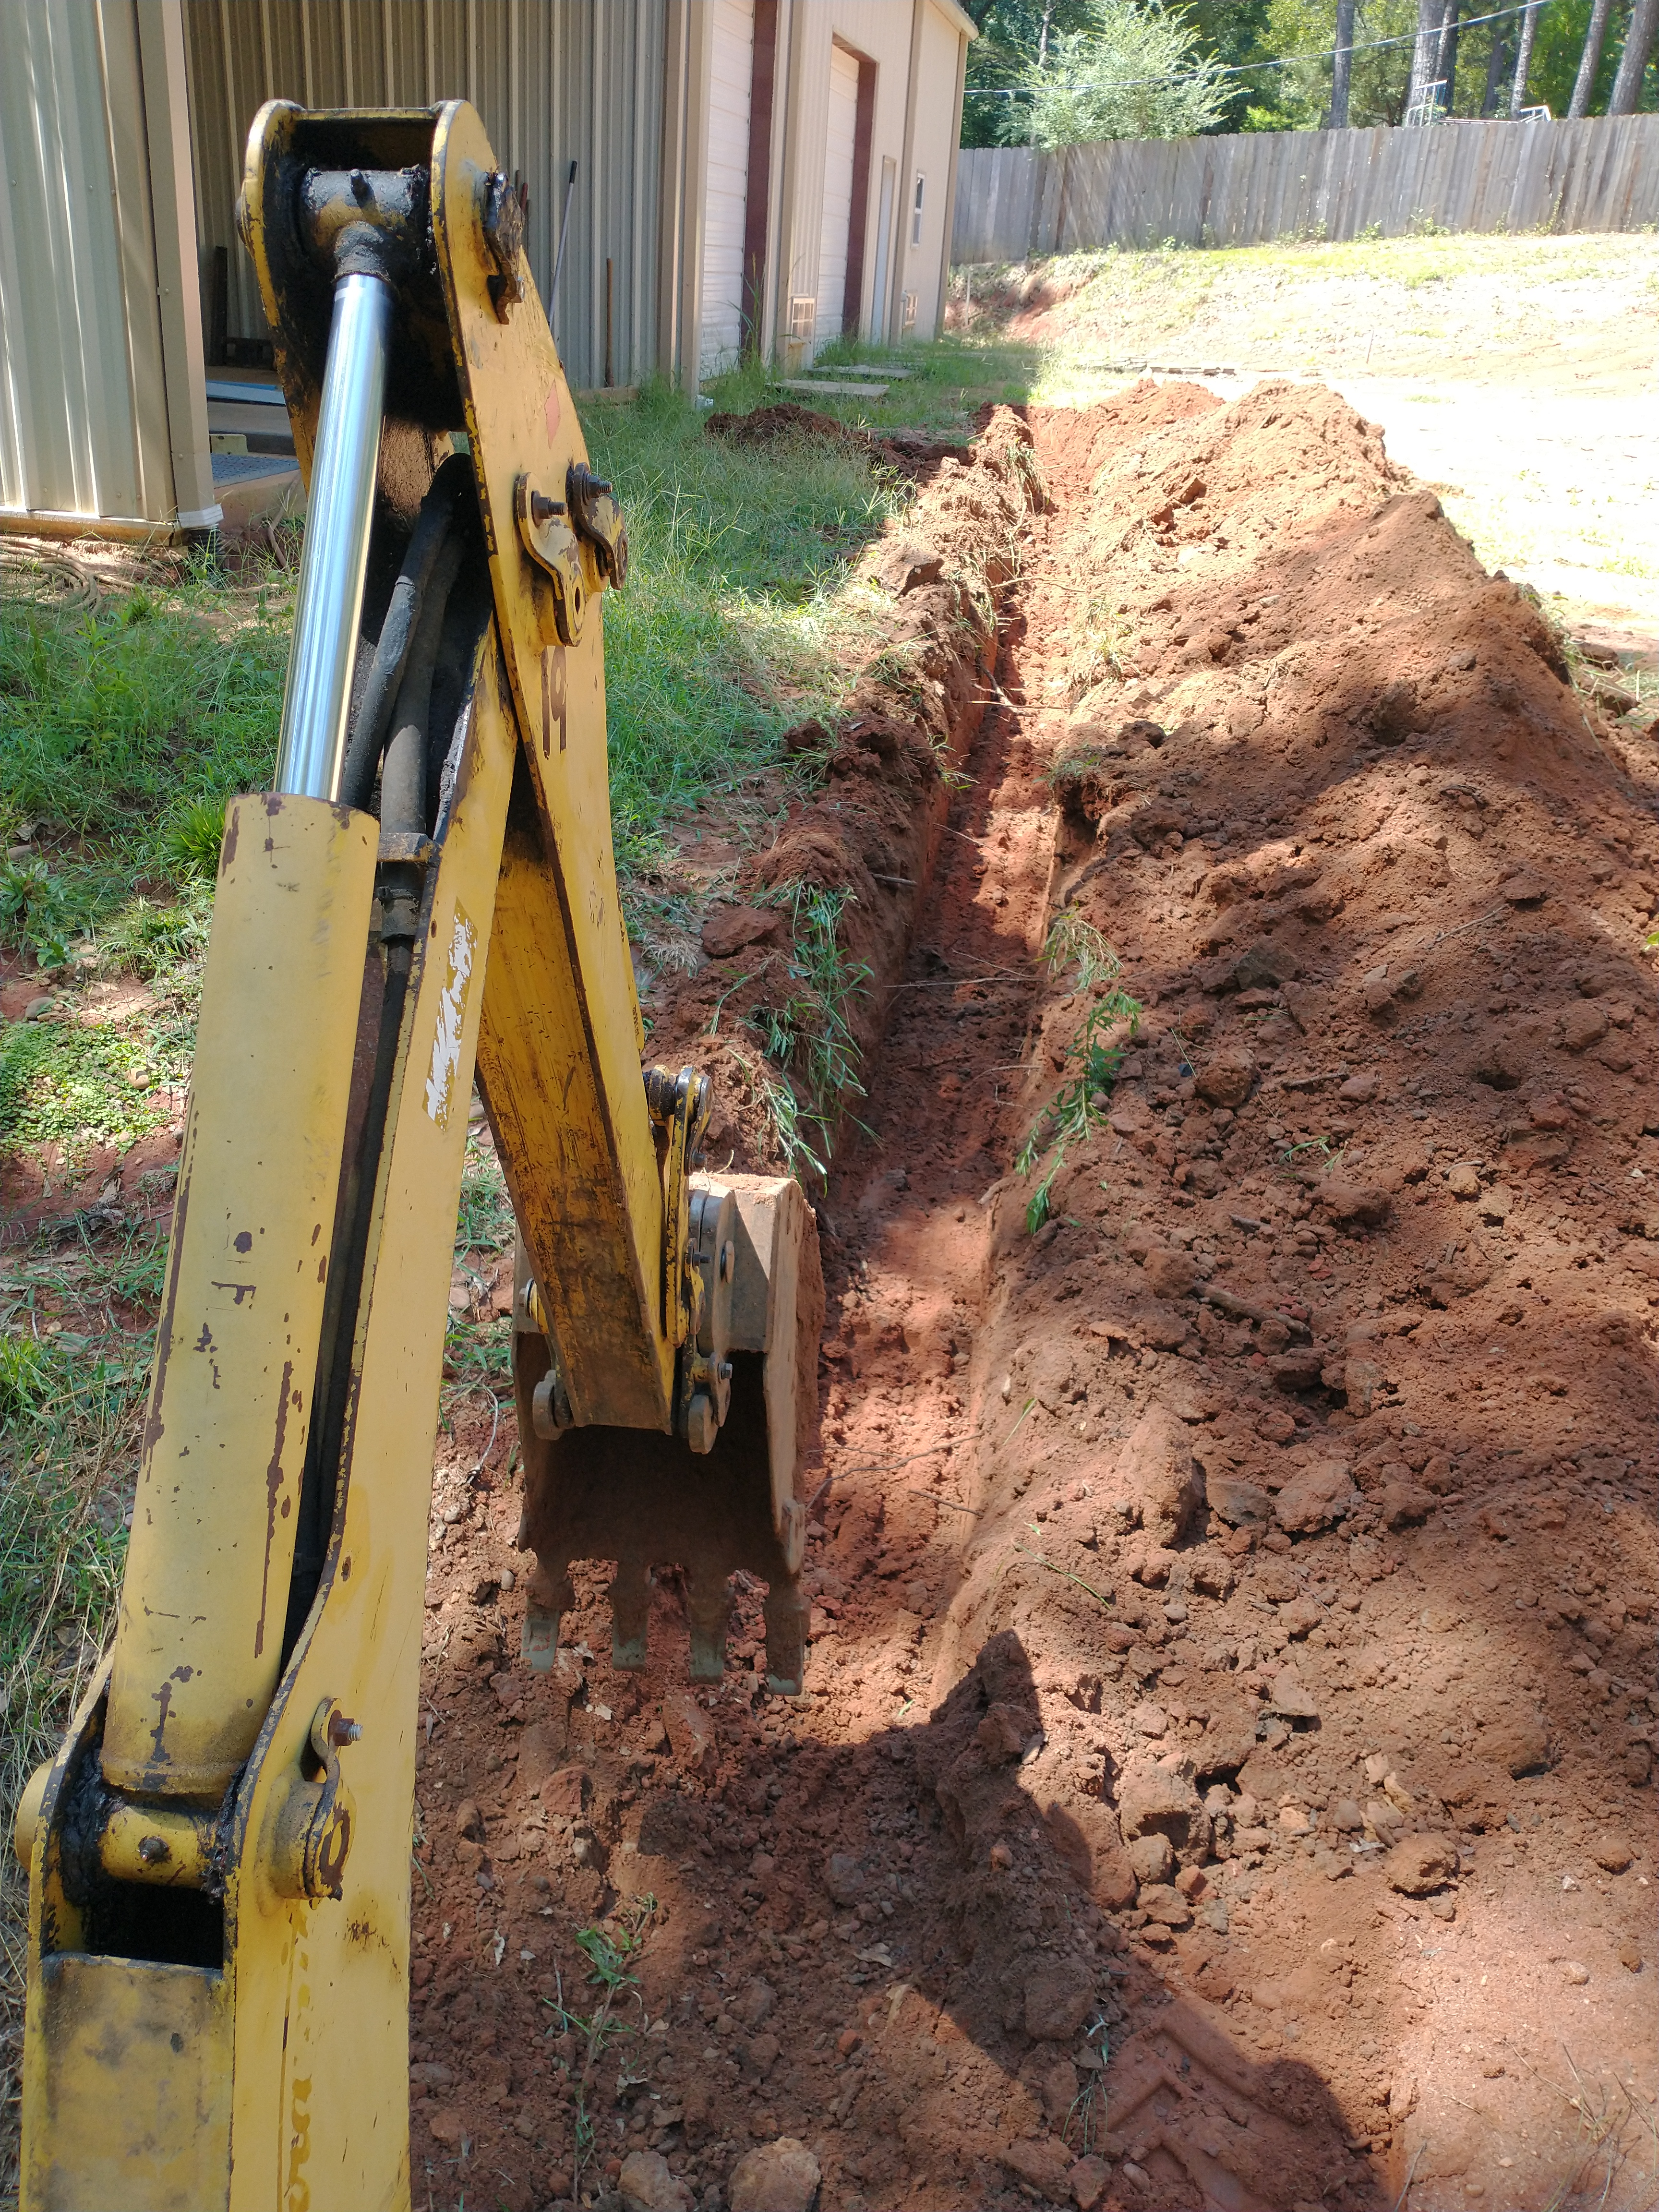
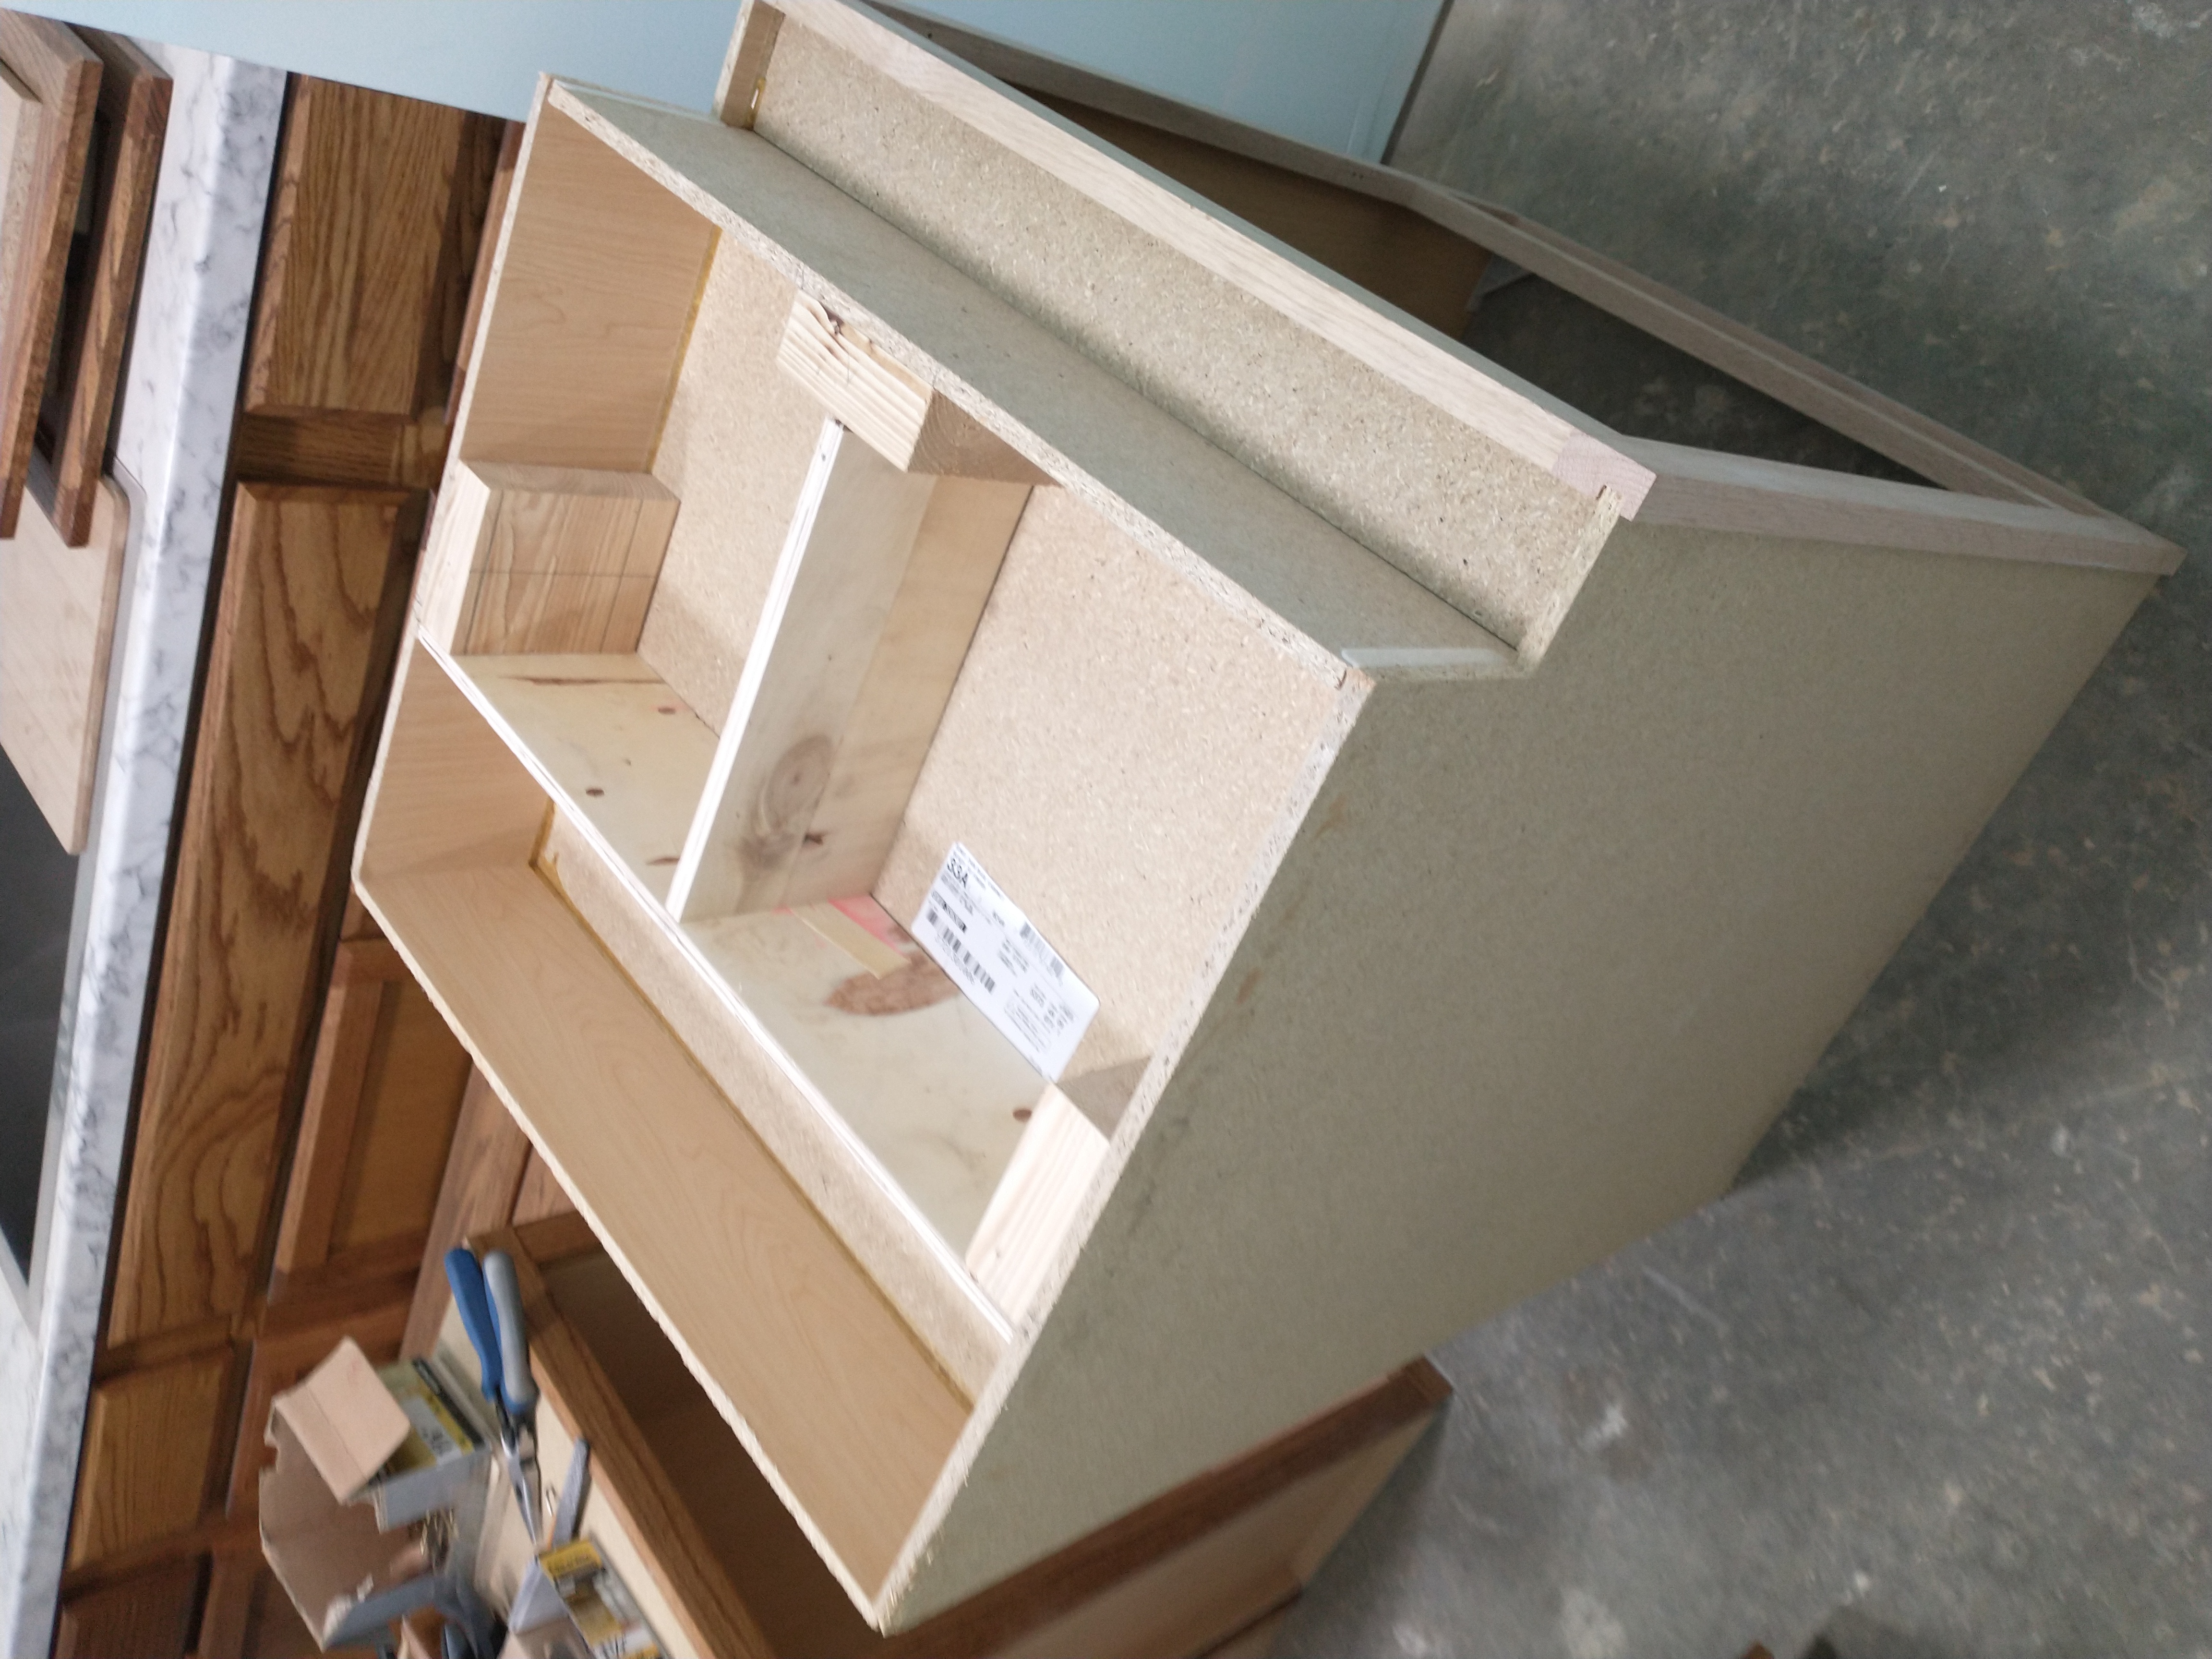
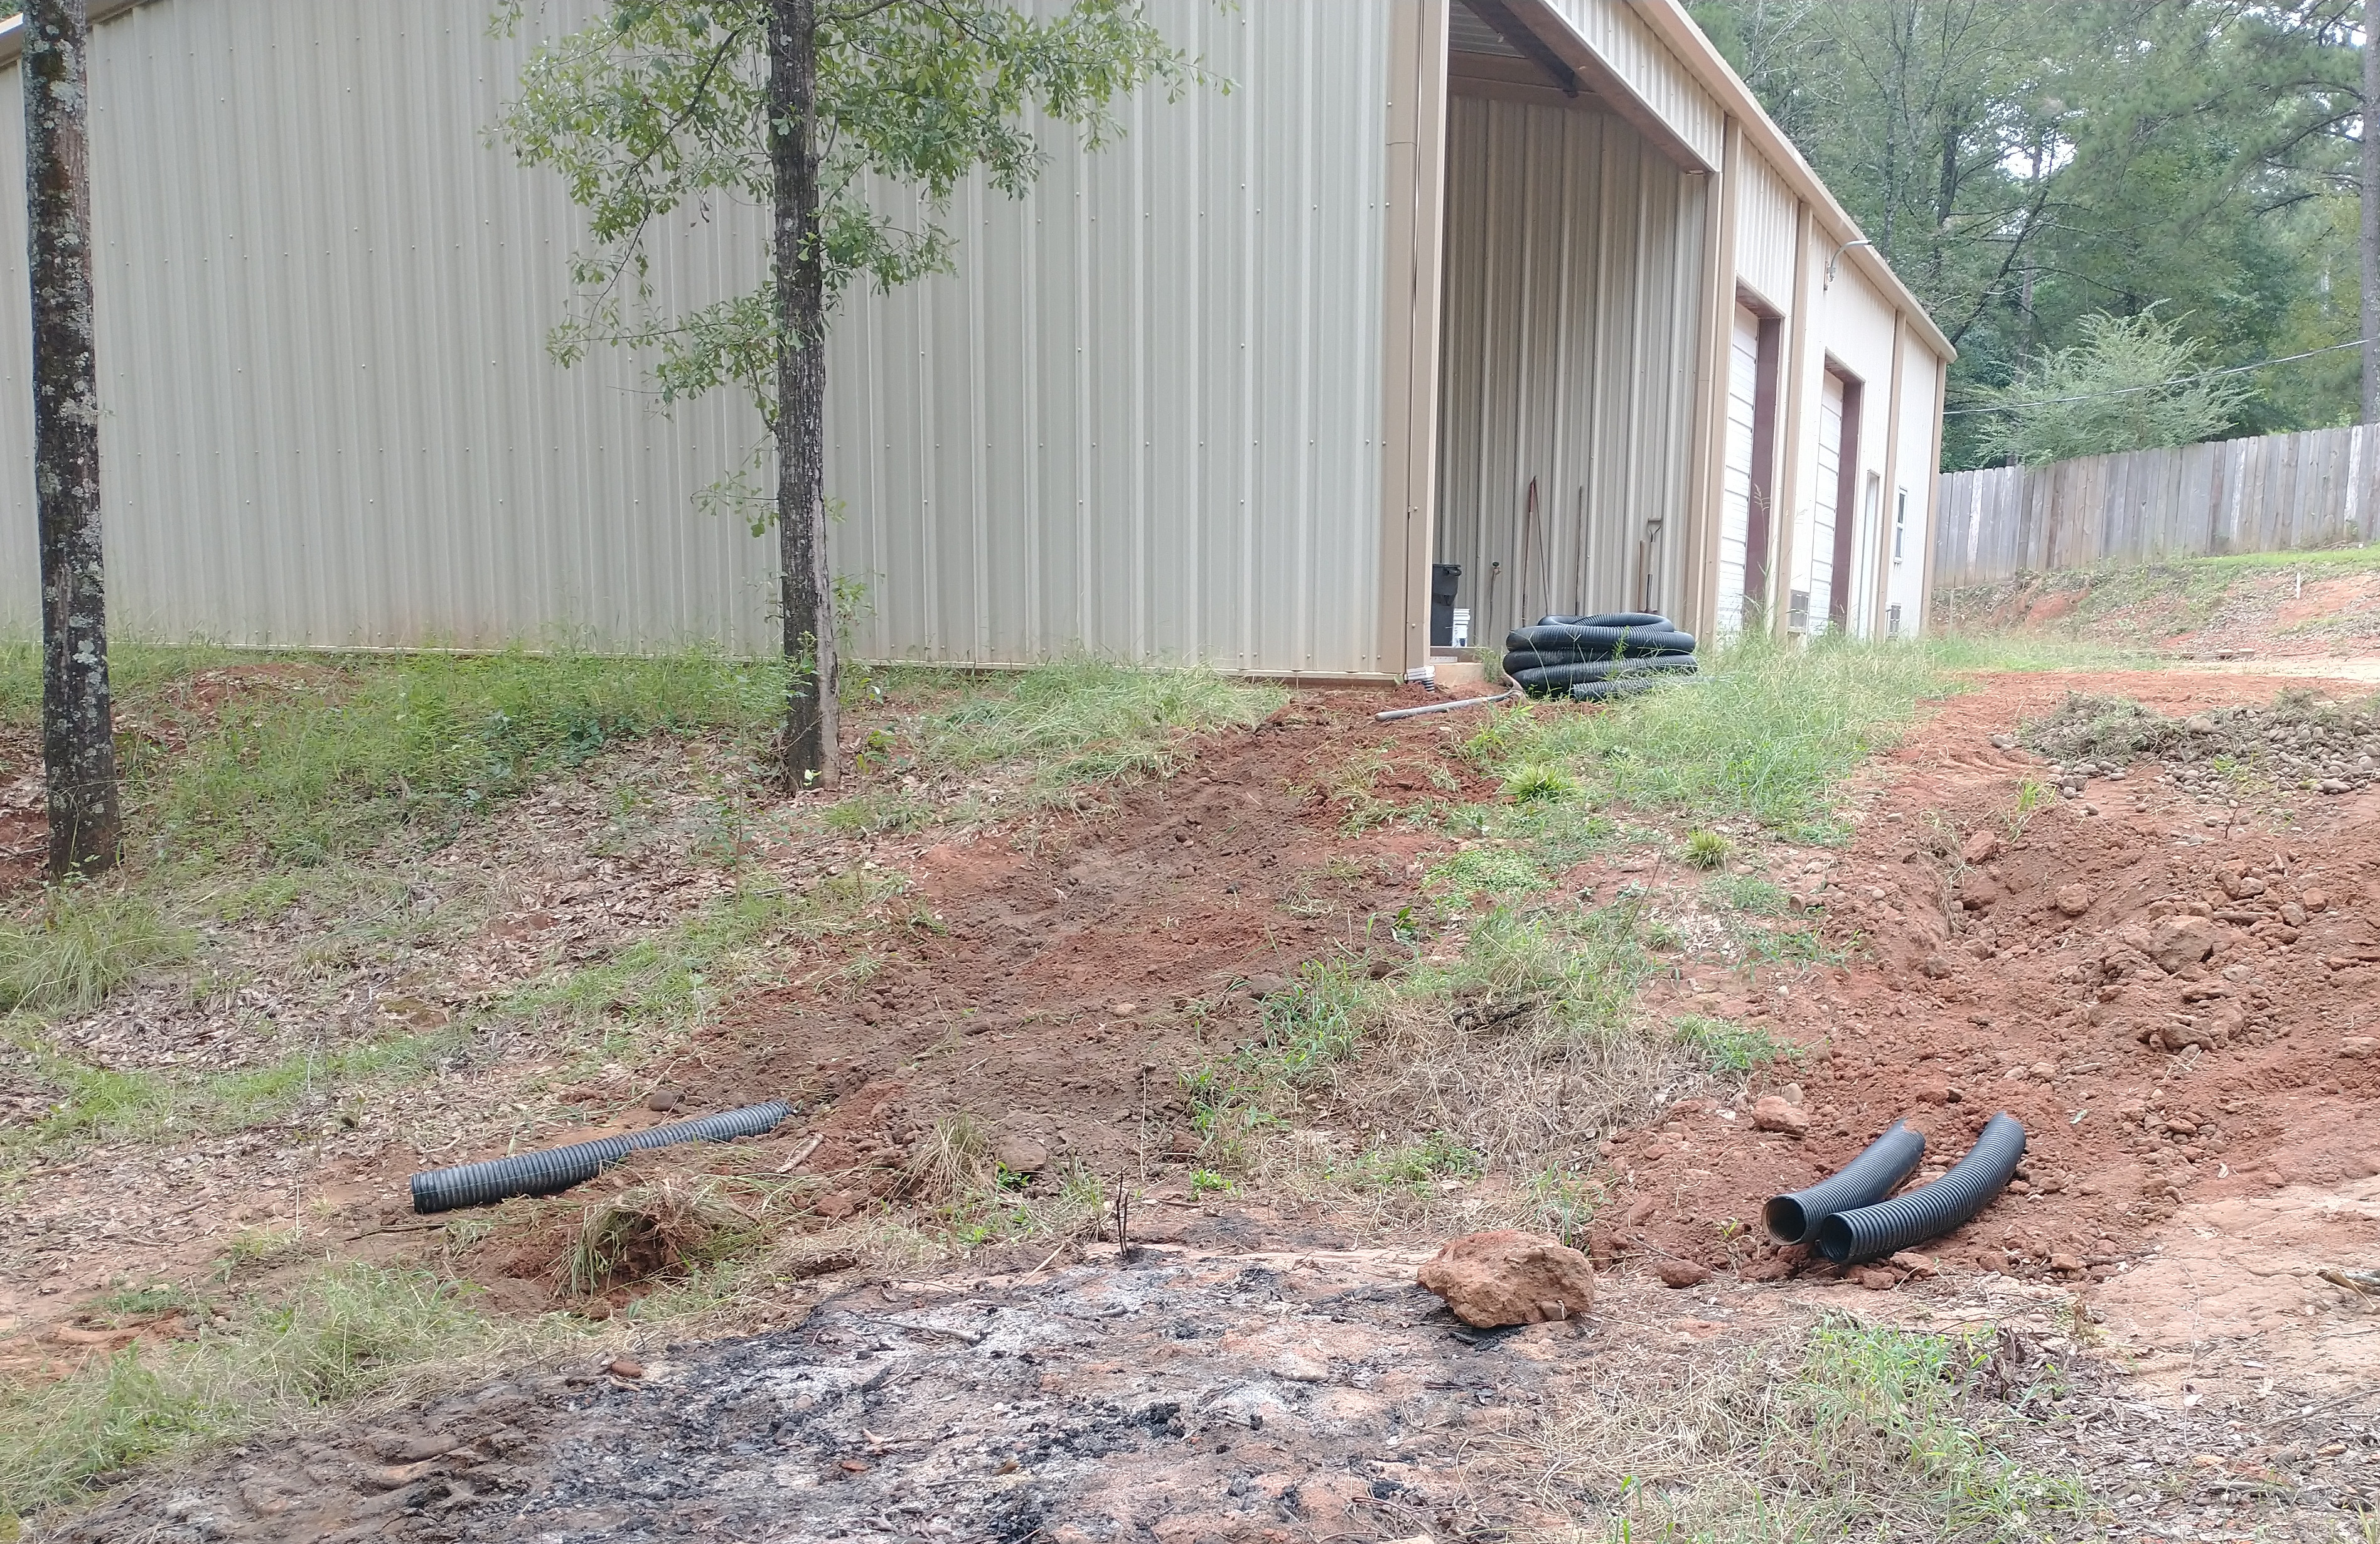
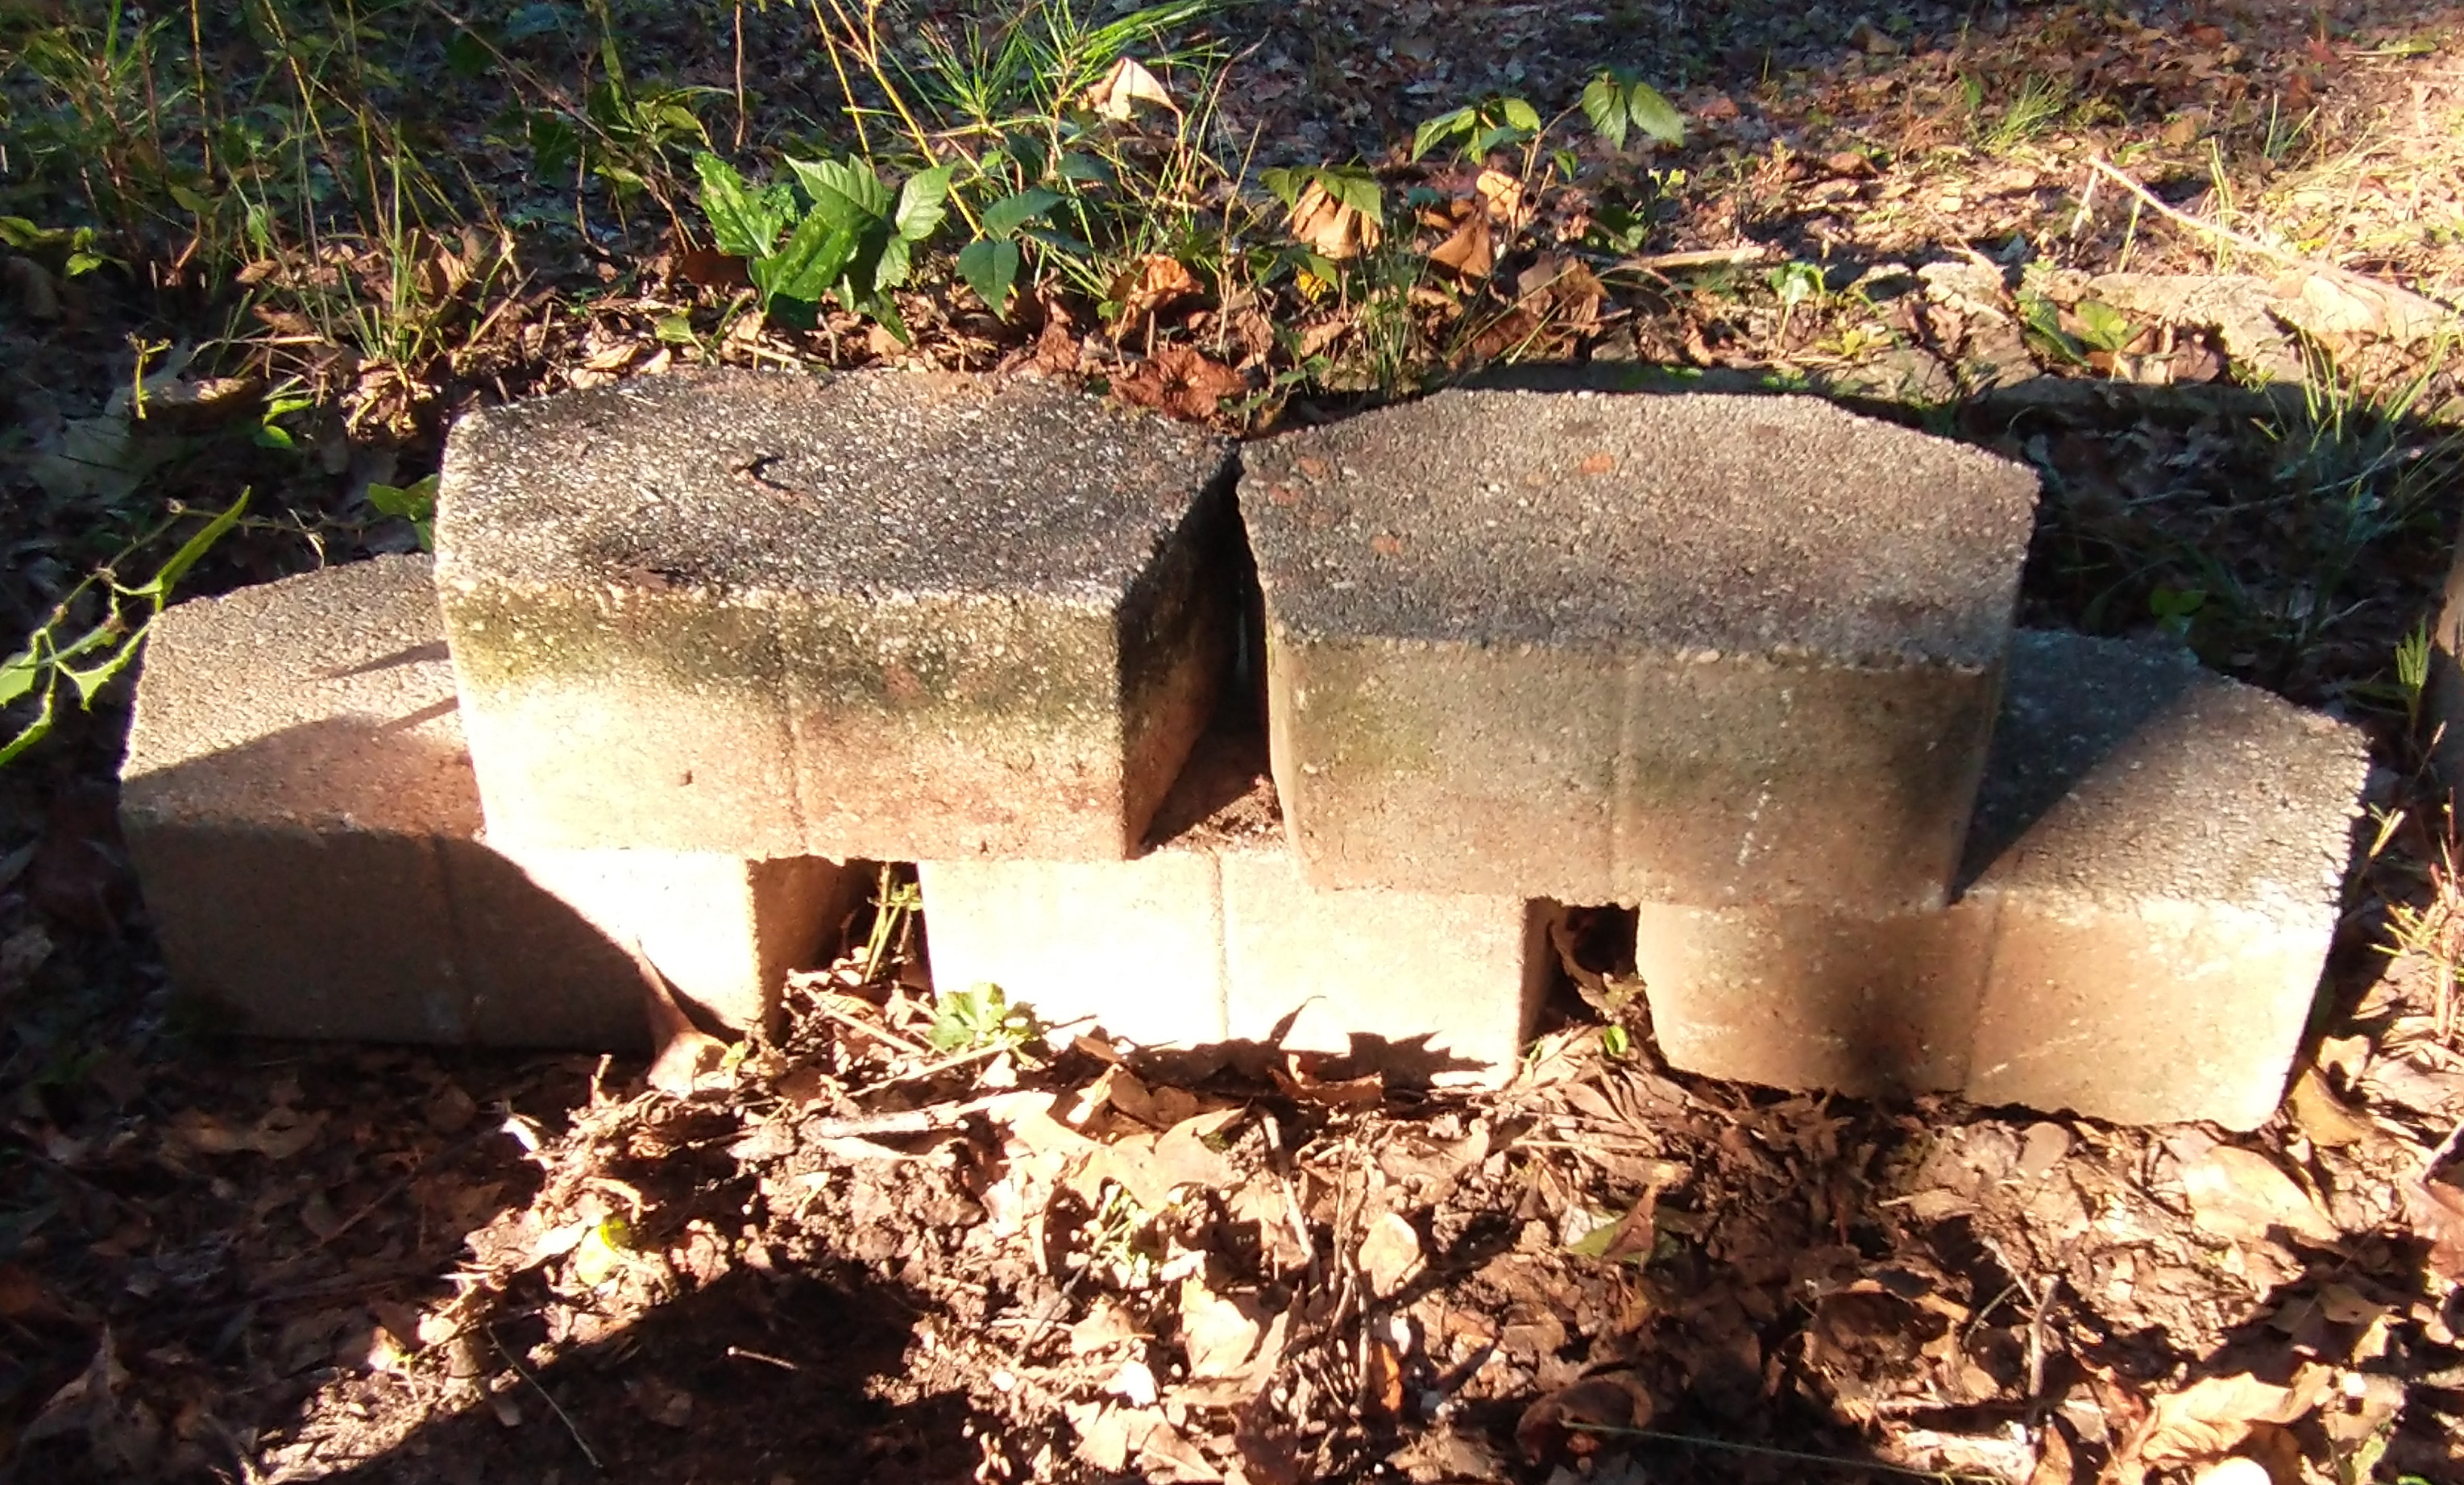
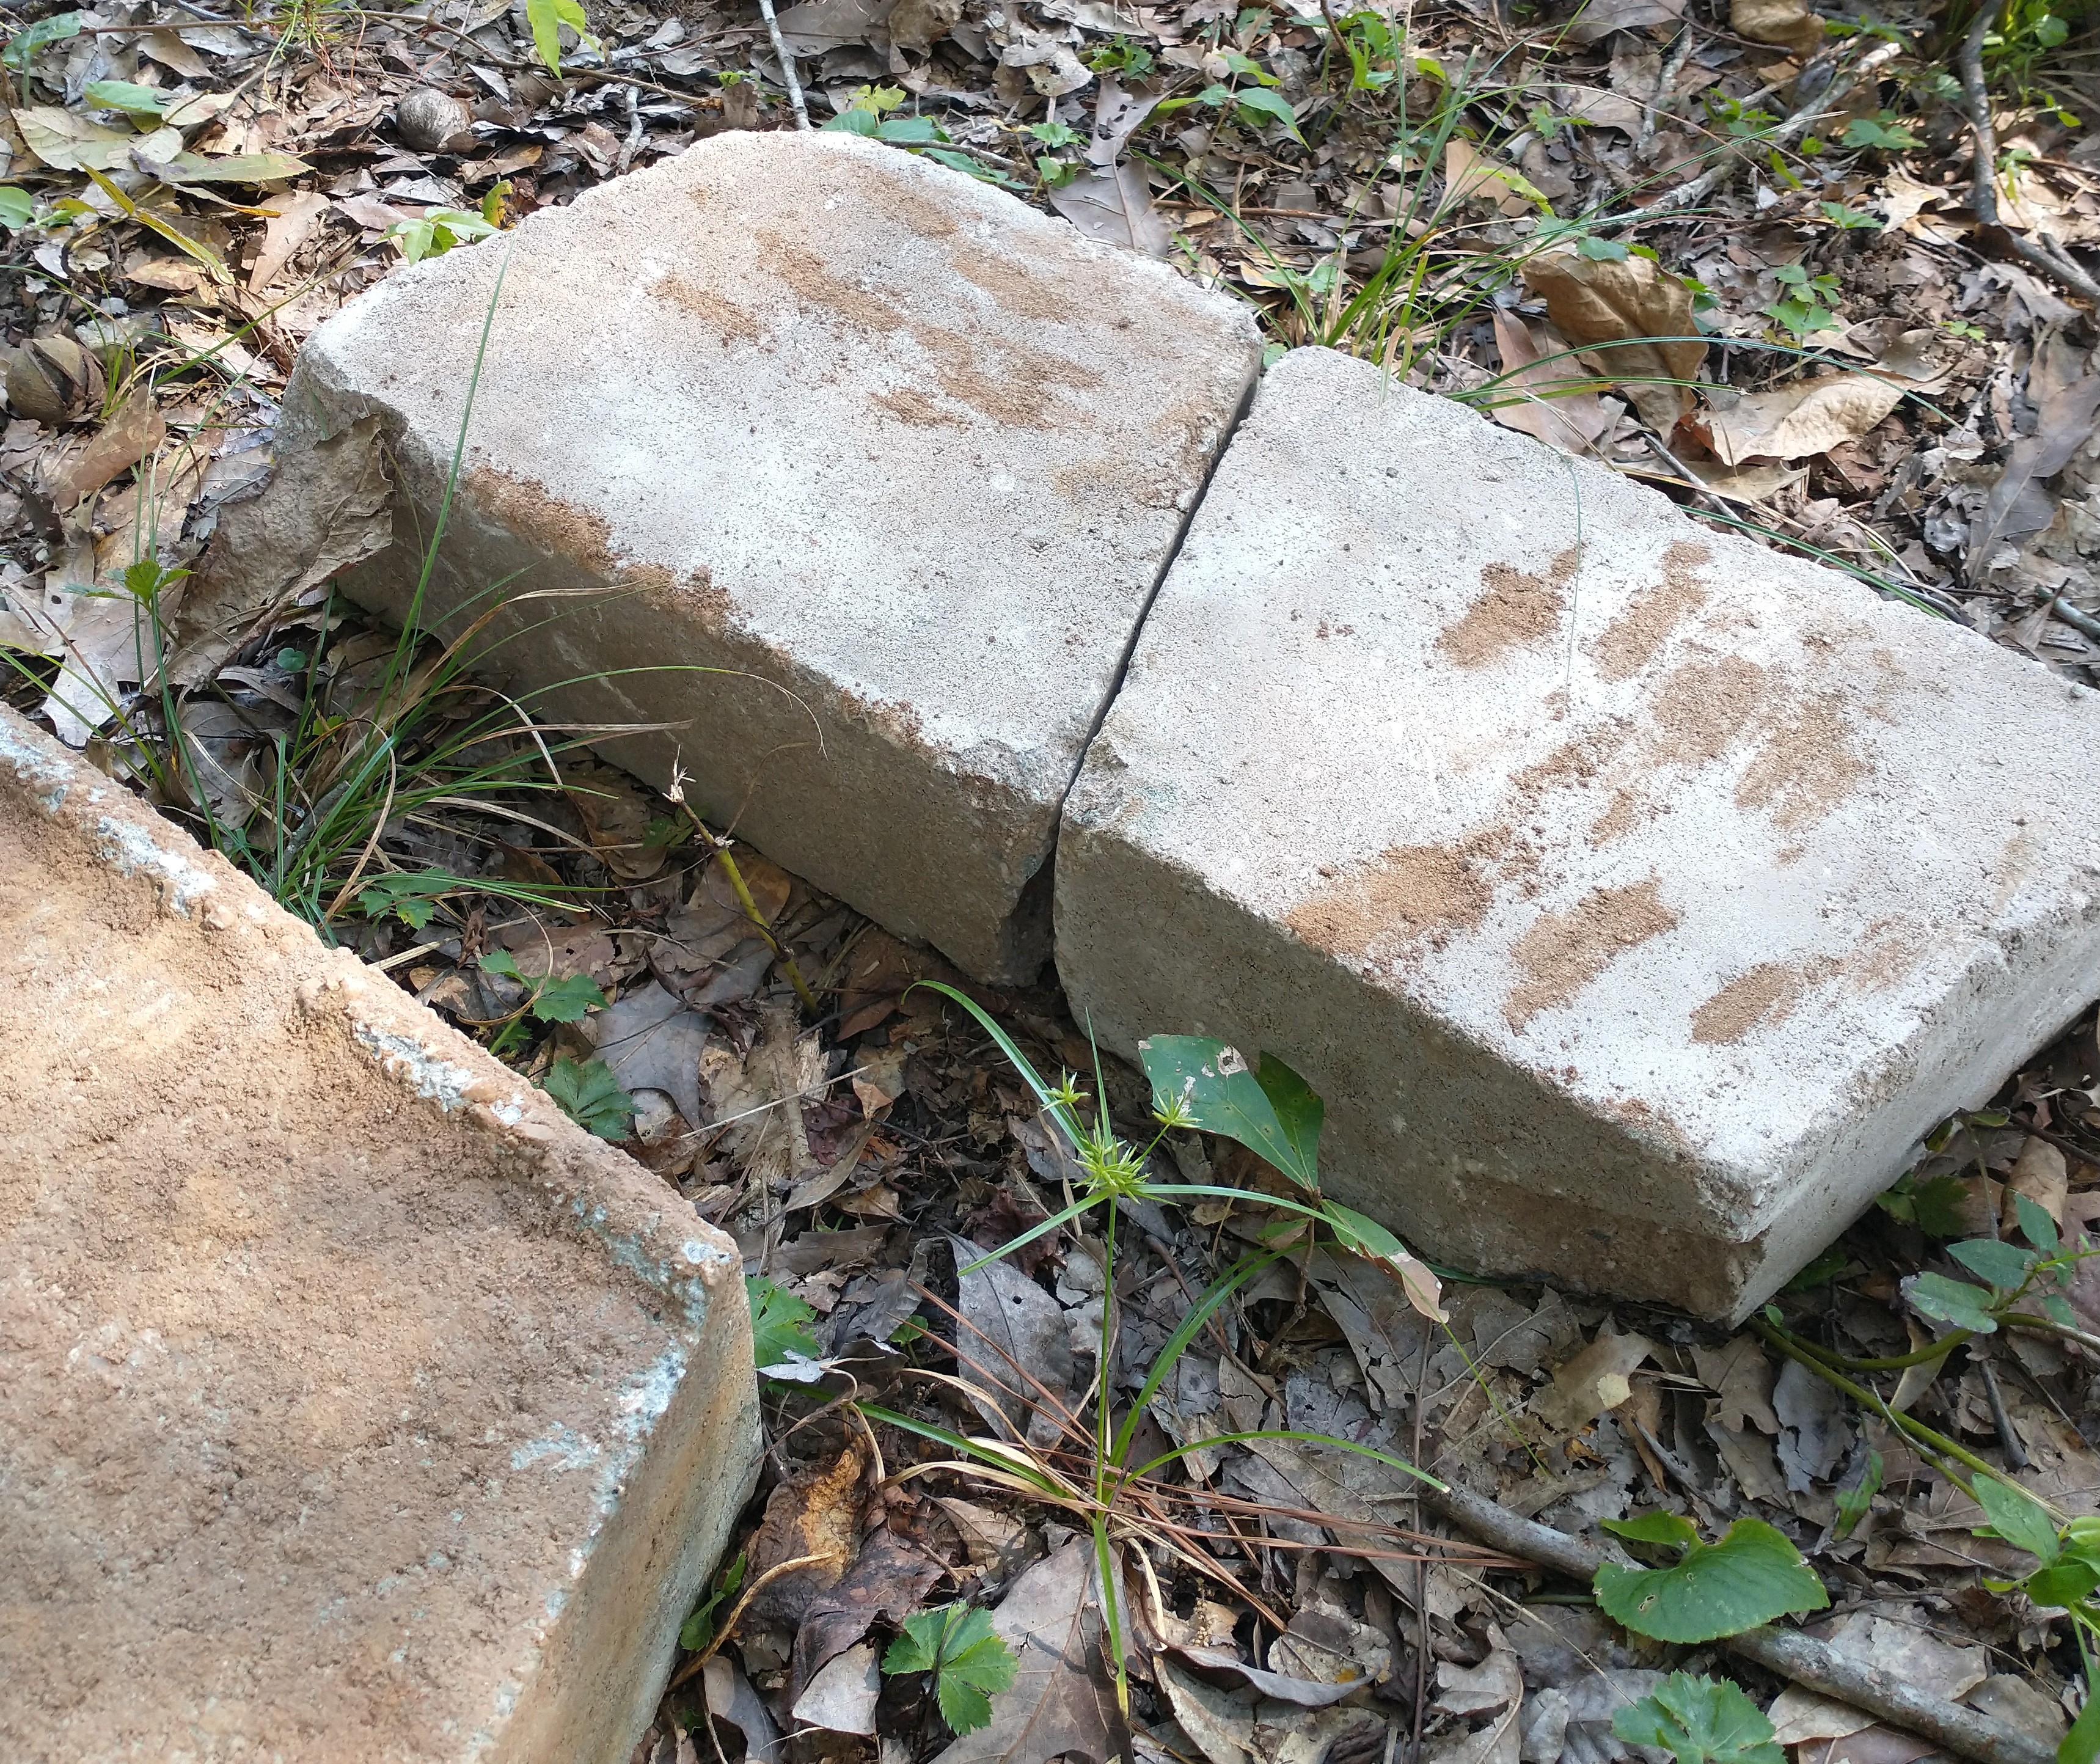
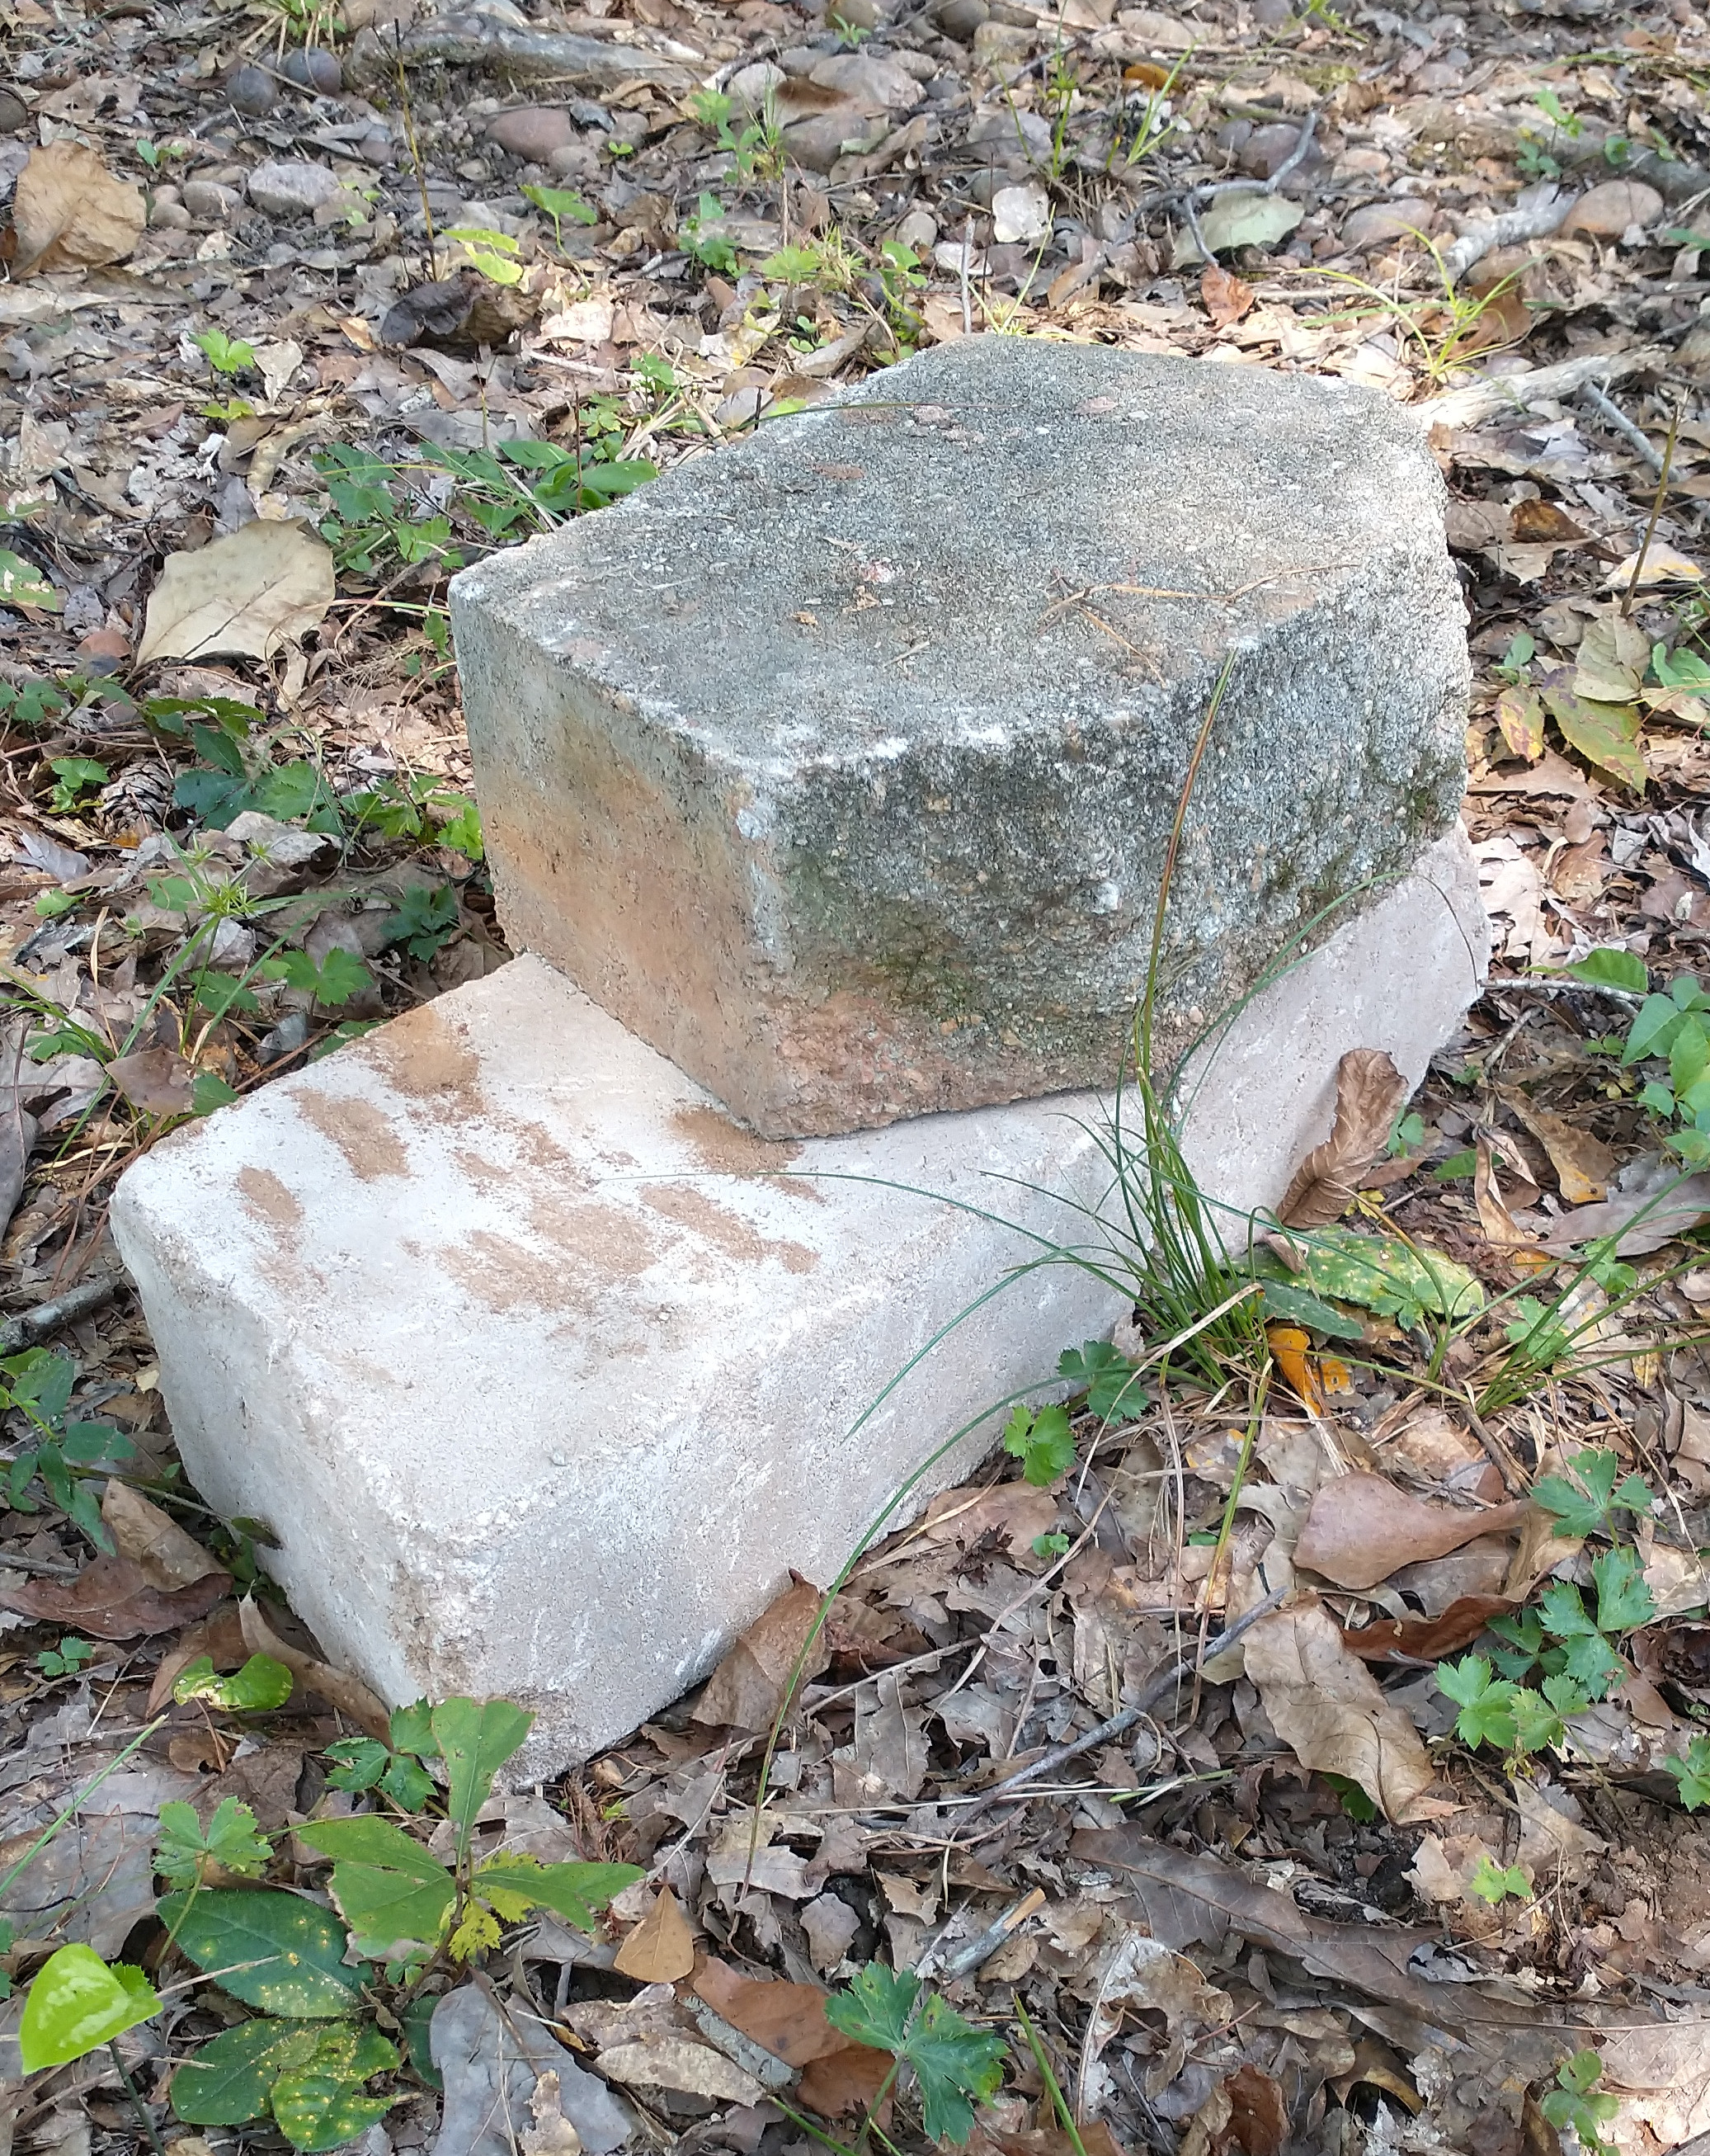
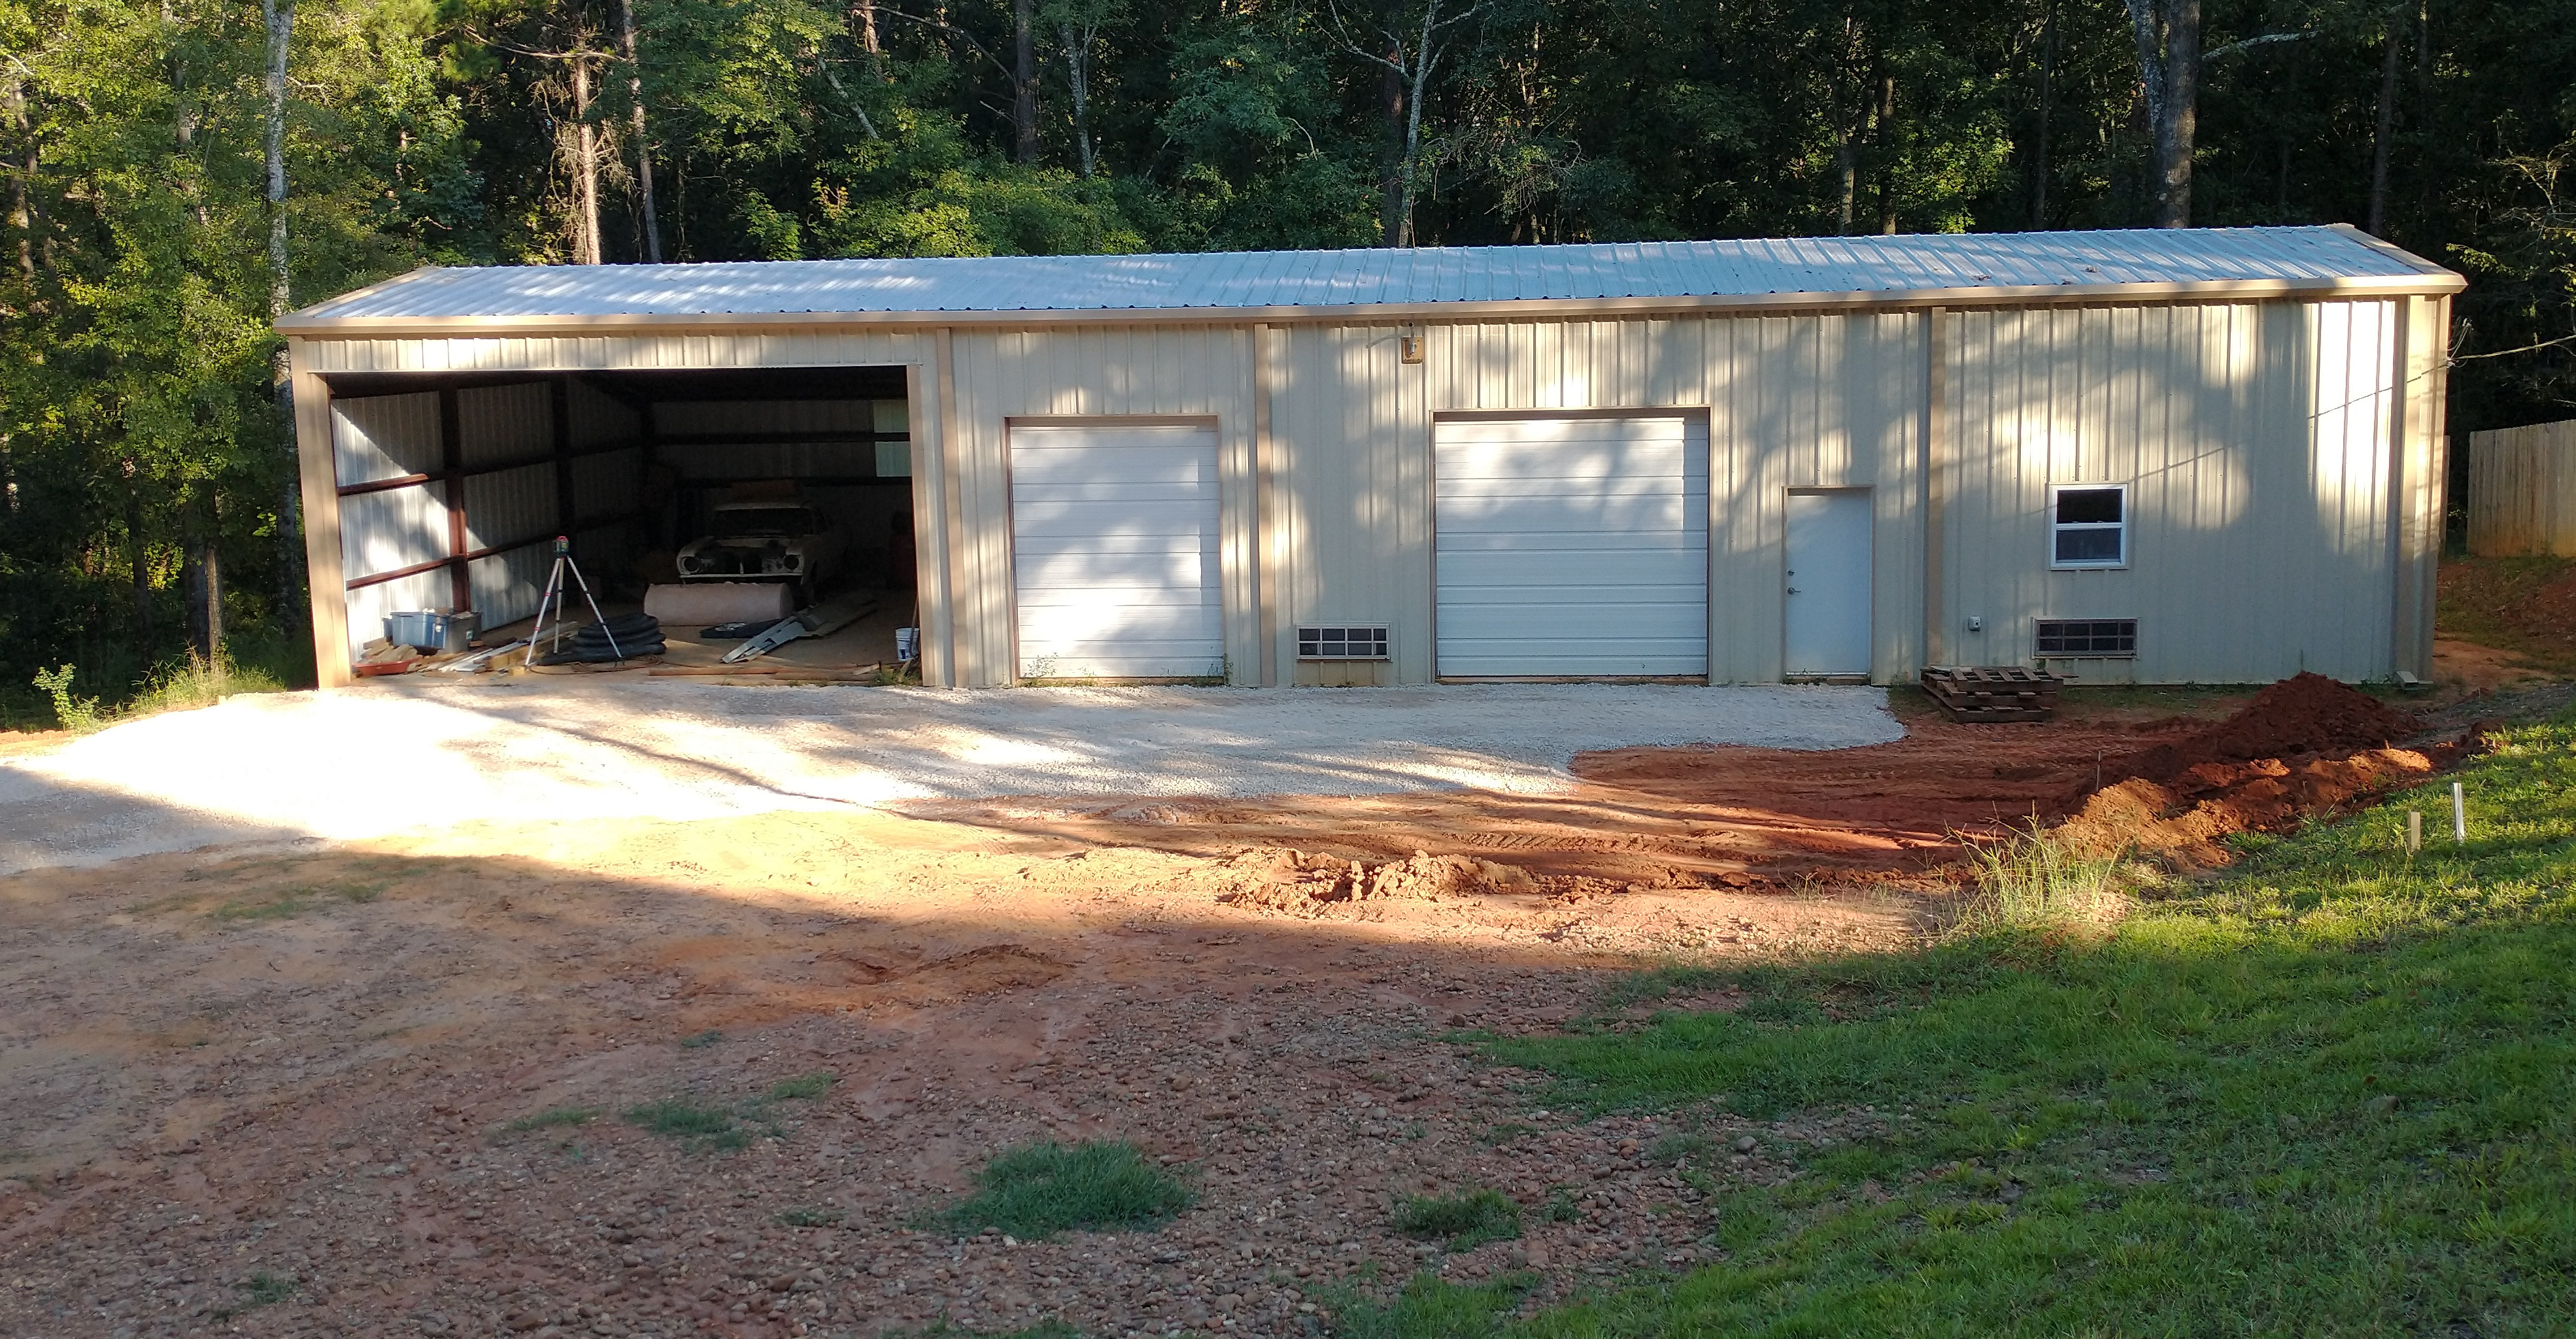
The only window in the building is in the office. The eight inch metal building frame, 3-1/2 inch 2x4 for the interior wall framing, and half inch of wall board gives a total wall thickness of 12 inches.Corrugated drain pipe for the downspouts. My Terramite T9 backhoe in the background.One view of the ditch for the drain pipe.Second view of the ditch.Supporting braces for the crane.The right rear corner cabinet is difficult to use from with in the kitchen. I decided to accsess this storage space from the wood shop. This view is a test fit of the cabinet in the kitchen.I reenforced the base of the cabinet to allow storage of heavy items.Kitchen cabinets installed but need the trim work.Down spout pipes buried. This is their outlets.Plumber put the pipes inthe wrong place.Kitchen sink cabinet shelf added to cover pipes.These are the blocks I liberated fromthe flower bed.The blocks do not have a solid base.The two blocks at the upper right will be used as the retaiing wall base. The retaining wall blocks (lower left) have a lip at the back the hooks over the row below. This causes each row in the wall to step back about a 3/8". A solid footer block under the wall blocks will provide a better footing.Shop on 9-1-22 with crush and run covering the front approachShop from back porch 9-1-22. The plie of dirt is near the tree in the center came from the hill in front of the right side of the shop. To the right of the trailer are the first 4 pallets of blocks.
Time for an update. I haven't updated this page for almost a year.