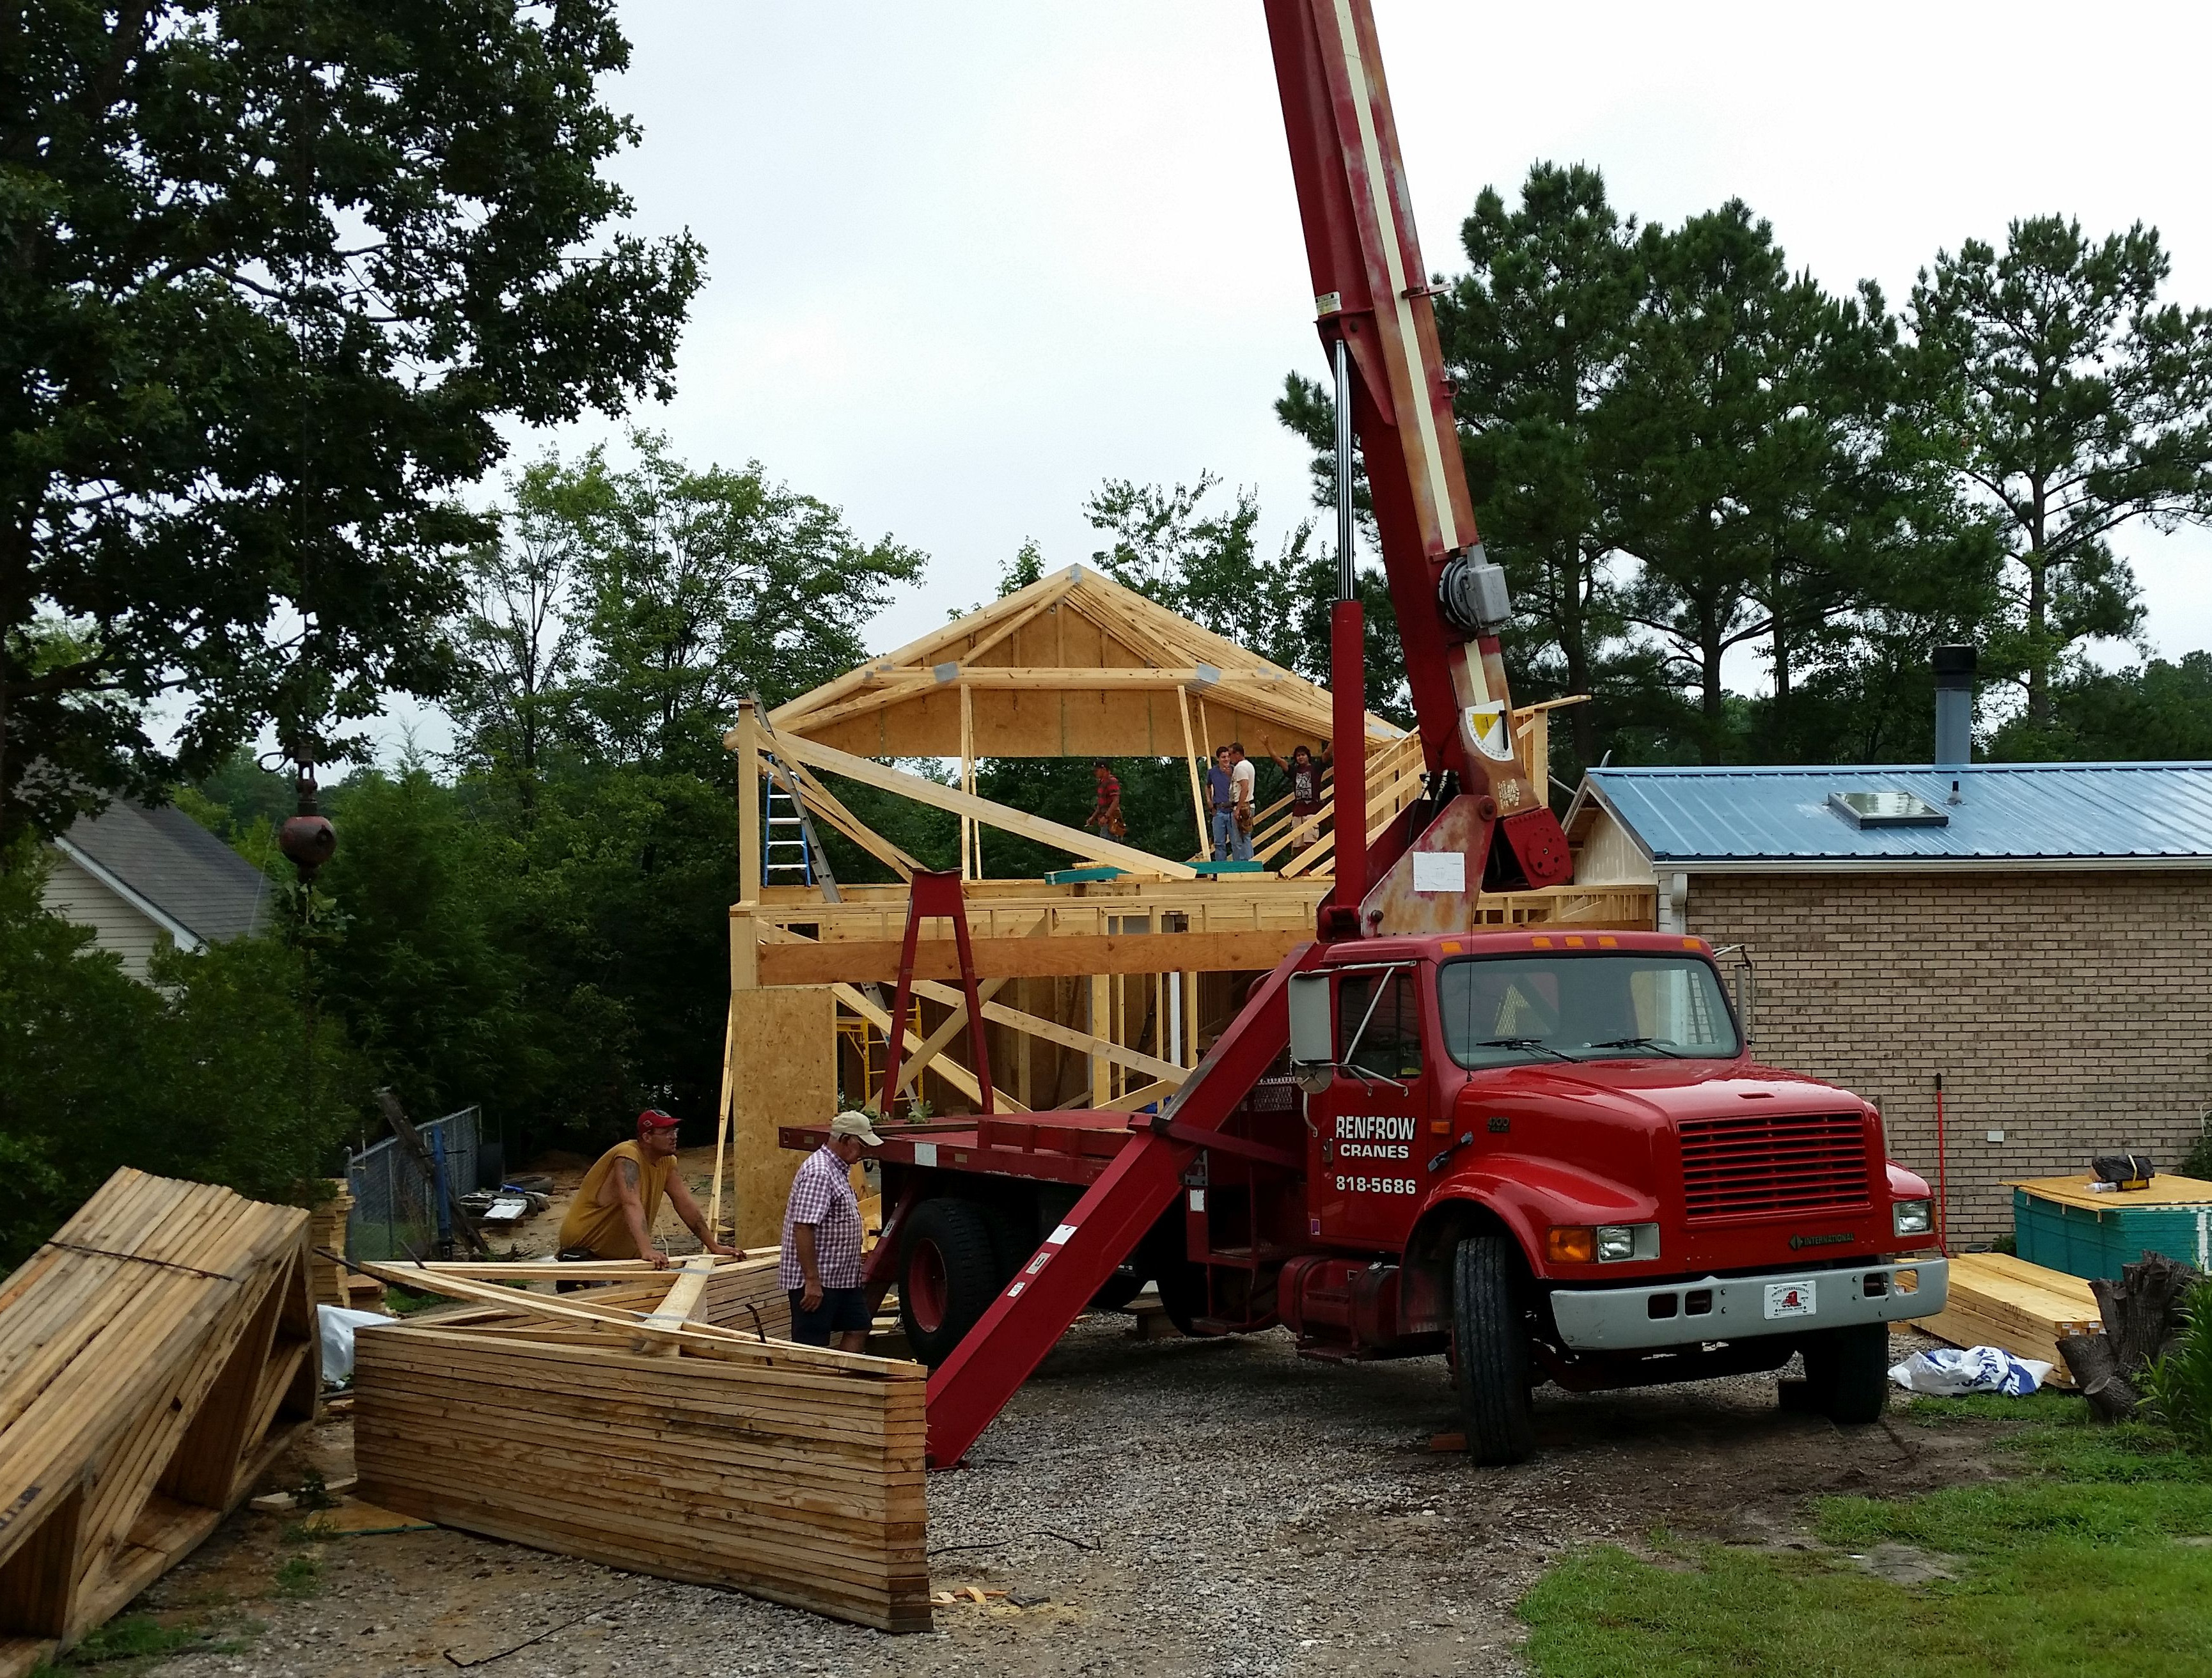
Framing

Framing

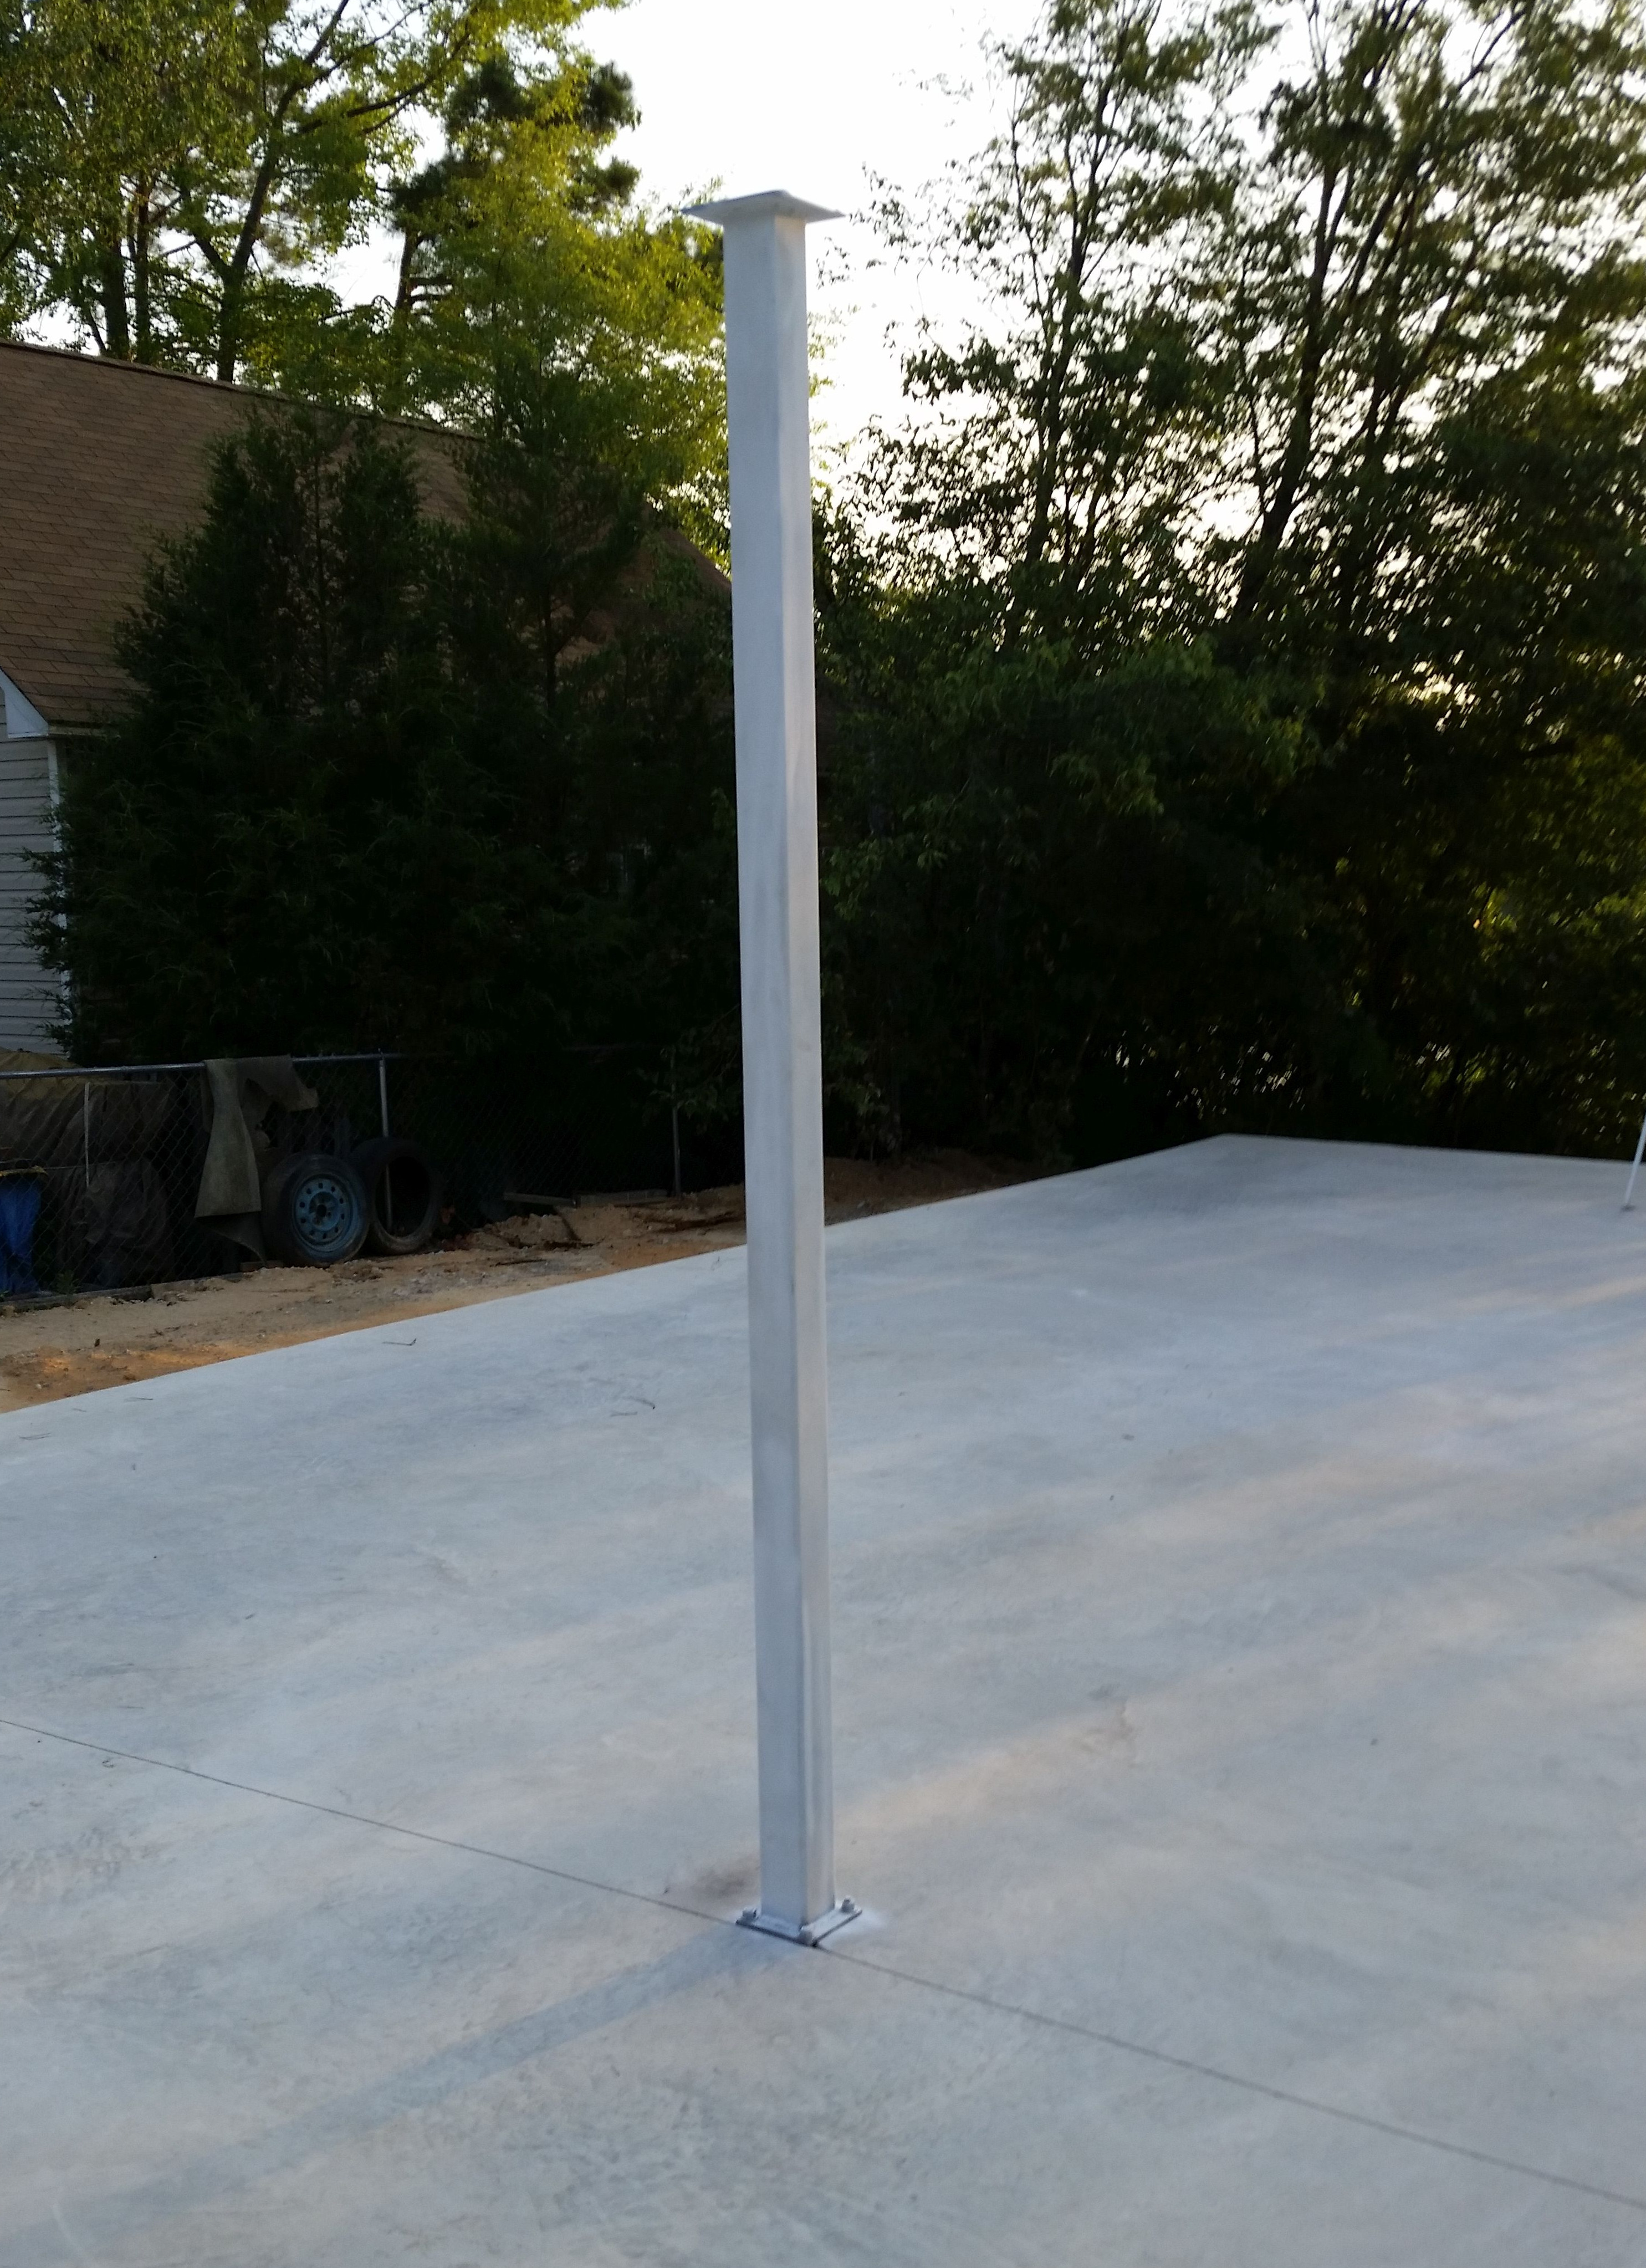
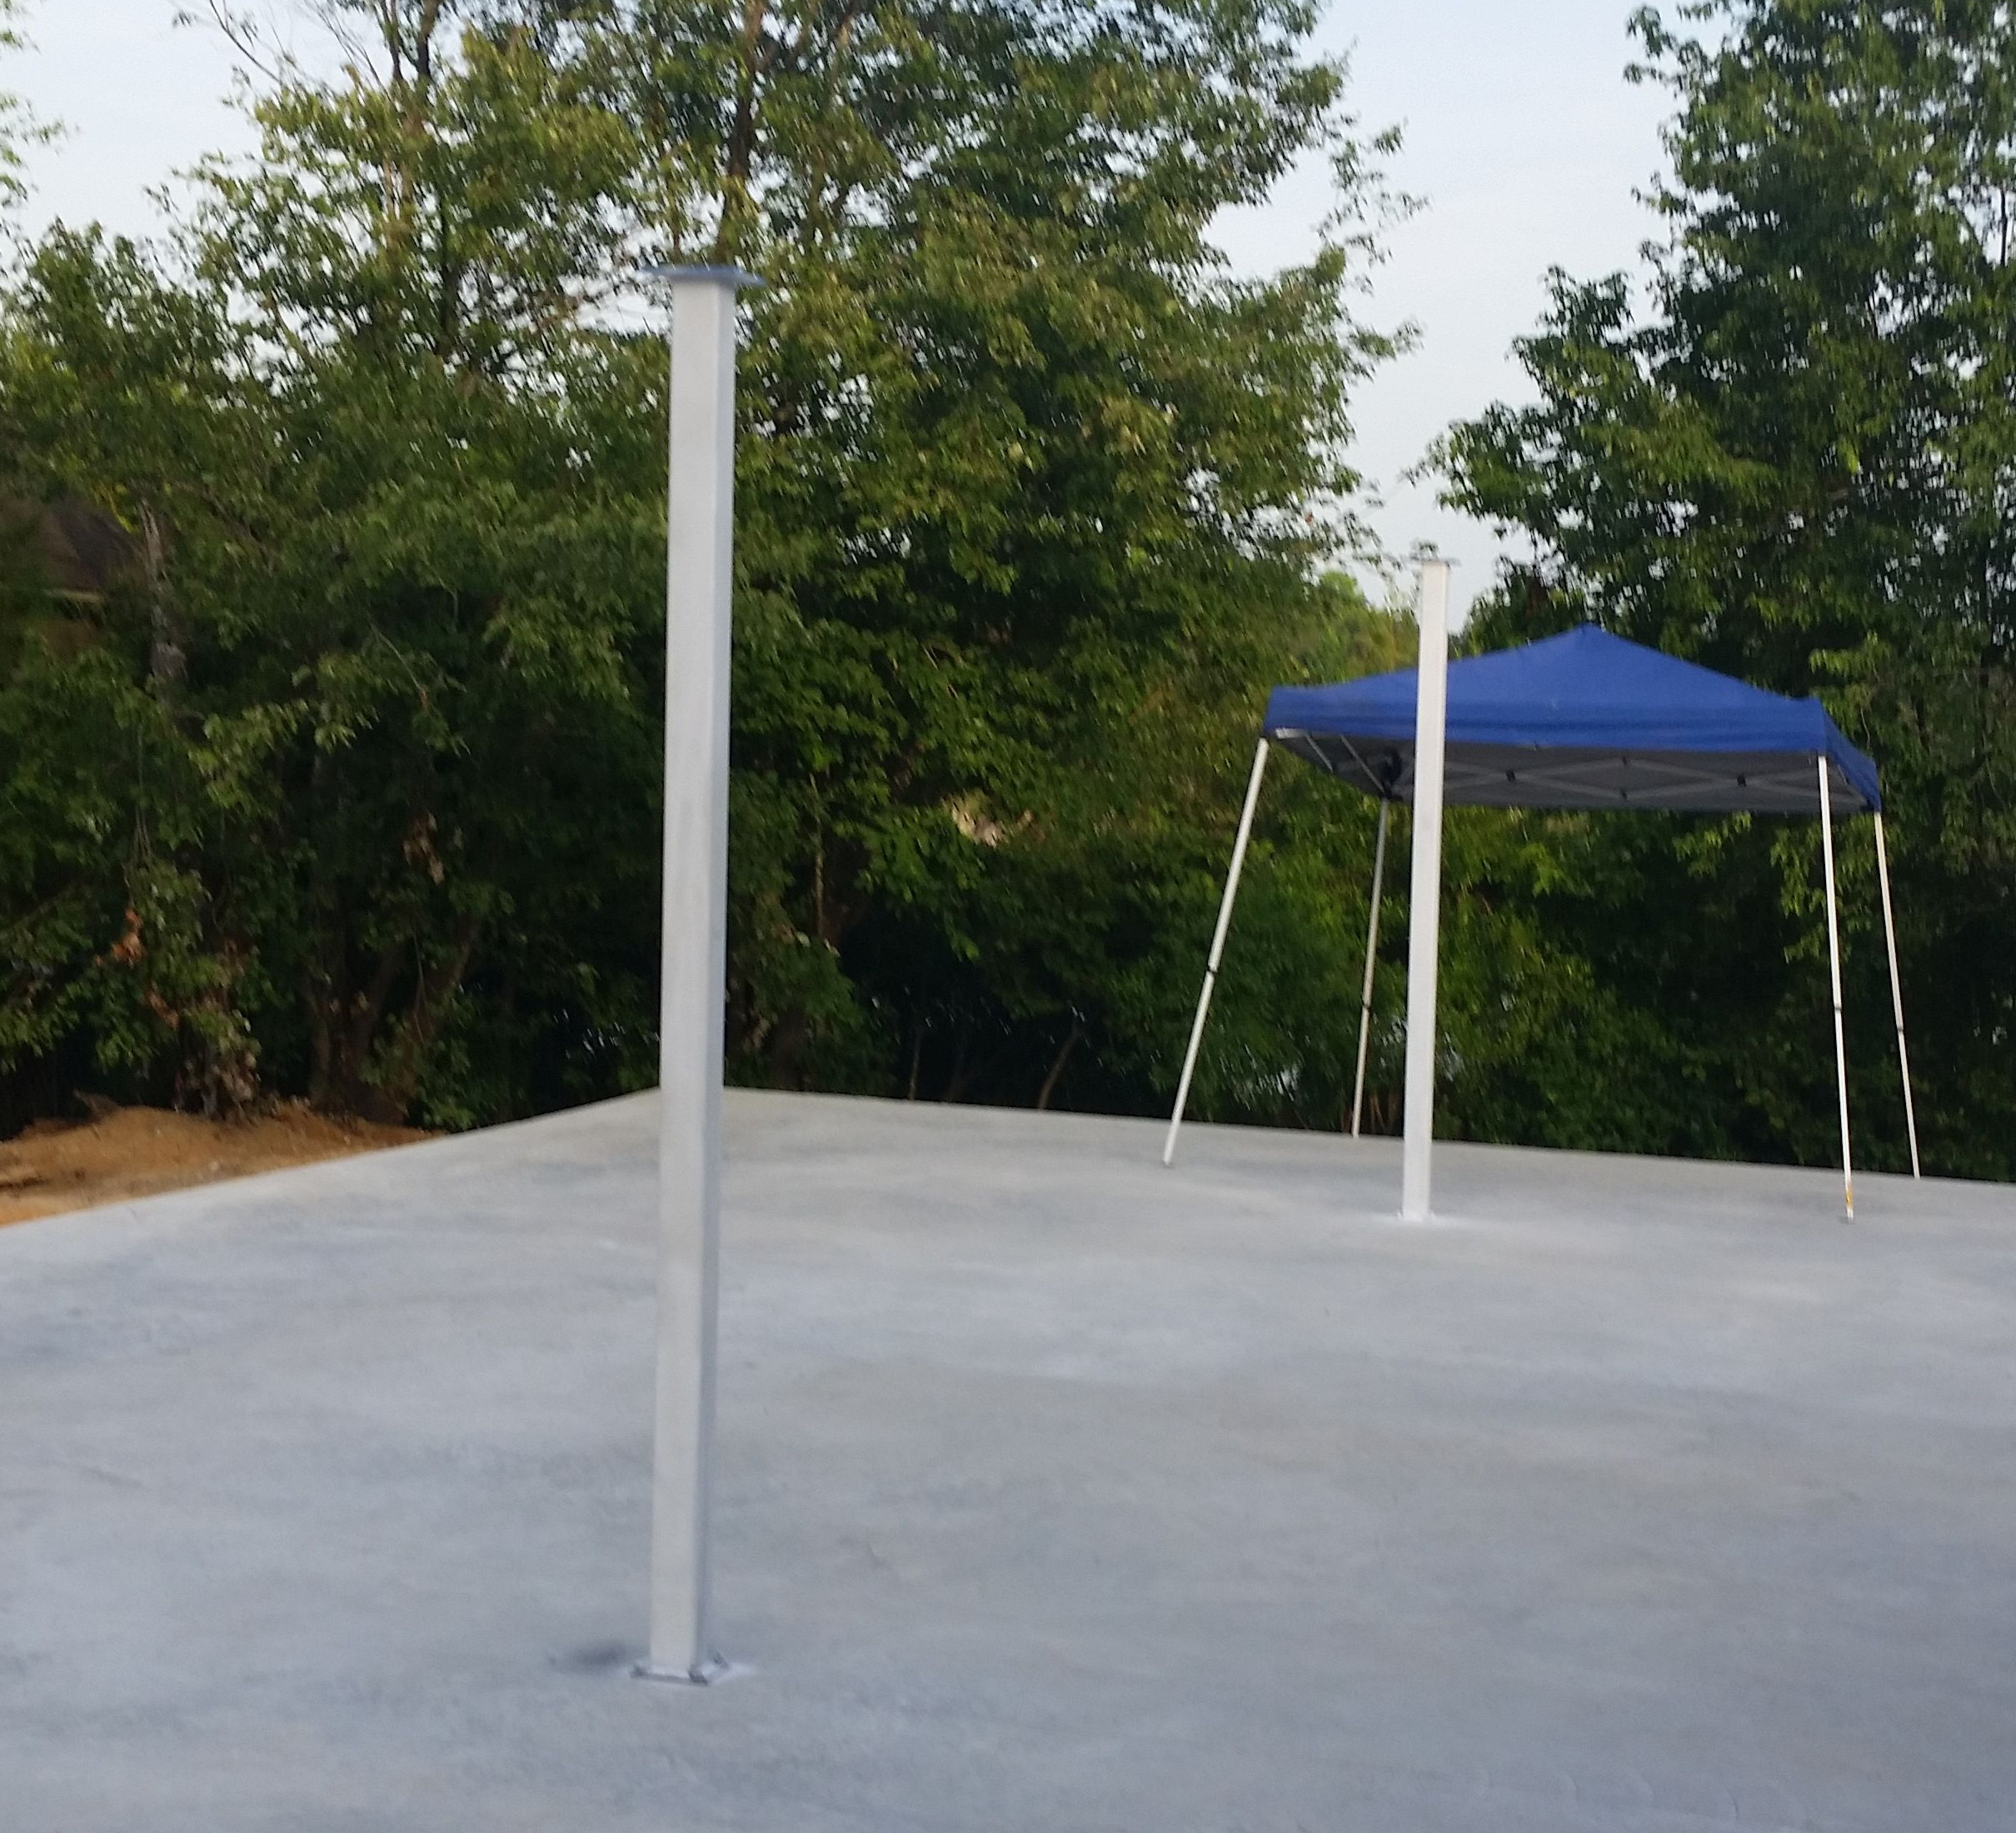
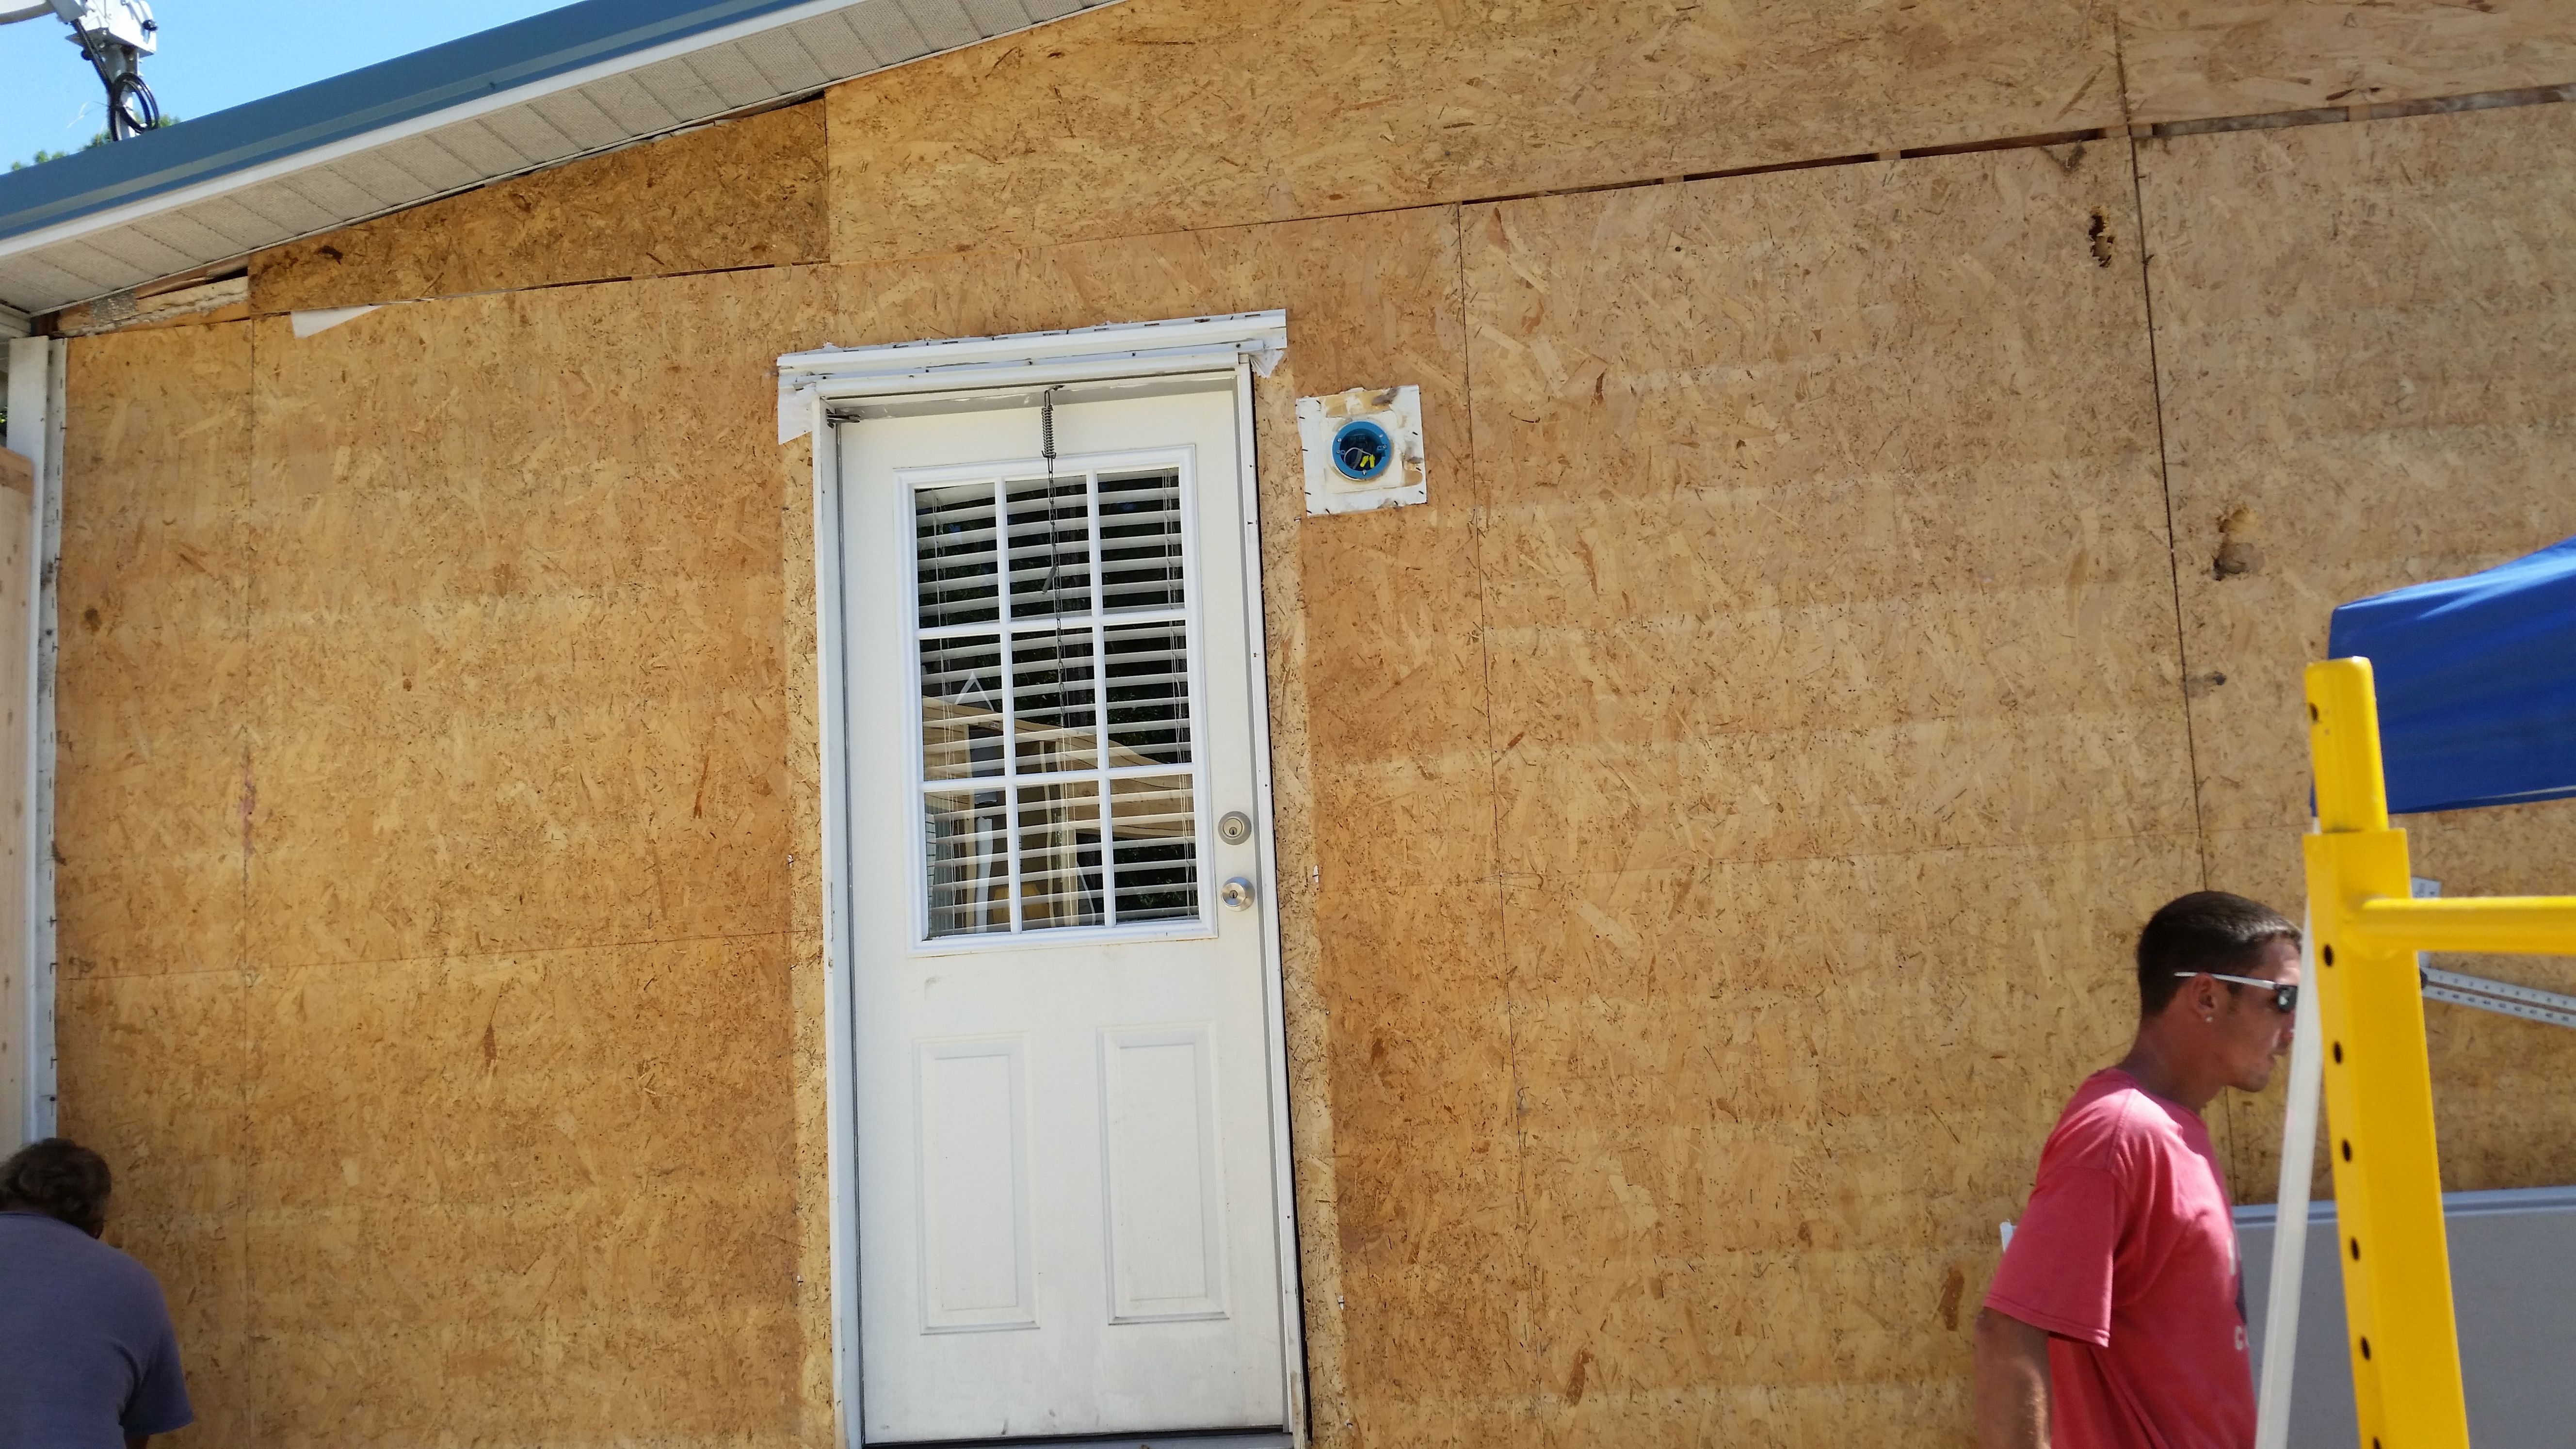
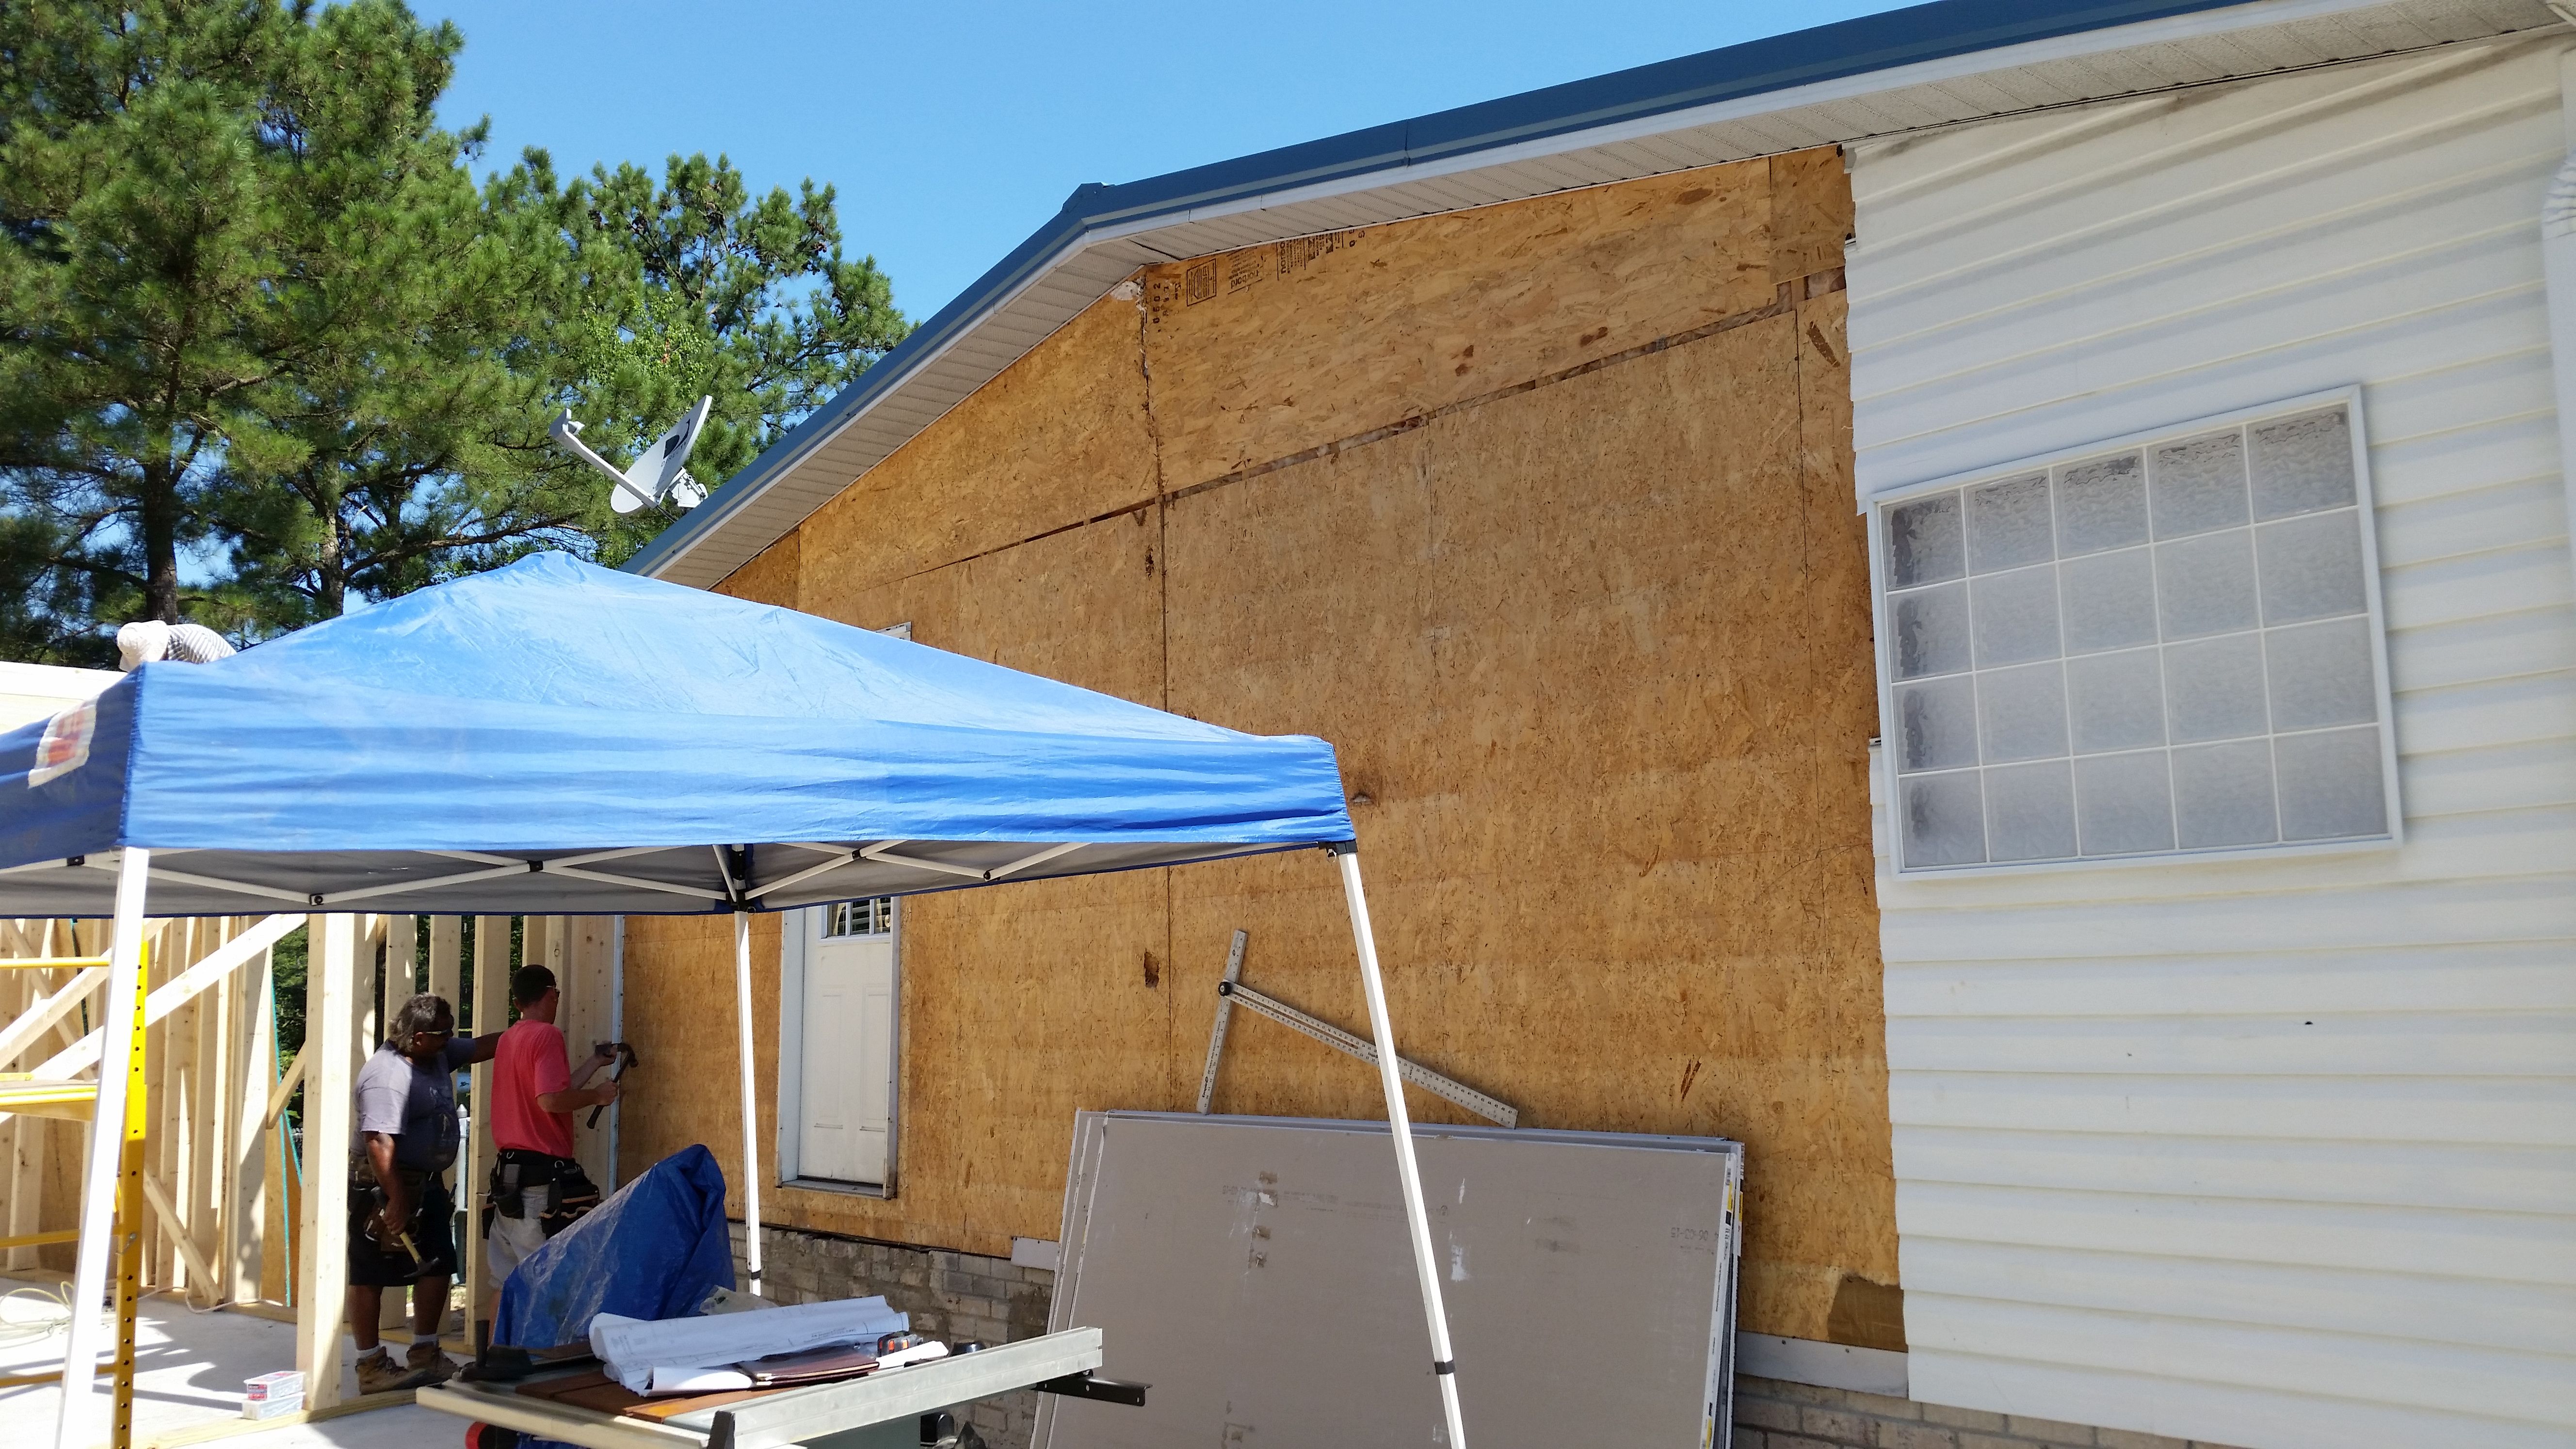
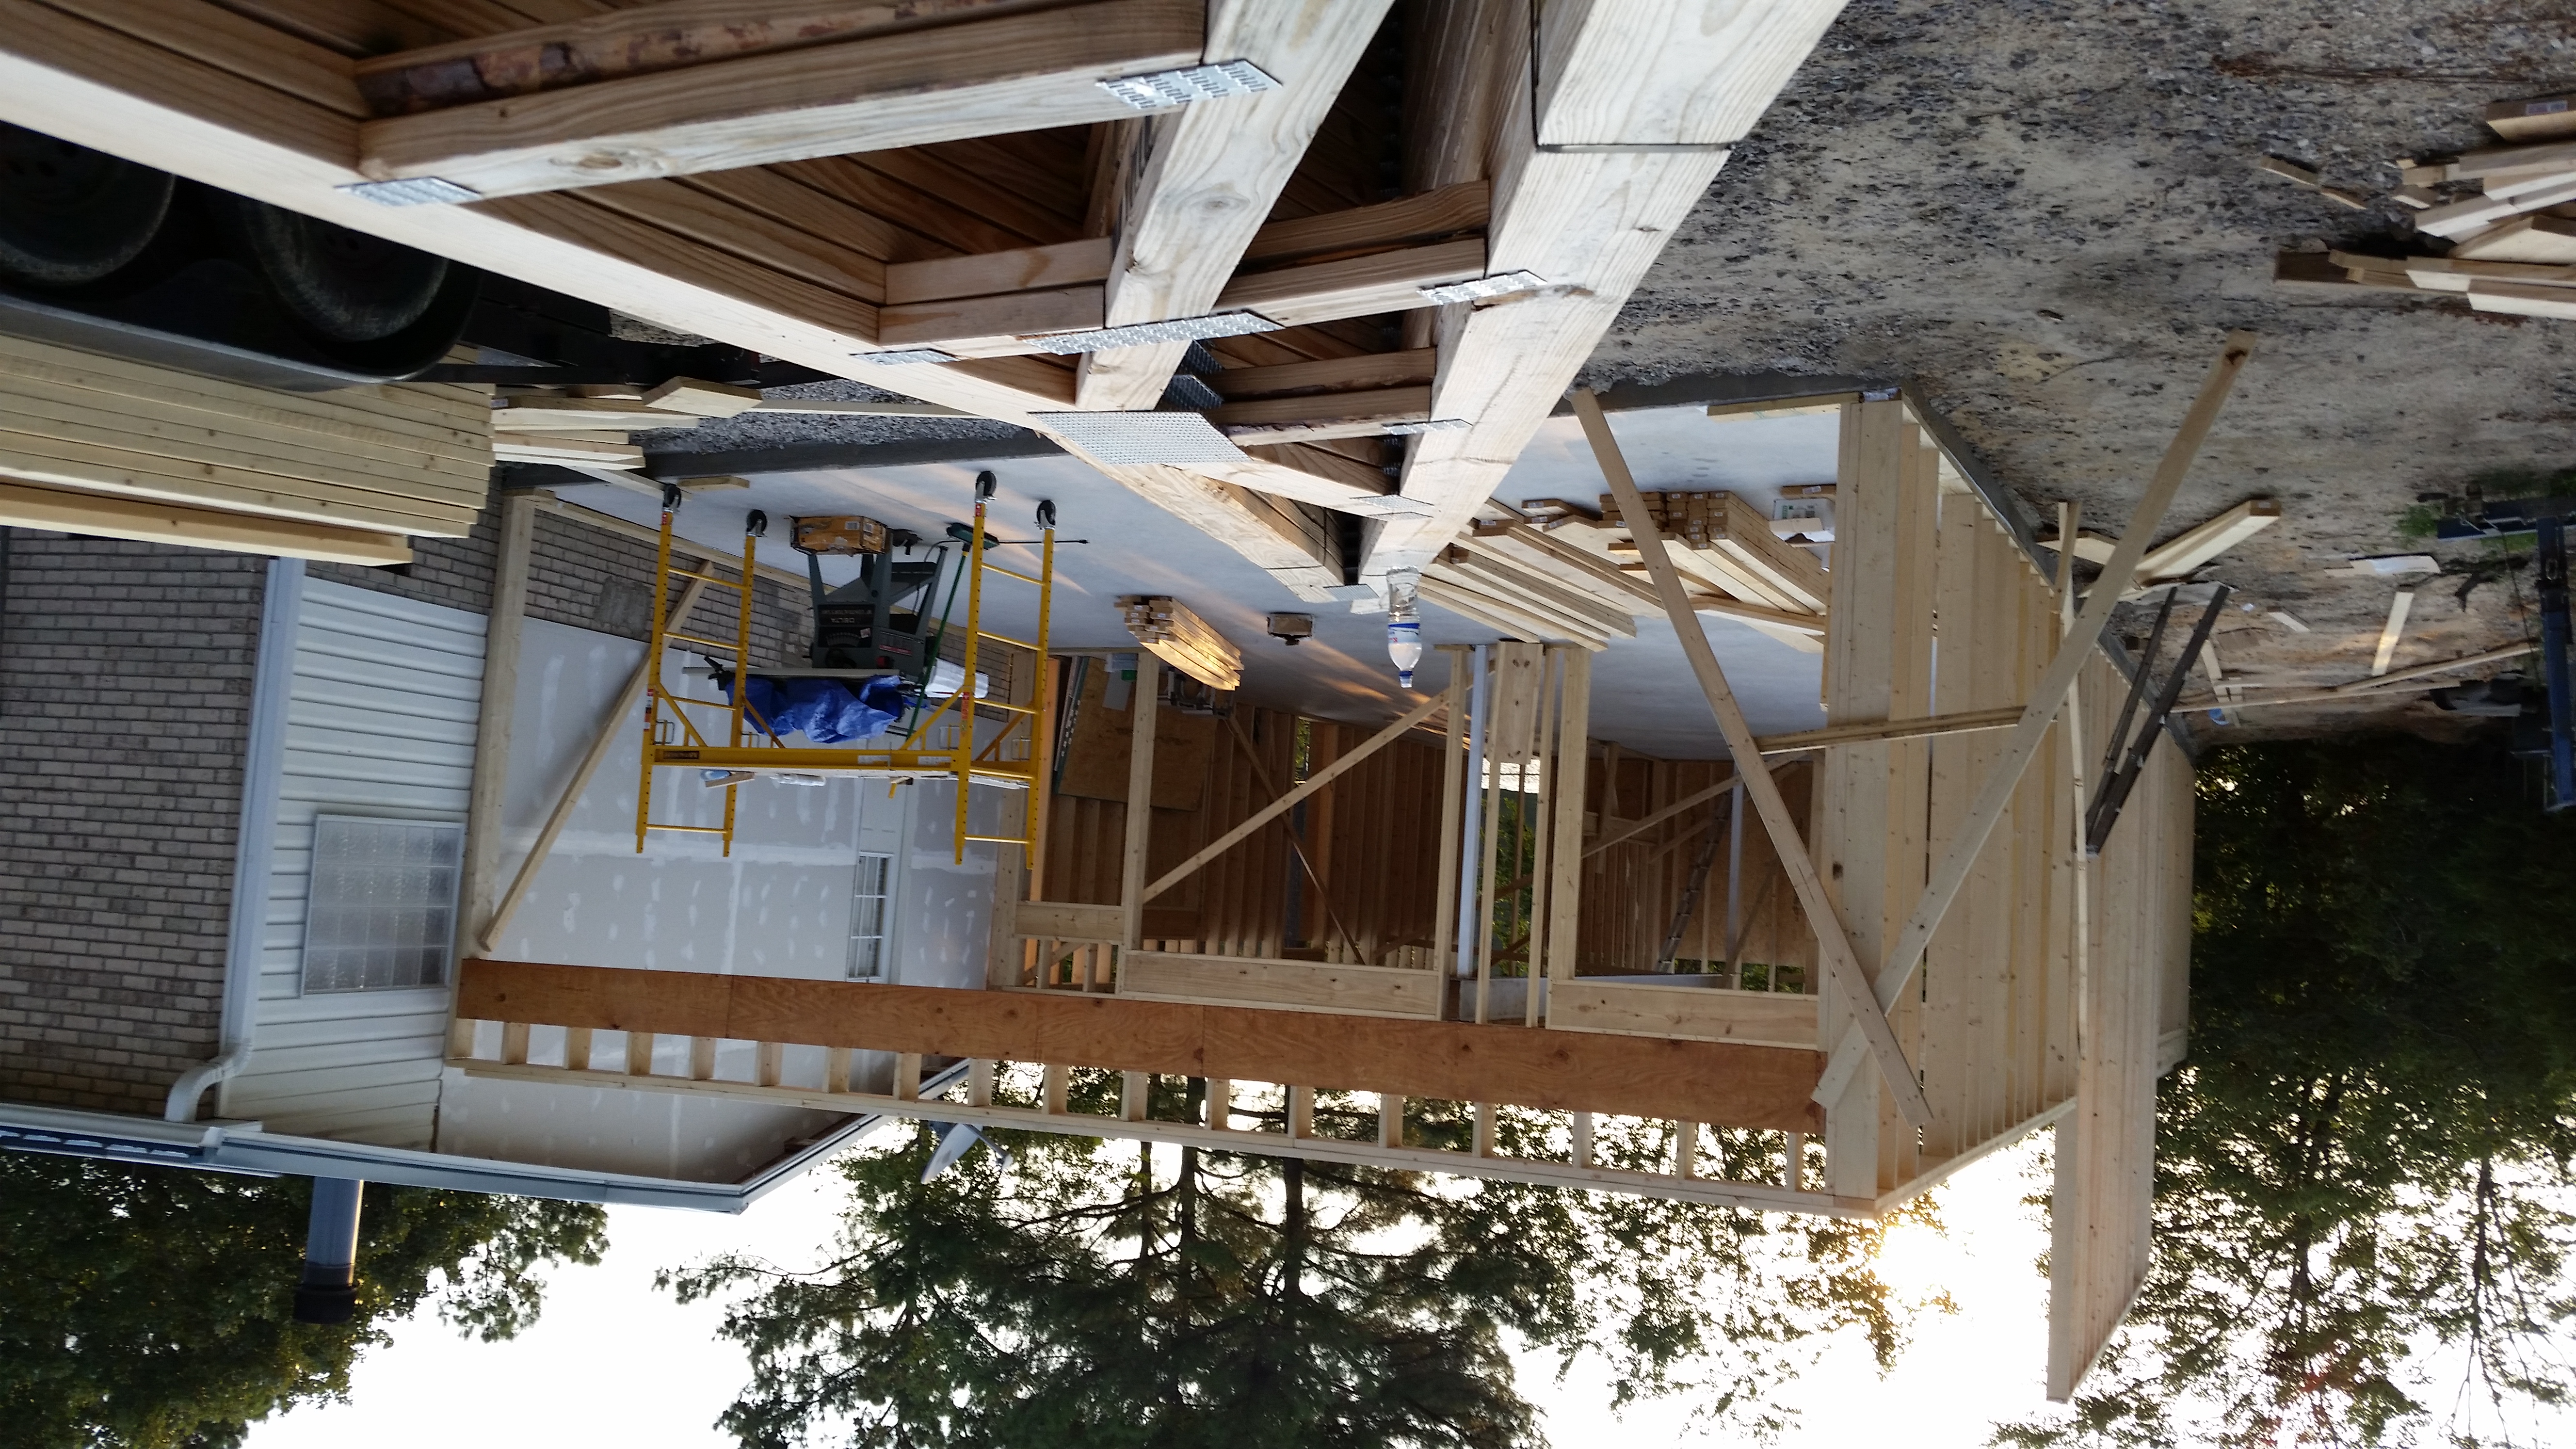
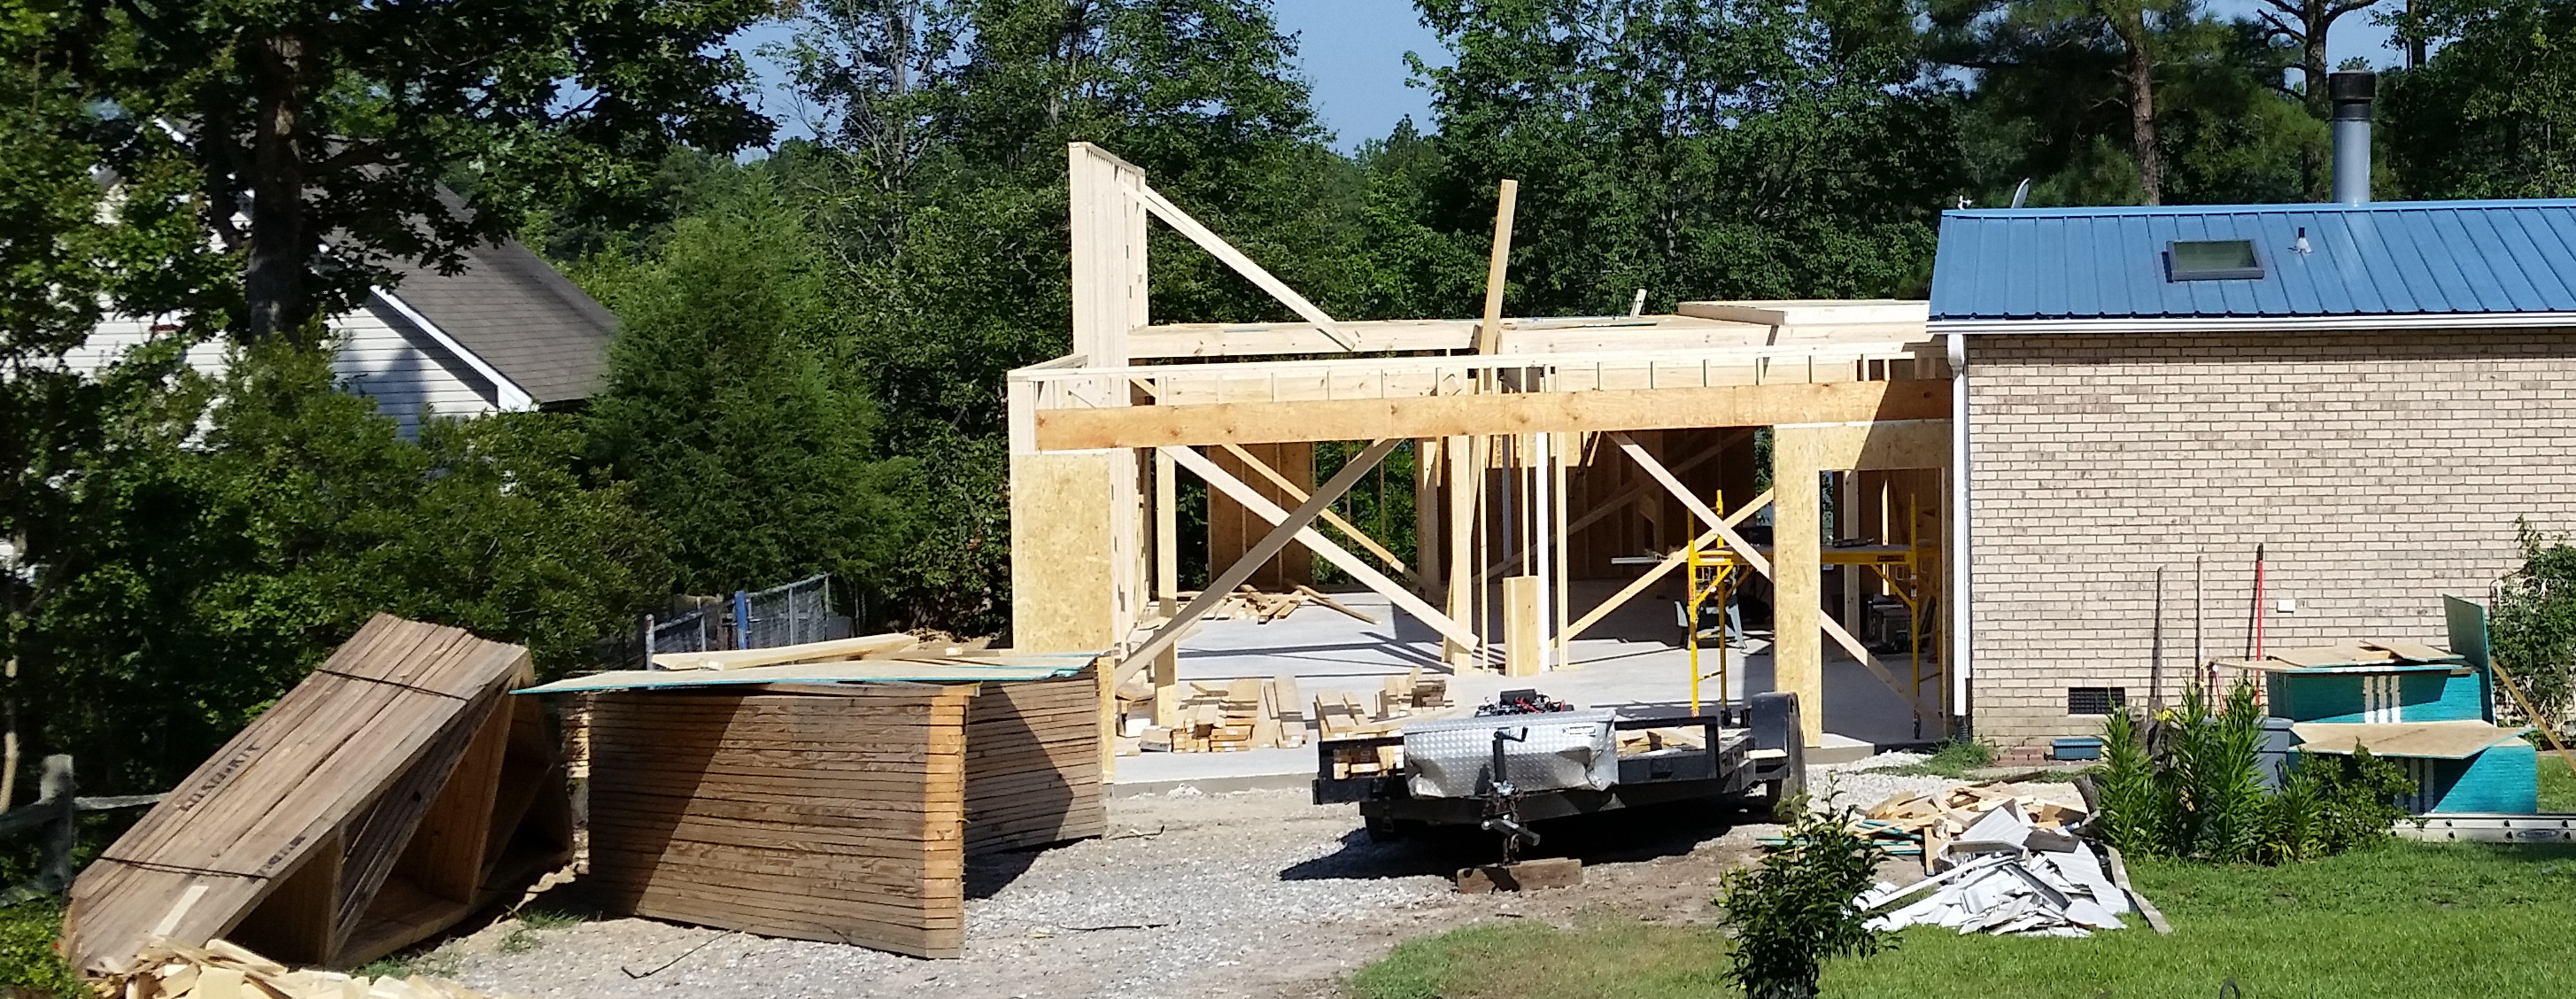
Framing started with the setting of the posts for the steel beam (which eliminated the need for any posts in the shop and the installation of the beam.  It also incuded removing the siding from the south end of the house and building a firewall.  We brought in a crane to lift the roof trusses into place.  The framers did all of the exterior construction, the joint wall between garage and shop, the two walls that defined the stairwell, the 2nd floor, the floor of the loft over the lift area as well as the 2nd floor closet over the lower part of the stairs.  They also helped me construct and set the post that anchored the inside of the U-shaped stairs.  I did the remainder of the interior construction including the stairs into the house and the U-shaped stairs to the 2nd floor.  I also installed all of the wall and ceiling insulation.

Framing 1  Framing 2
The flanges were added to the posts by Hercules Steel.  I carefully installed the posts for the secondary story steel beam before the framing began.
(You can see the chalk line I used of locate the intersection of the shop and garage wall.)  Unfortunately I did not take any pictures of the beam installation.
Framing 5  Framing 6
The siding on the house had to be removed before framing and the 5/8" wallboard firewall was added.  I was not happy to see how poorly the original modular wall OSB was installed.  Apparently the installers also punched holes in the OSB when they tied the two sections together.
Framing done the first day
The Framing crew was great.  This what they had done at the end of their first day.
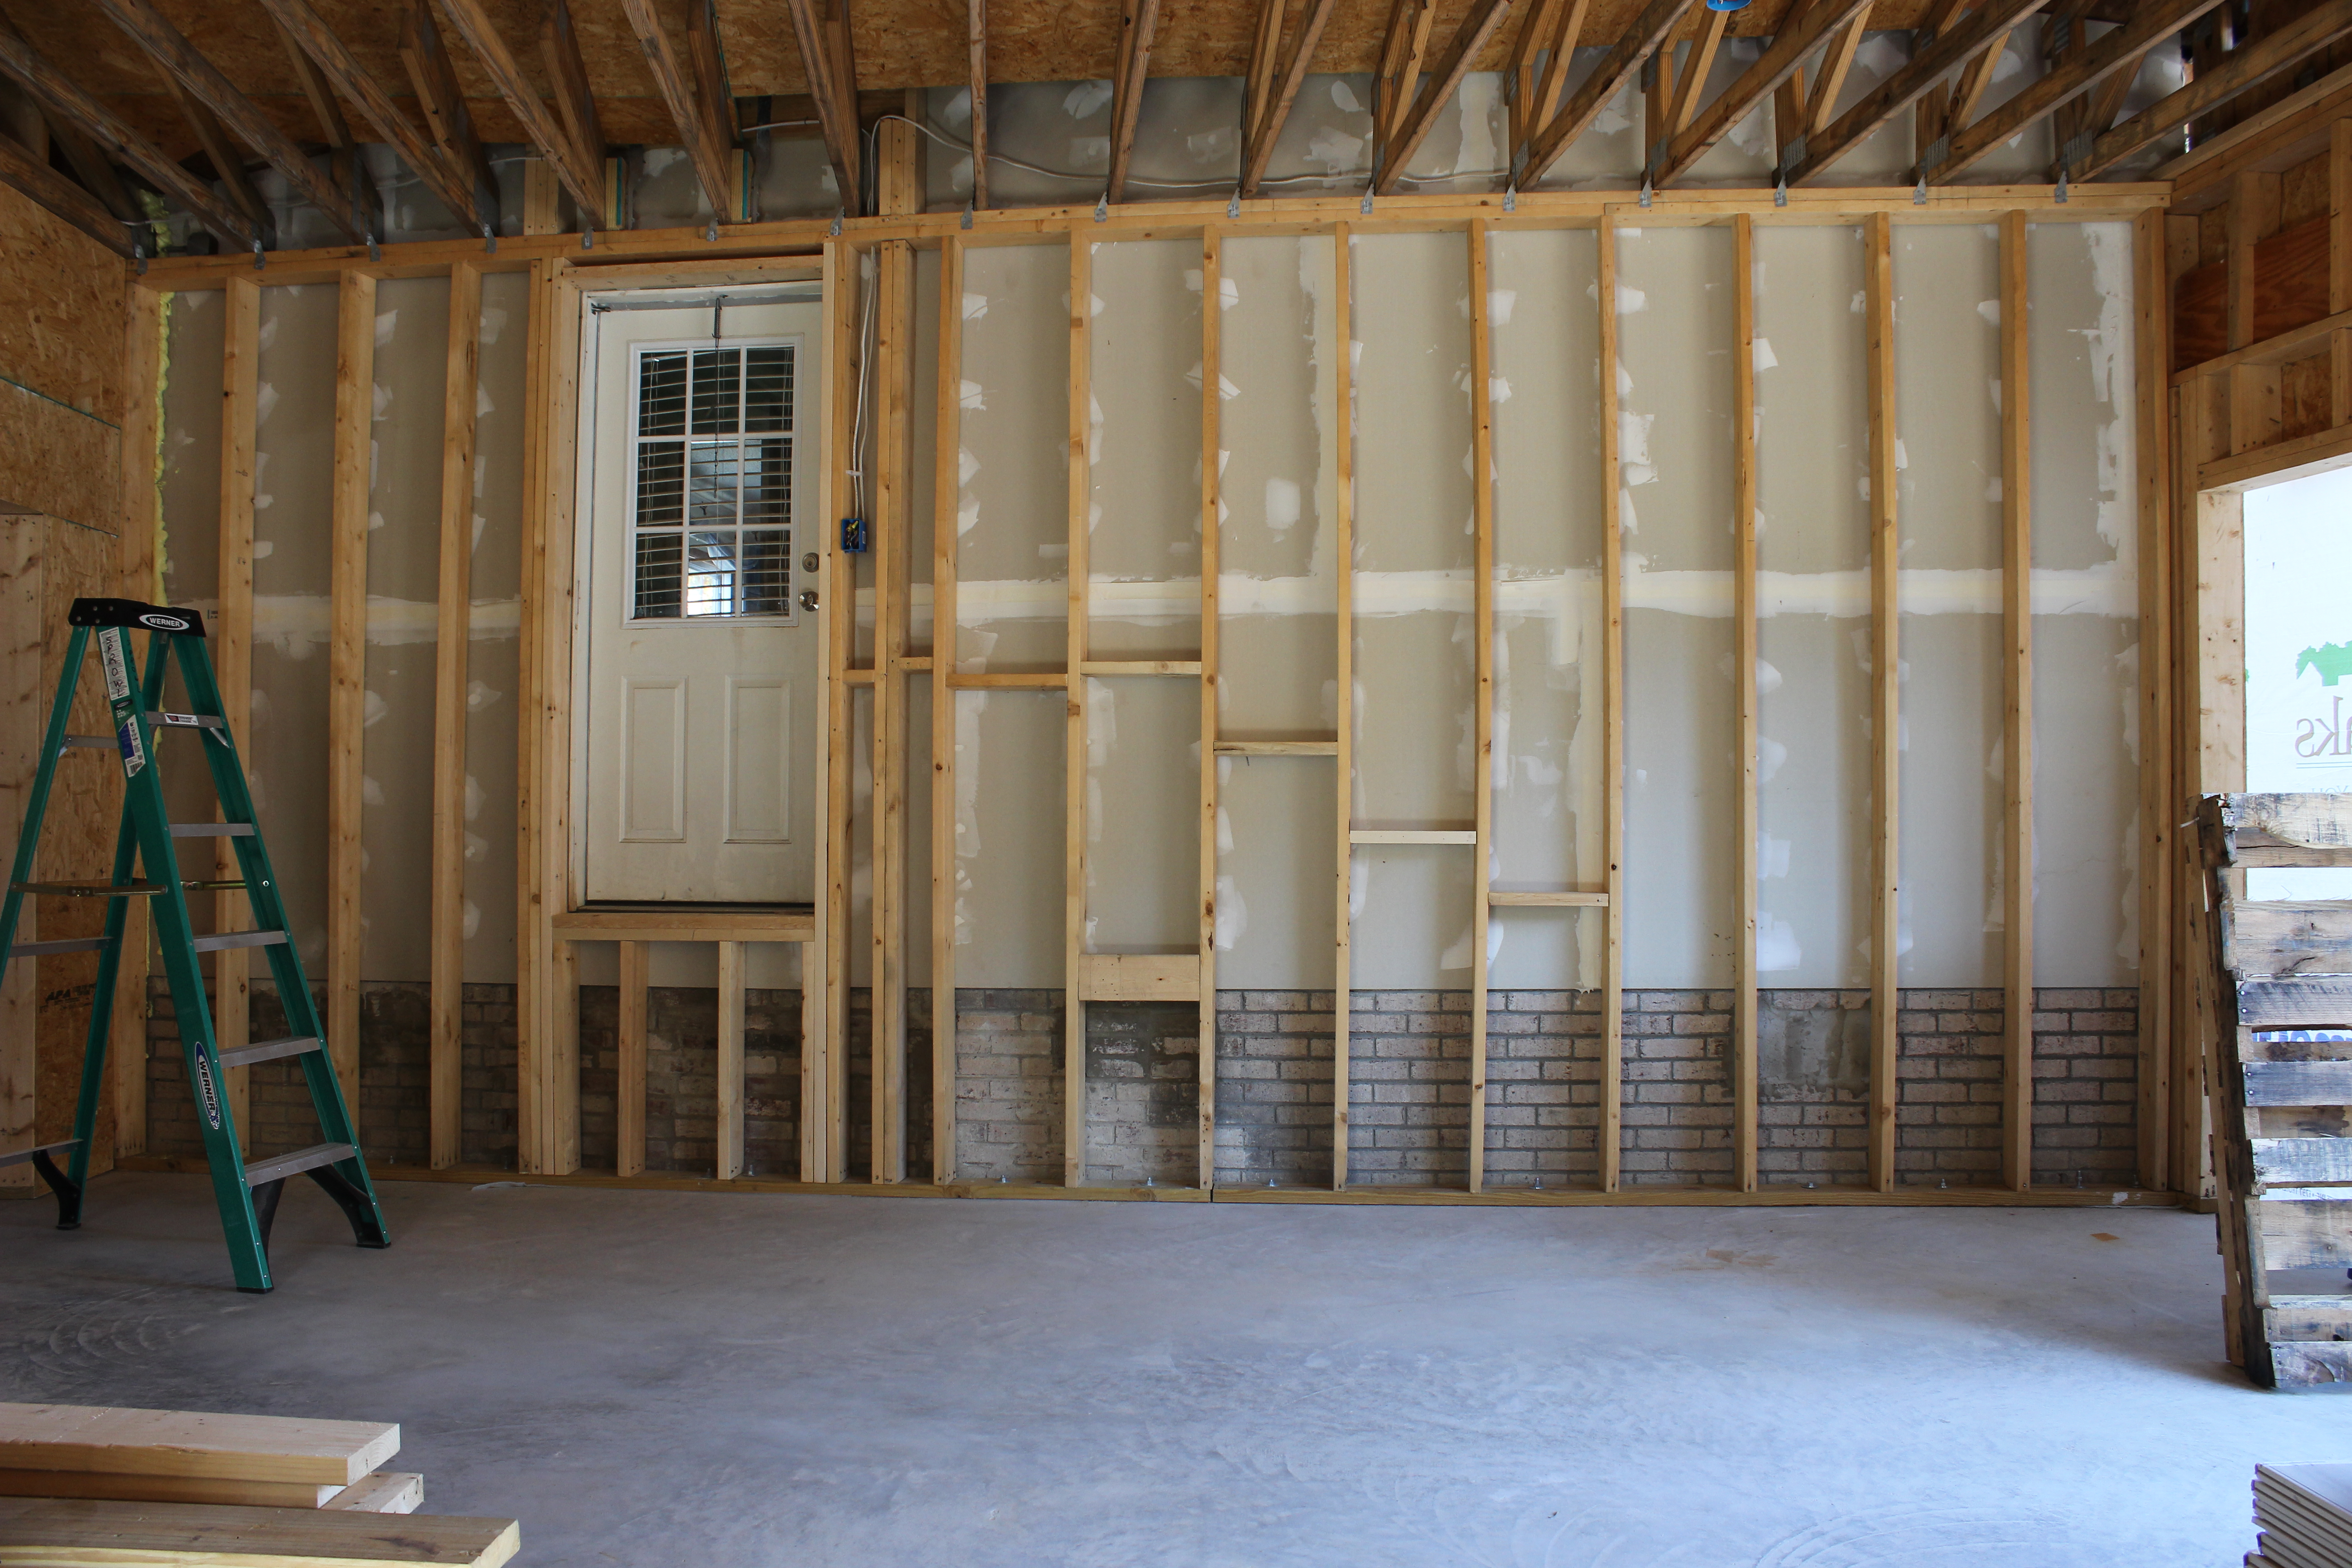
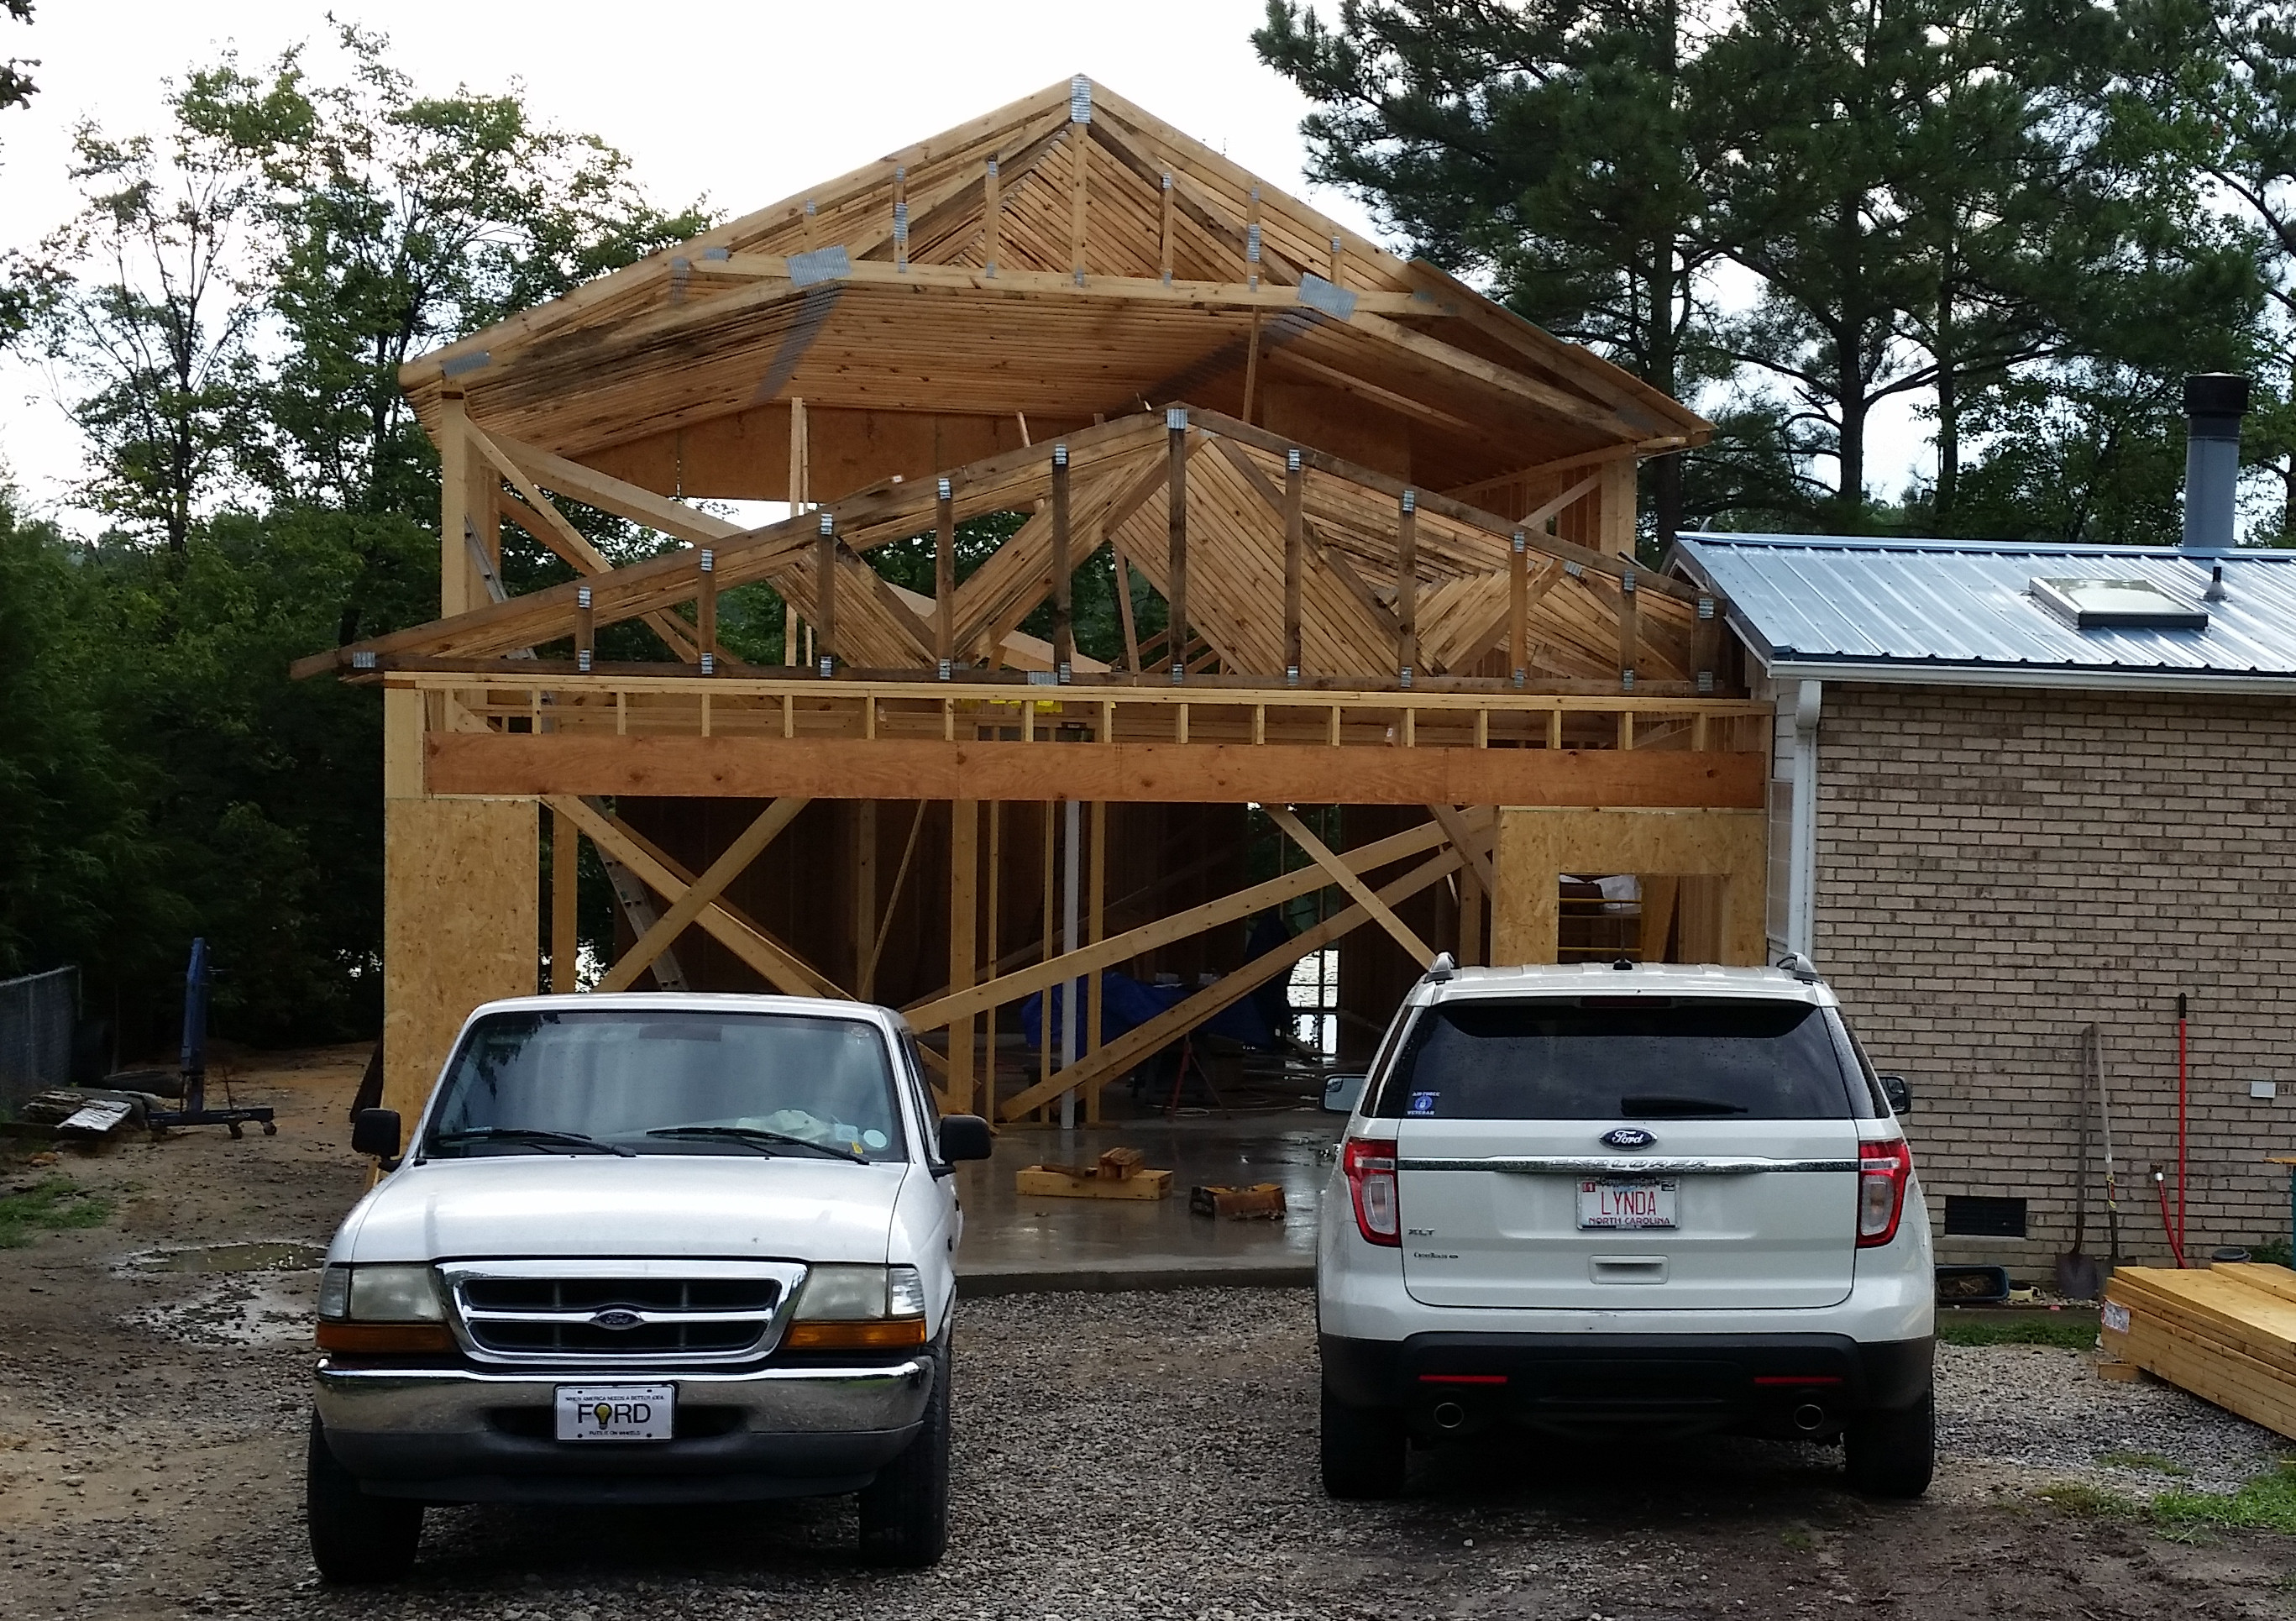
The two large door openings between the shop and garage as well the smaller walk through door can be seen.
Note the tall south wall for the lift area (center) and the wood beam for the front overhead door opening.

Roof truss installation underway.
Roof truss installation completed.
Framing 4
This picture shows many of the details.  The ceiling height in the bonus room is 6' at the outside walls but 8'4" in the center.  The construction of the trusses shows how this was done.

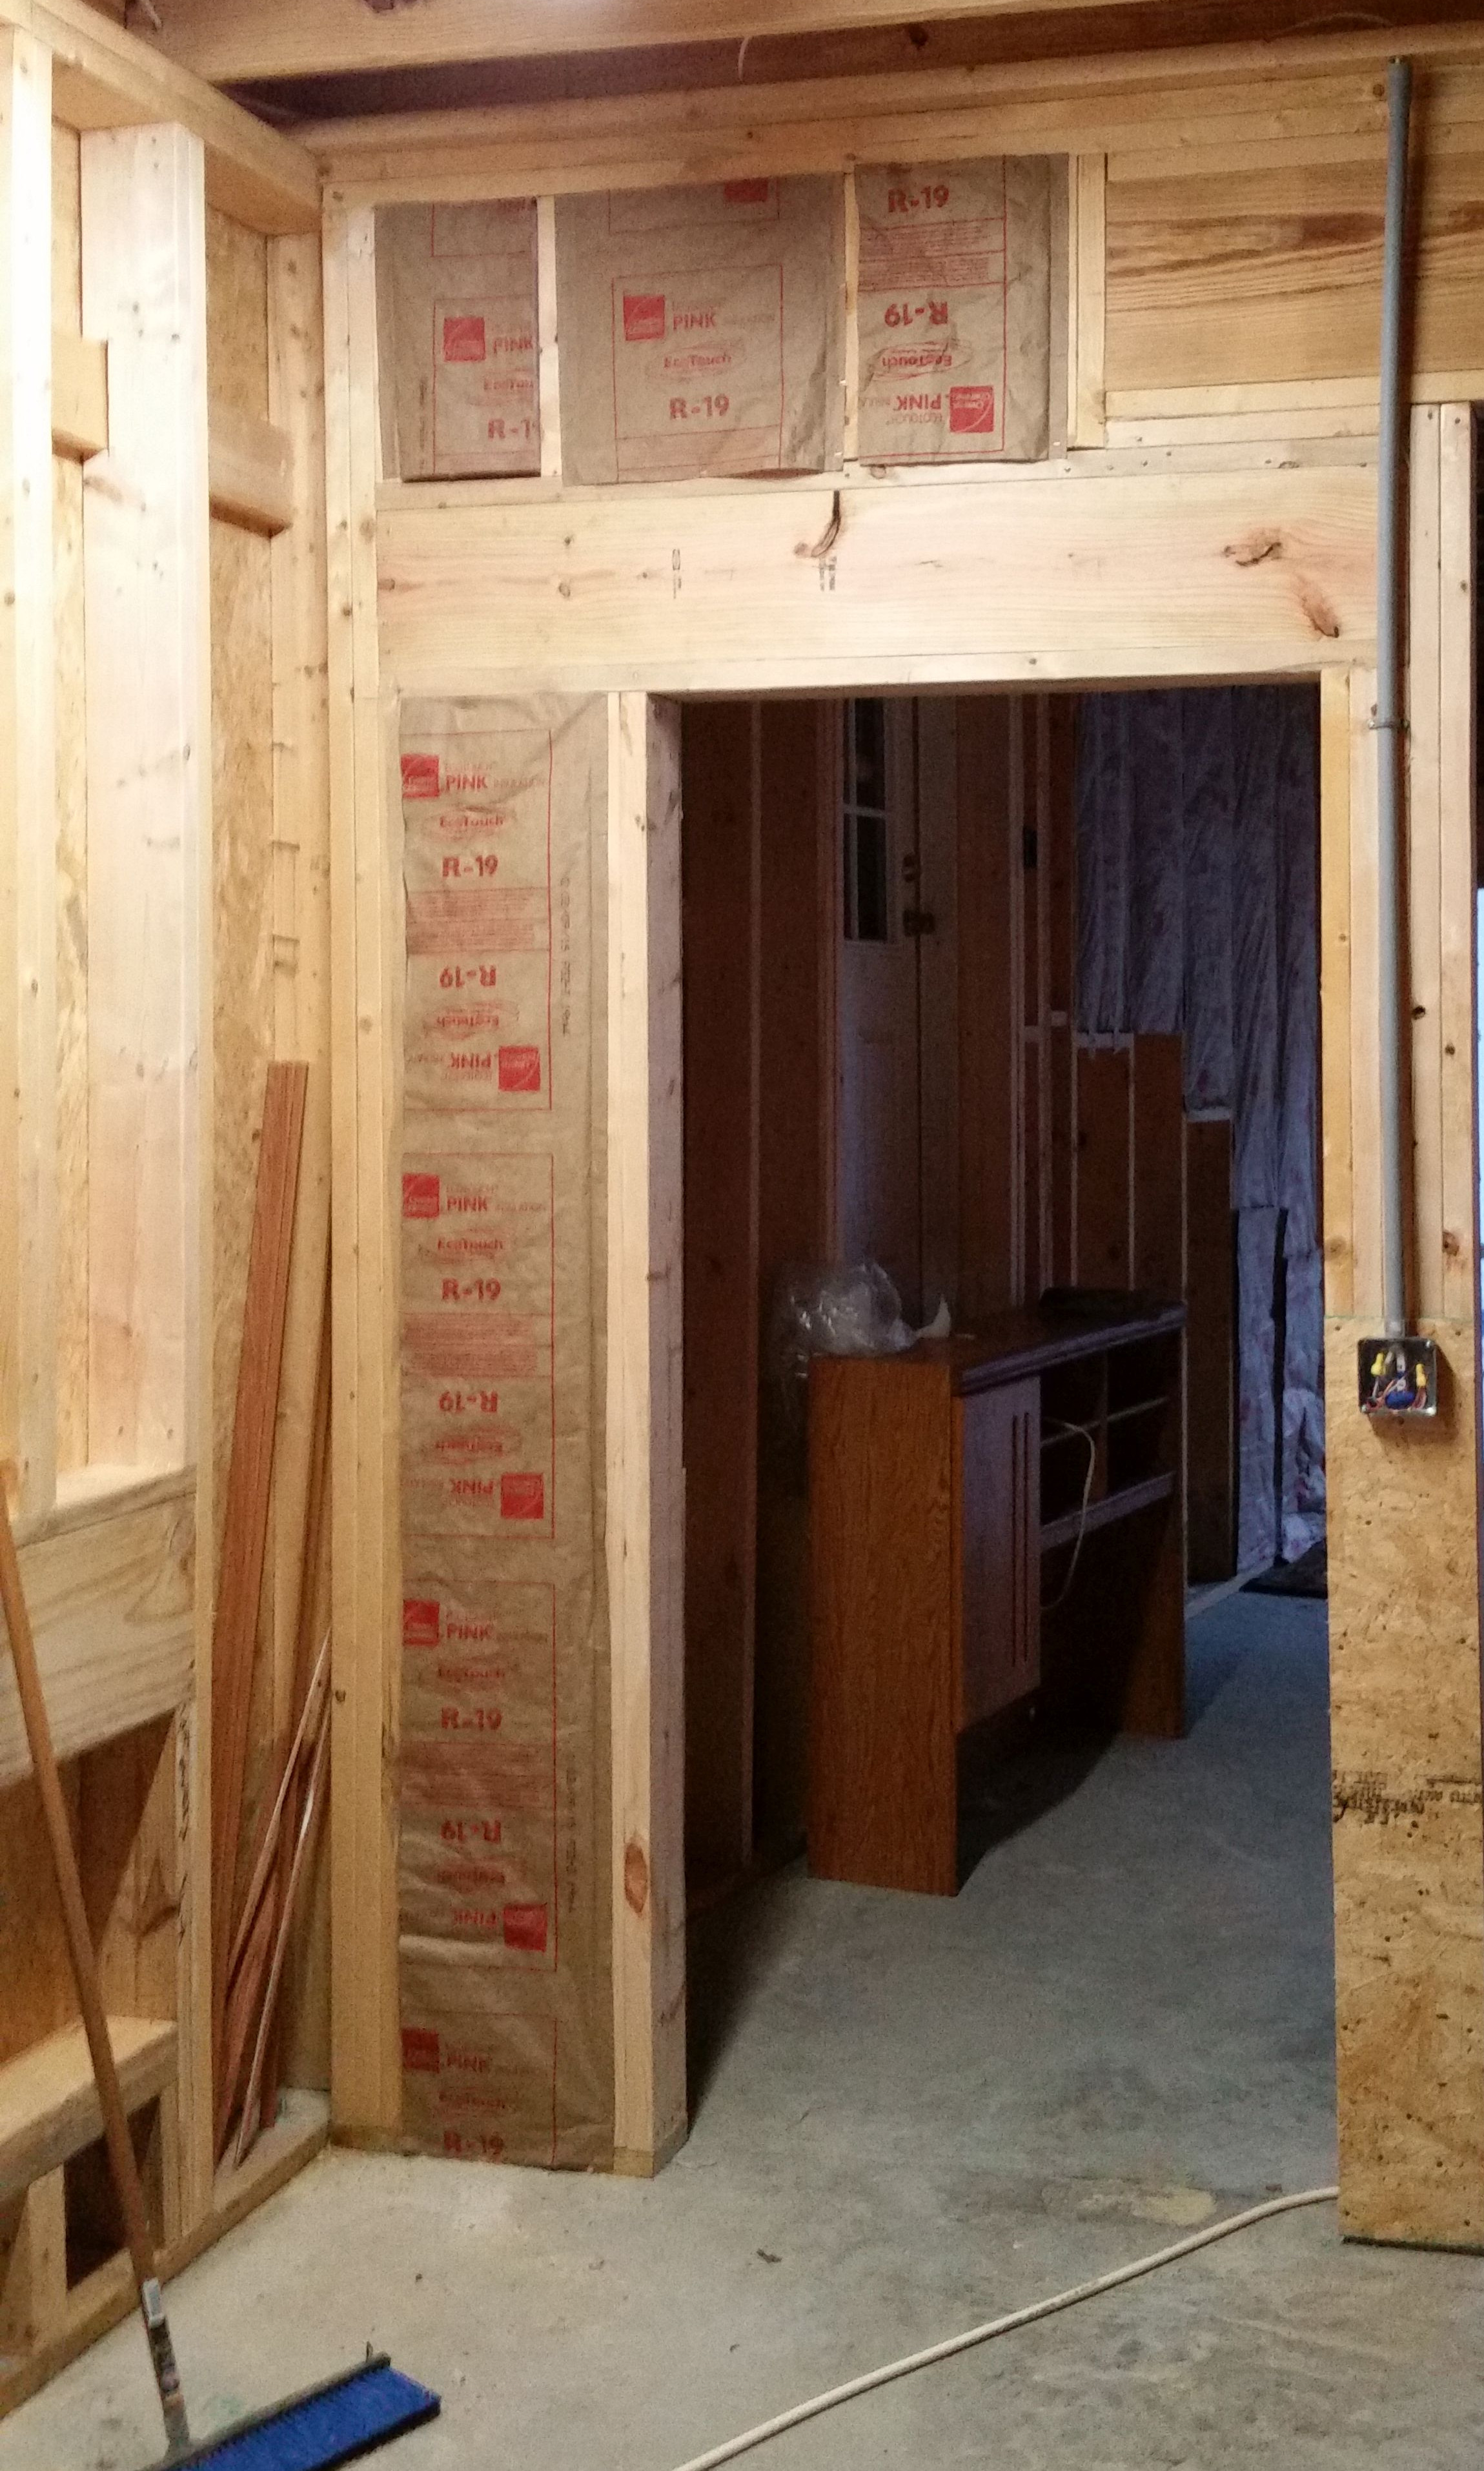
The floor of the back closet above the center (kite steps) of the stairs allows the stairwell light fixture to be more accessible.  The scuttle hole to the attic above the bonus room is located in this back closet.  The closet back wall (floor) above the upper stairwell run is plywood as I was concerned that children playing in there might fall through.

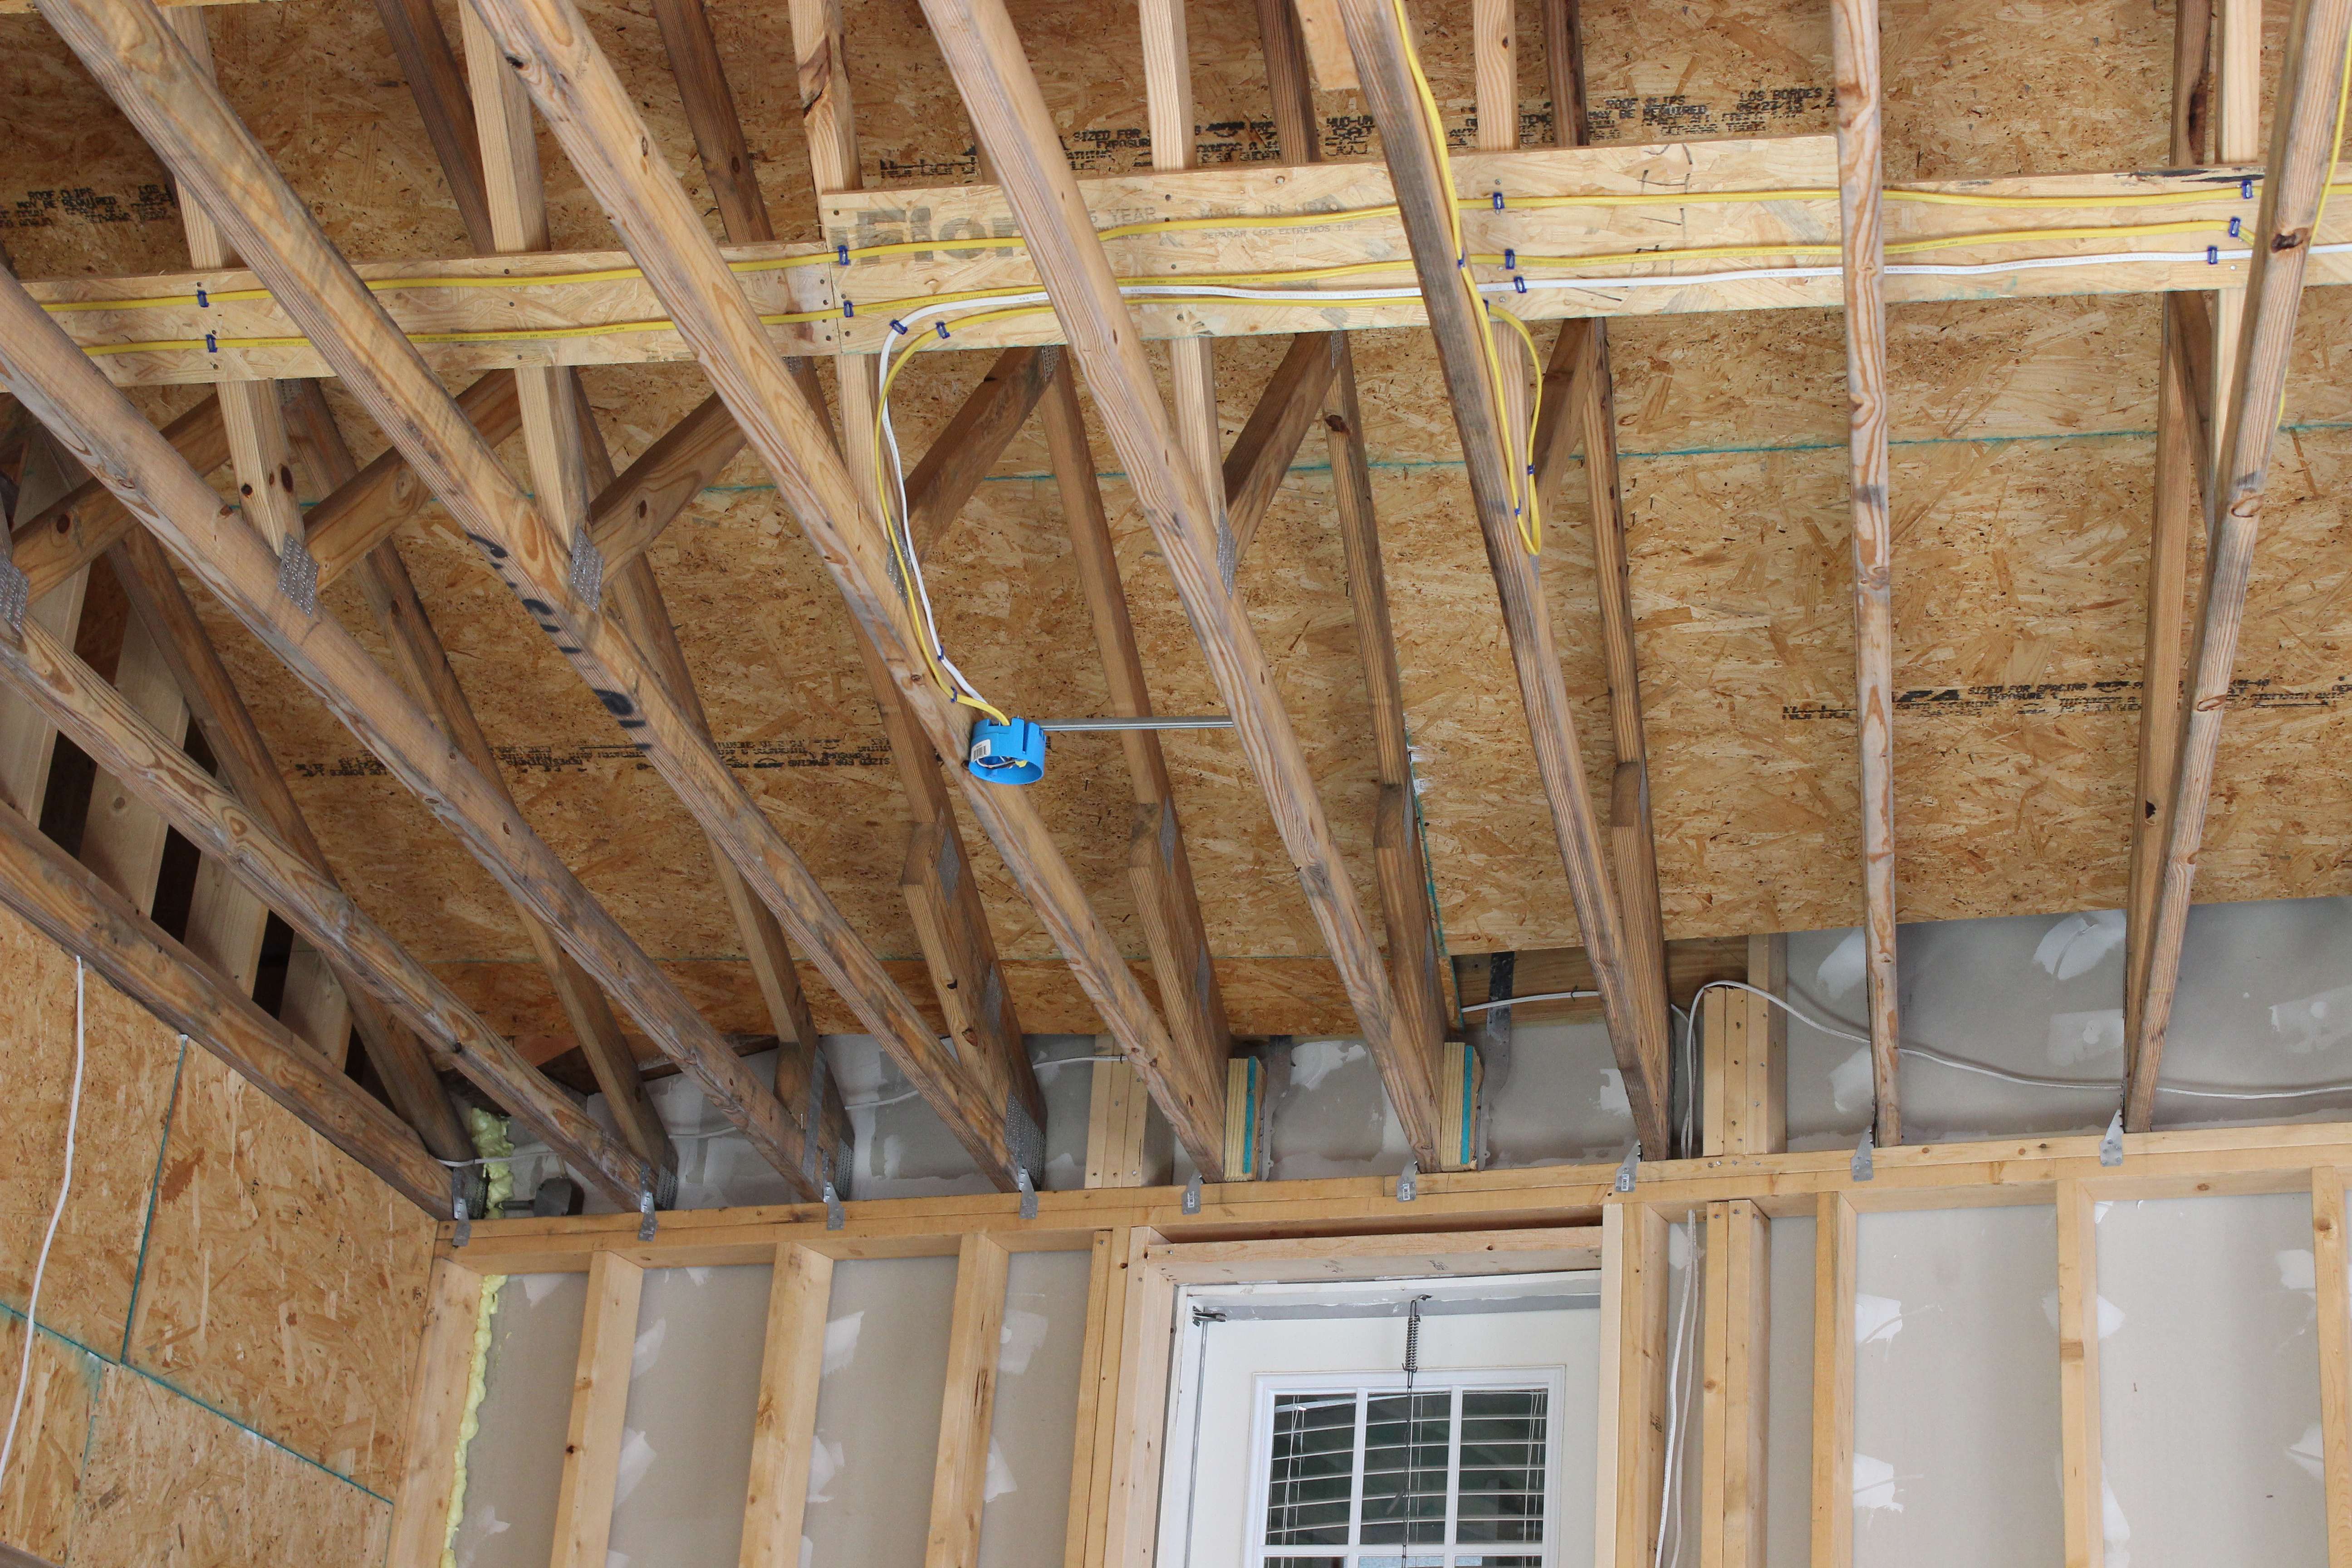
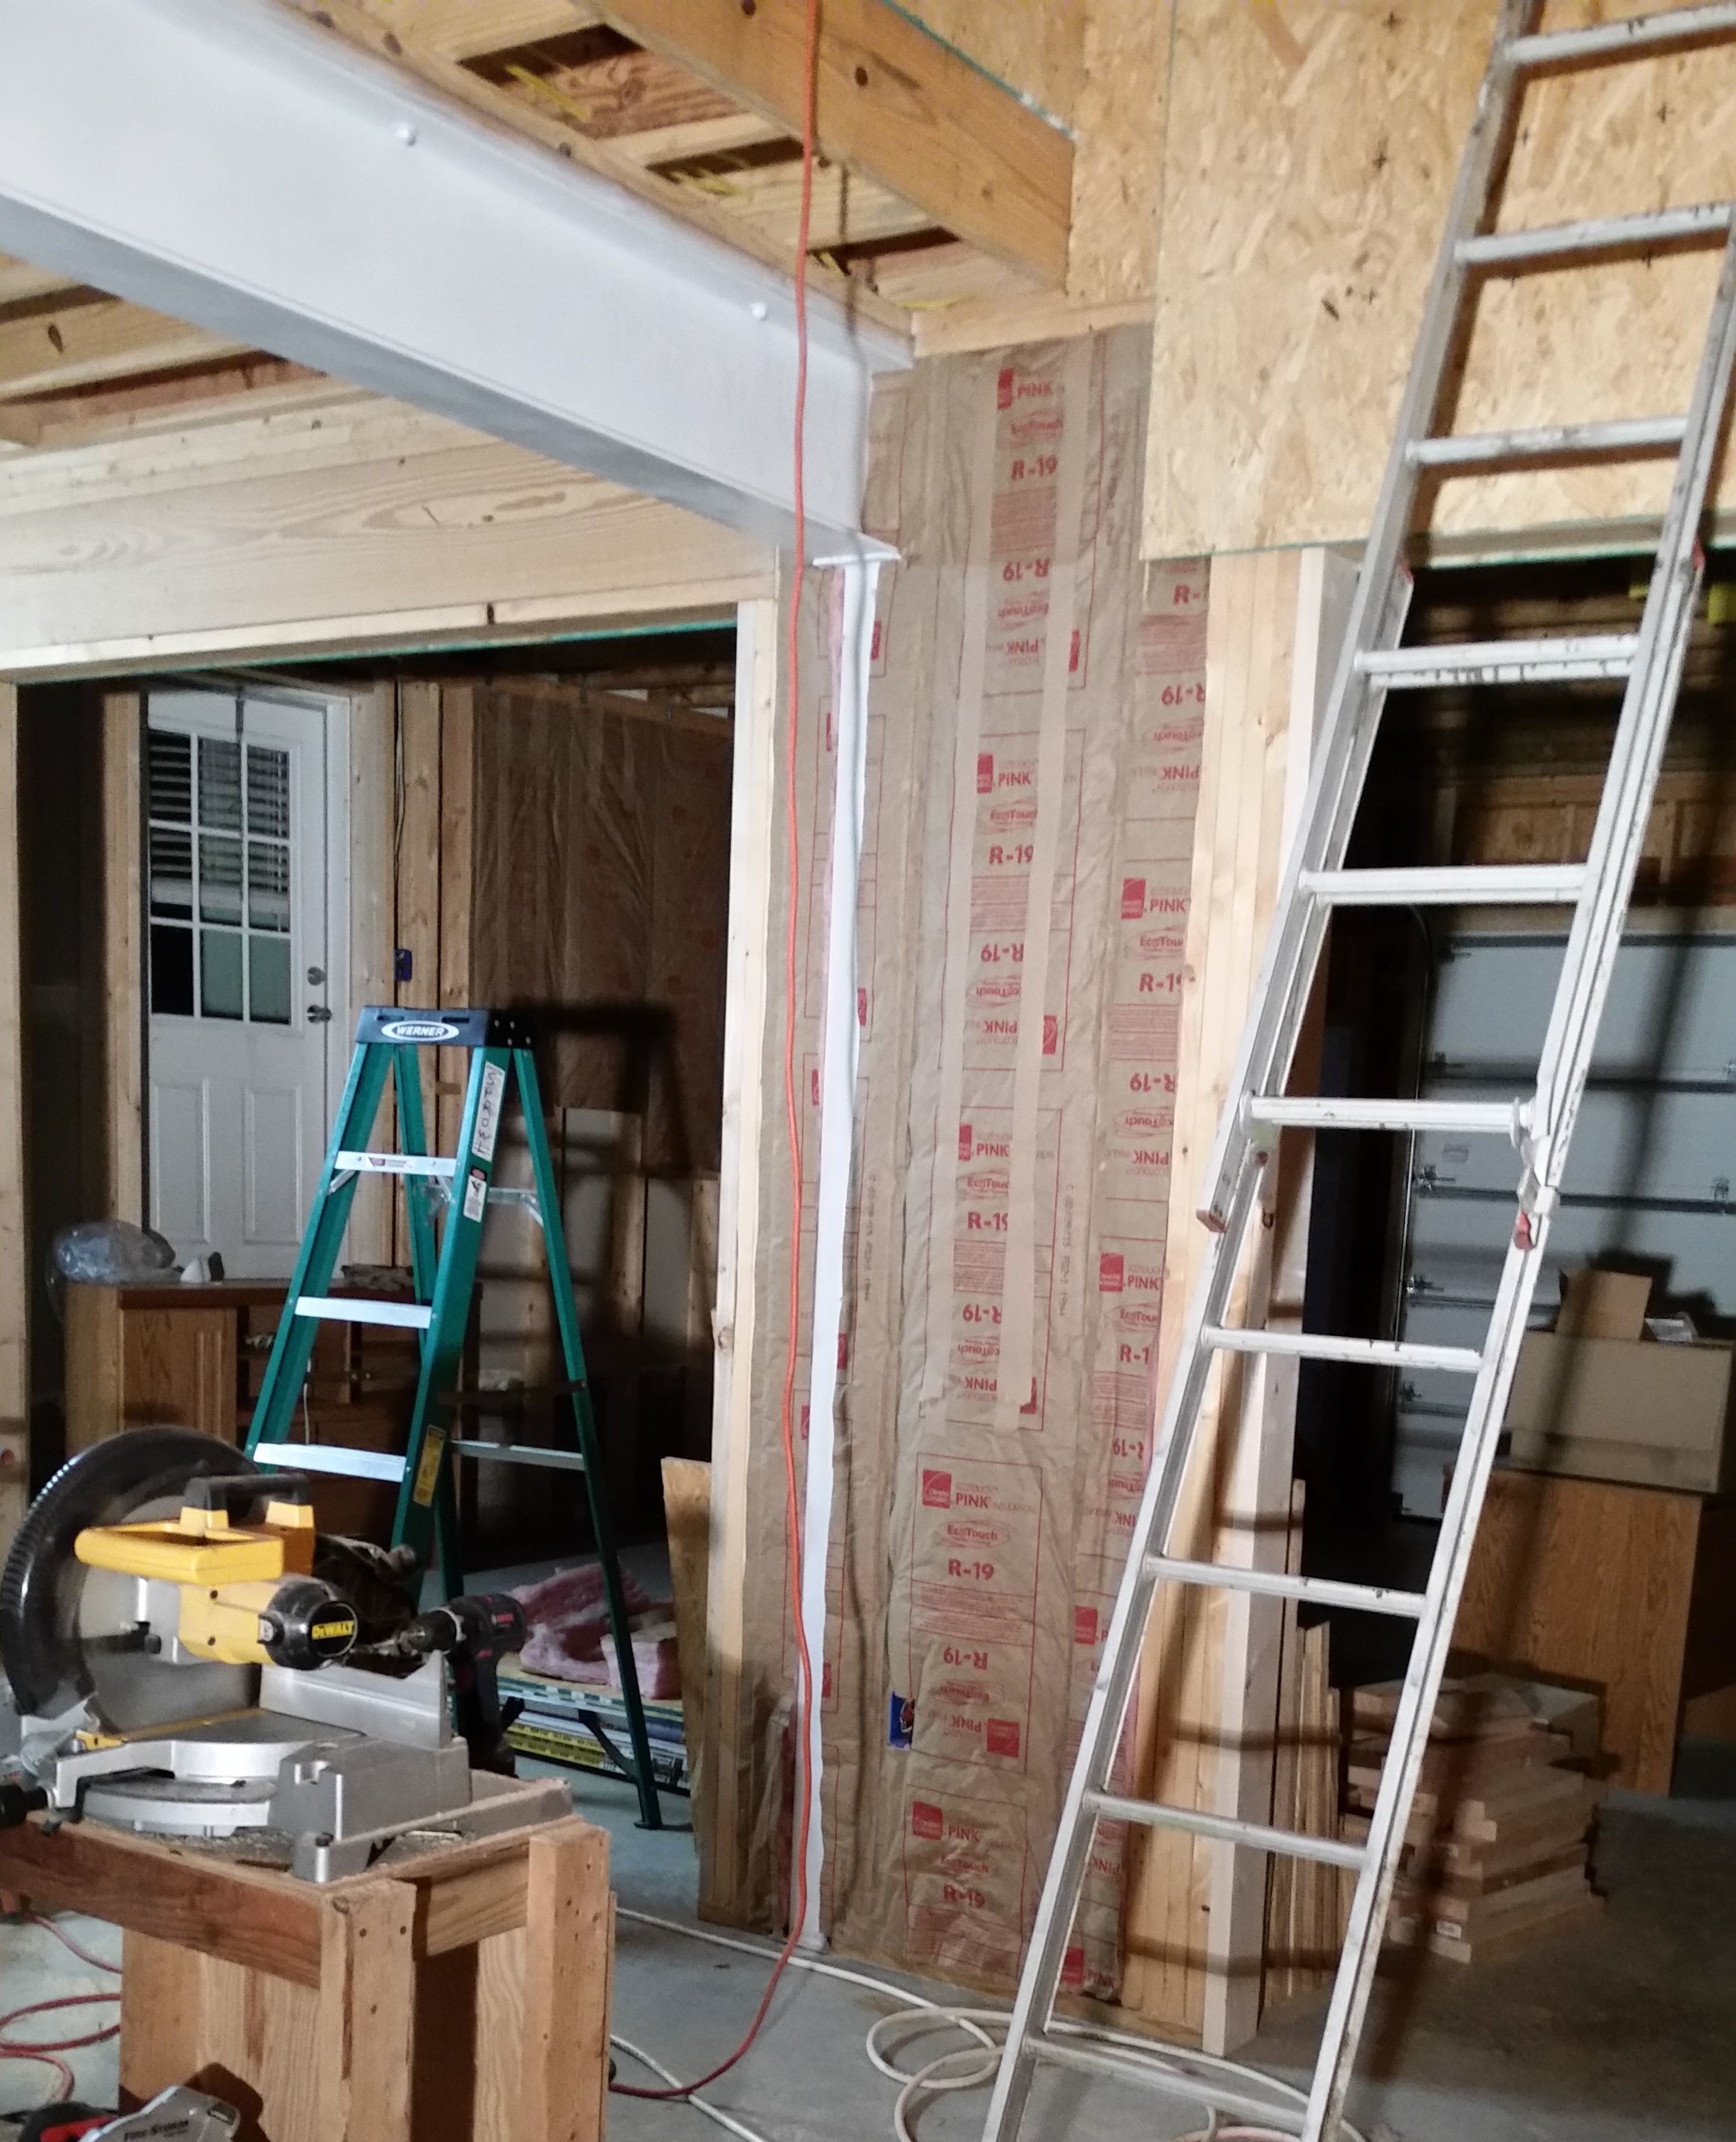
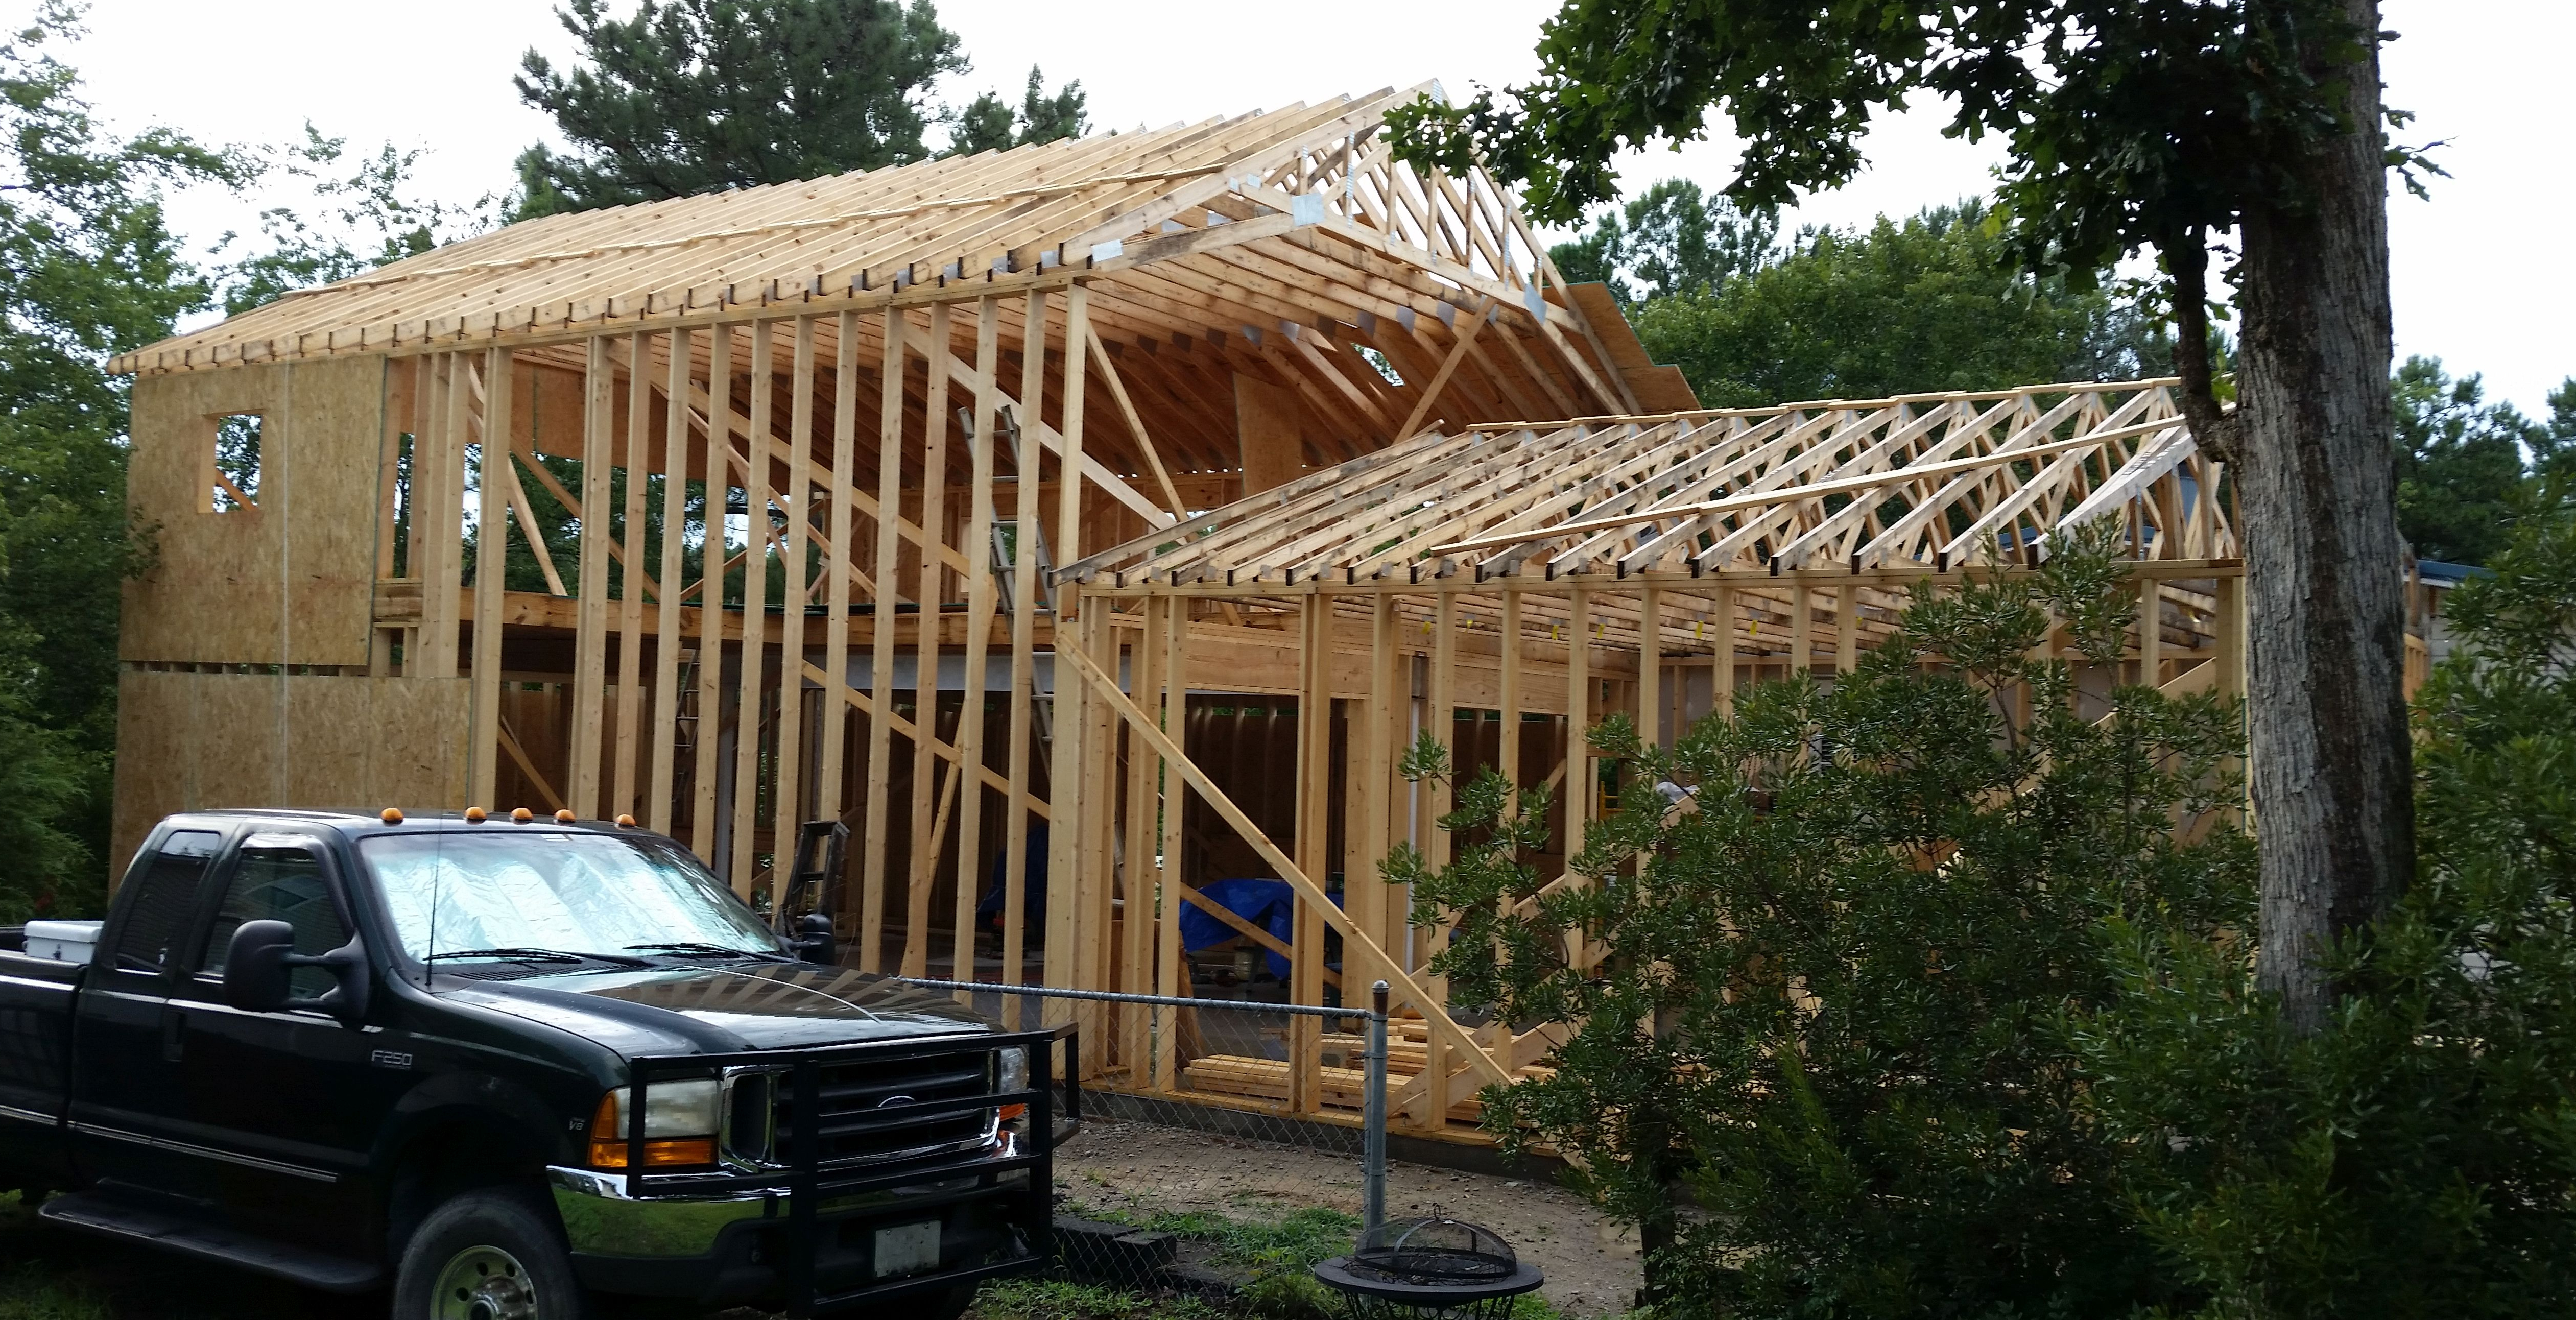
Other framing details include:

House Garage Wall
House wall framing details. You can see the hurricane straps between the trusses and the wall header.
House/Garage Door framing
House/Garage Door framing details: the trusses over the door required support from above using metal straps.
Common Wall details
This picture shows the wall between the shop and garage, the beam, the insulation and the use of OSB.
North Shop Heat Pump
Future north wall Shop Heat Pump opening at lower left
North Bonus room Heat Pump
A future Bonus room heat pump opening is centered under the middle north wall window.
South Lift Bay framing
Southwest lift wall framing showing studs suporting the second floor.  A similar photo is in electrical.
Return to Shop narrative